I have been designing and deploying NSX-v solutions as part of my PSO role for the past 3 years. Aside with that, I decided to start my journey towards NSX-T and especially starting with version 2.4.x which in my opinion is the most stable and rich feature-set release in addition to the new converged architecture.
During my study journey, I will try to write and share as much as I can whilst deploying NSX-T in my home lab in a break/fix fashion for the sake of gaining as much experience as I can.
I will start with a brief introduction to the NSX-T Data Center architecture and components, then I will dive into the deployment of the NSX-T manager appliance where we will build on that in the up-coming posts.
NSX-T Data Center Architecture
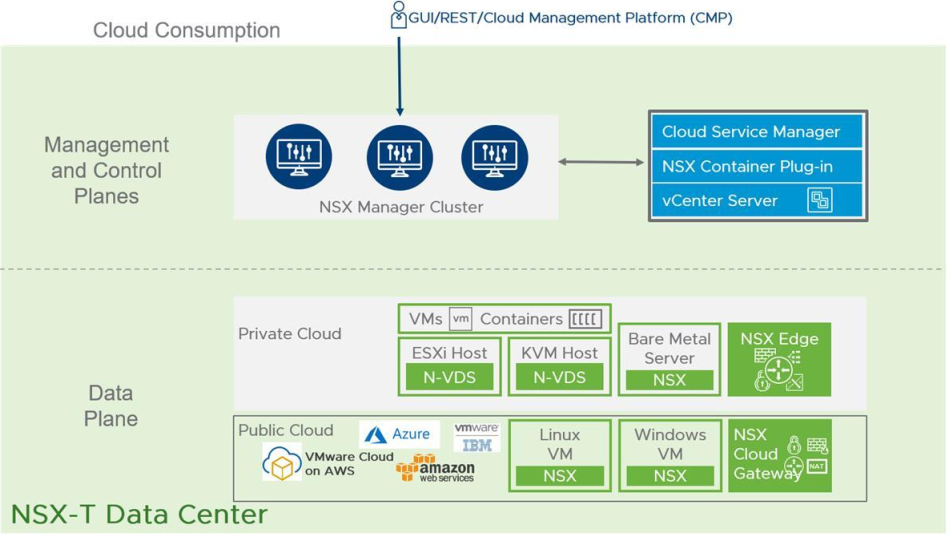
The three main elements of NSX-T Data Center architecture are the management, control, and data planes. The separation of the architecture into these planes allows it to grow and scale without impacting workloads. Each plane has its own components.
Consumption plane: Although the consumption plane is not part of NSX-T Data Center, it provides integration into any cloud management platform (CMP) through the REST API such as vRealize Automation, OpenStack, and many others.
Management plane: Unlike the single NSX-v single node management plane, the NSX-T management plane supports clustering, which allows the platform to process large-scale concurrent API requests. NSX Manager provides the REST API and a web-based UI interface entry point for all user configurations. All CRUD operations are performed from the management plane.
Control plane: The control plane includes a three-node controller cluster, which is responsible for computing and distributing the runtime virtual networking and security state of the NSX-T Data Center environment. The control plane is separated into a central control plane and a local control plane. This separation significantly simplifies the work of the central control plane and enables the platform to extend and scale for various endpoints.
With NSX-T Data Center 2.4, the management plane and control plane are converged. Each manager node in NSX-T Data Center is an appliance with converged functions, including management, control, and policy.
Data plane: The data plane includes a group of ESXi/KVM hosts as well as NSX Edge and/or bare-metal devices. The group of servers and edge devices prepared for NSX-T Data Center are called transport nodes. Transport nodes are responsible for the distributed forwarding of network traffic relying on the N-VDS (NSXmanaged Virtual Distributed Switch) switch rather than the vDS switch which decouples it from the compute manager such as vCenter Server.
NSX-T 2.4.1 Deployment
In this post, I will go through the deployment steps of a single-node NSX-T manager. In a later post I will write about clustering NSX-T management plane which is more preferred in a production environment to provide more availability and resiliency to the solution.
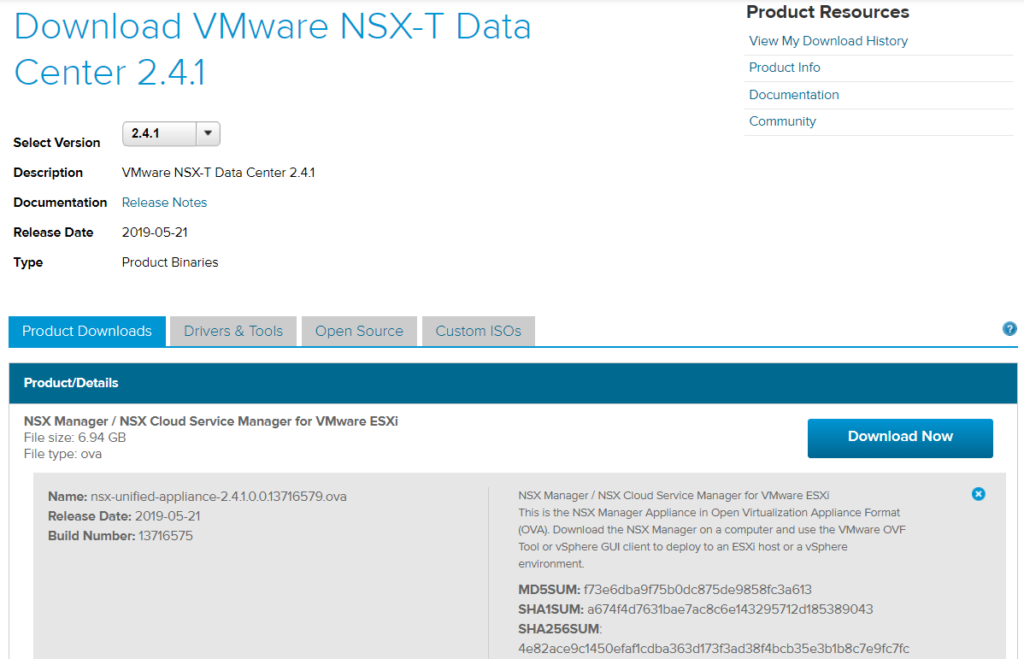
First of all, let’s download the NSX-T OVA file from MyVMware website. https://my.vmware.com/web/vmware/details?downloadGroup=NSX-T-241&productId=673&rPId=34066
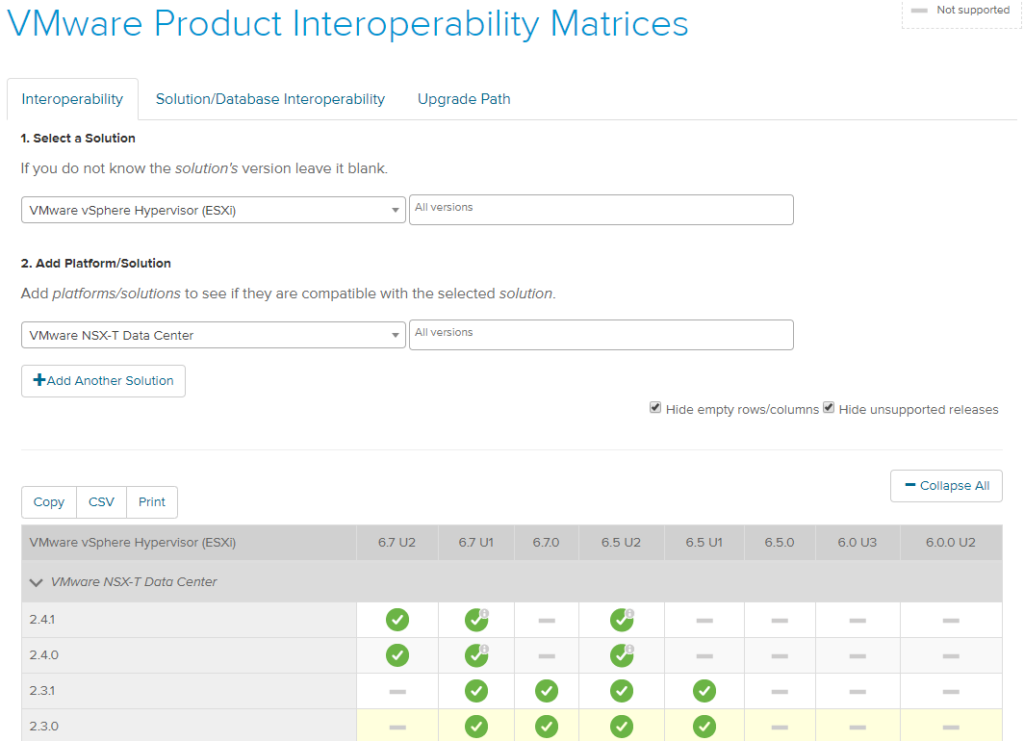
Second, let’s check the VMware interoperability matrix to make sure NSX-T version 2.4.1 is supported with our vSphere 6.7 environment.
Interoperability with vCenter: https://www.vmware.com/resources/compatibility/sim/interop_matrix.php#interop&2=&175=
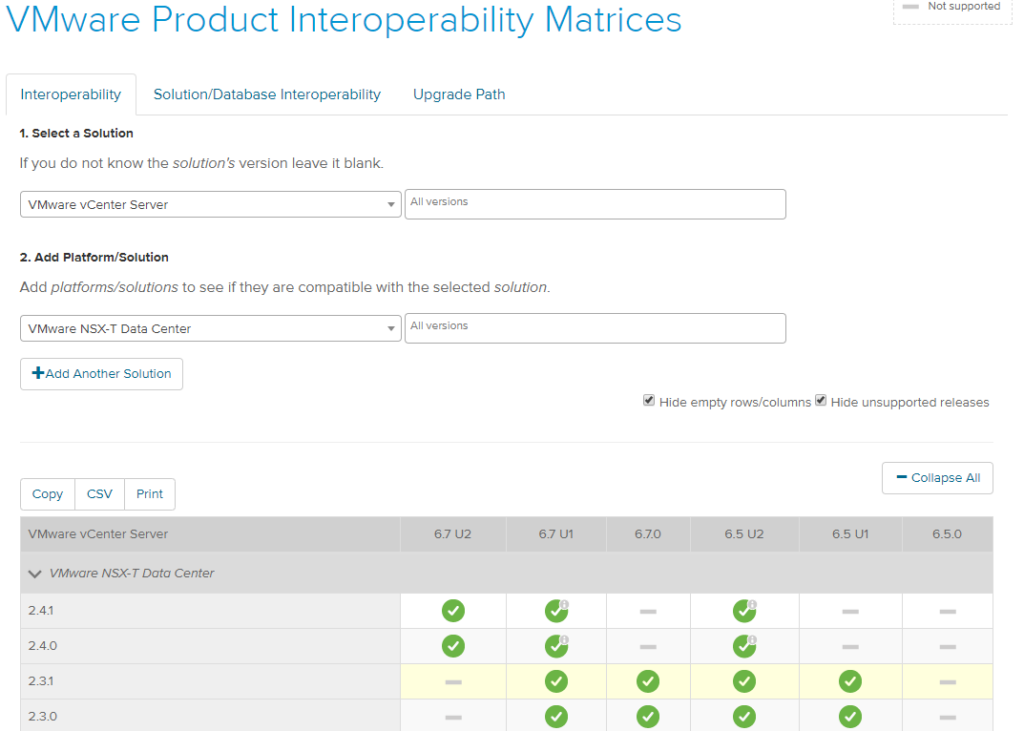
Interoperability with vSphere ESXi: https://www.vmware.com/resources/compatibility/sim/interop_matrix.php#interop&1=&175=
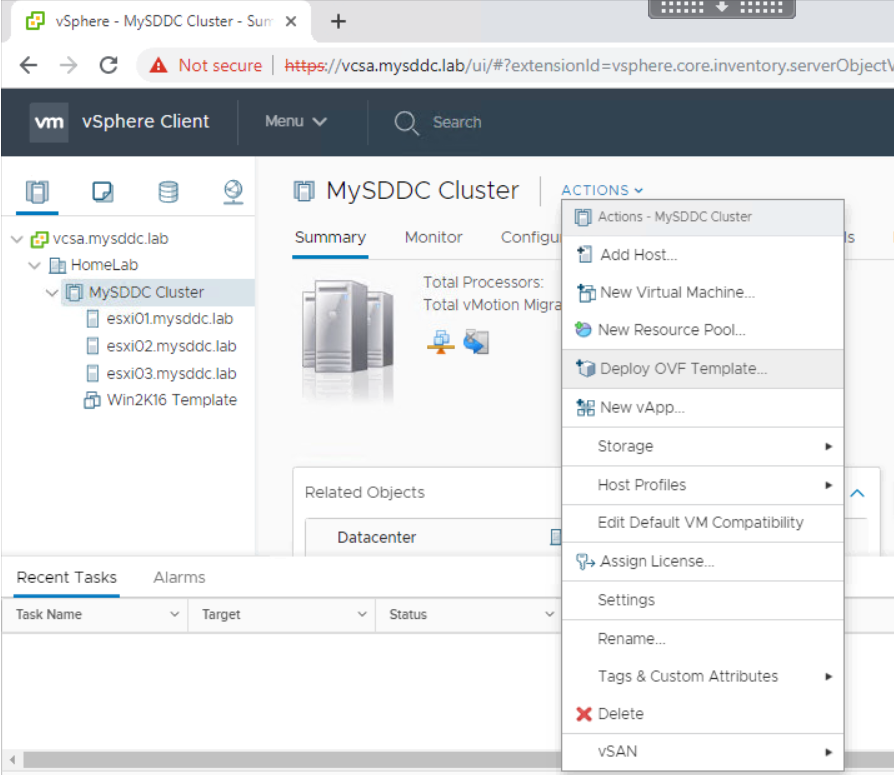
Login to your vCenter Server using your SSO credentials and navigate to Hosts and Clusters view. From the Actions drop down menu, select Deploy OVF Template.
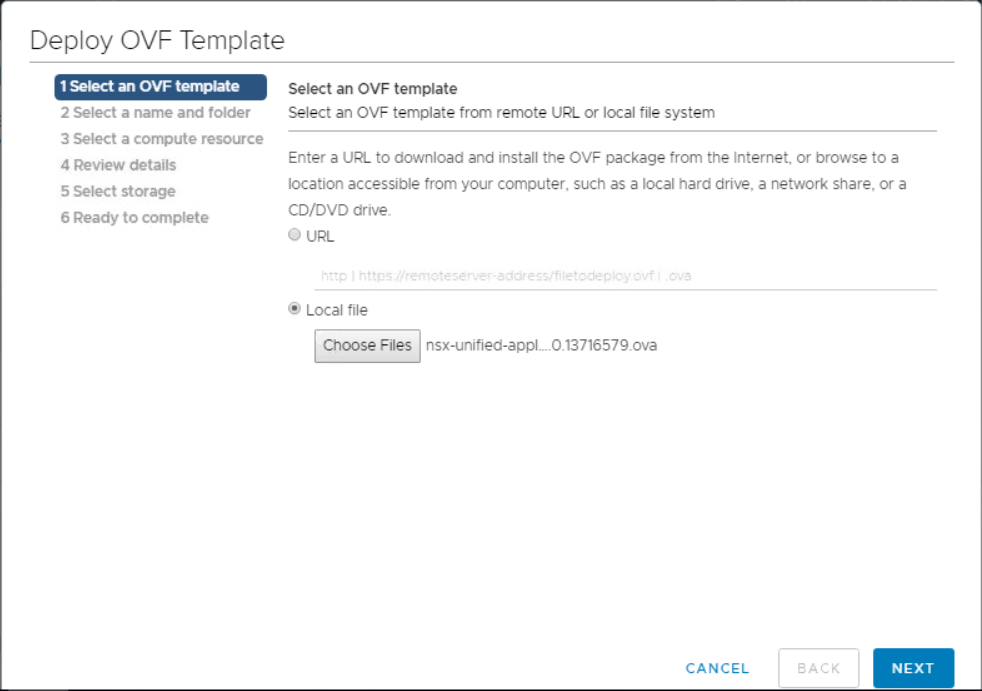
Select Local File and choose your NSX-T OVA file you already downloaded. Click Next.
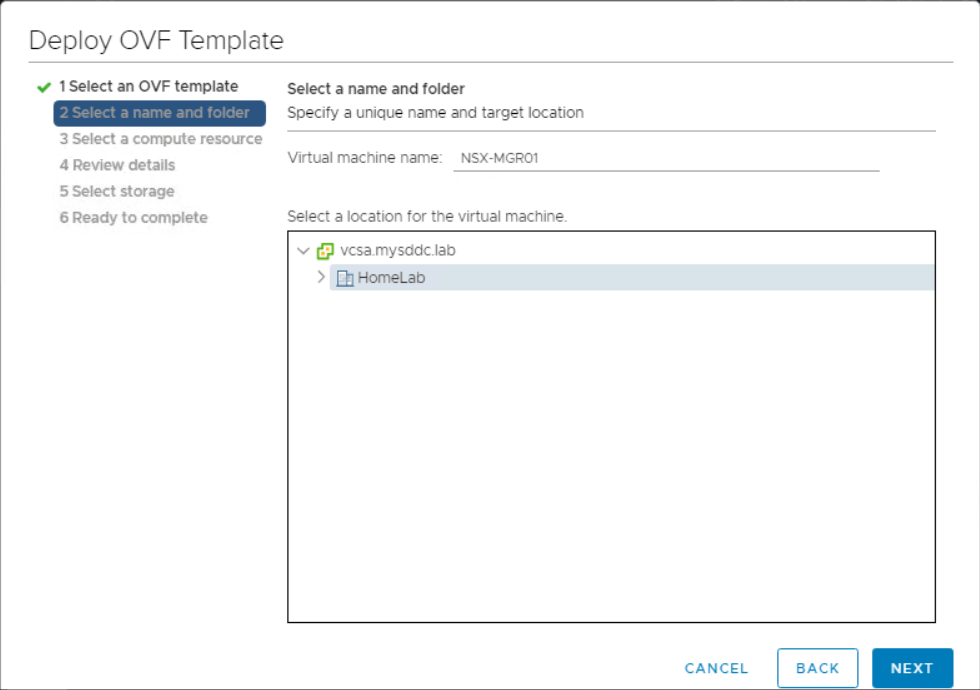
Select a name and location for the virtual machine. Click Next.
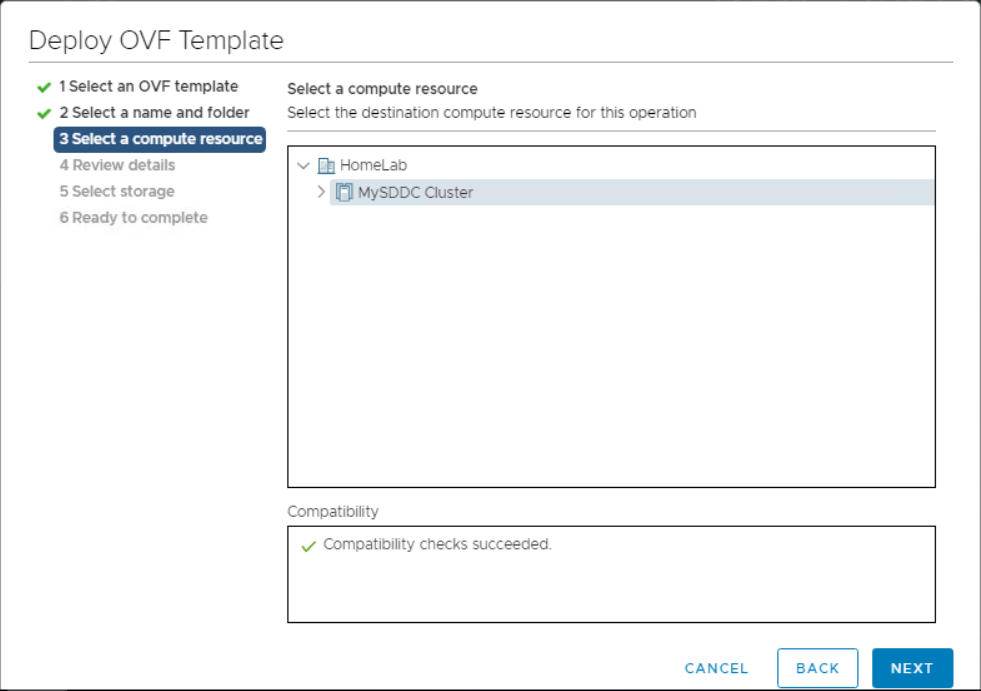
Select the vSphere cluster where you want to deploy your NSX-T manager. Click Next.
Verify the template details and click Next. Notice that you need a minimum of 3.9GB (thin provisioned) or 200GB (thick provisioned) of space on your shared datastore to host the NSX-T manager.

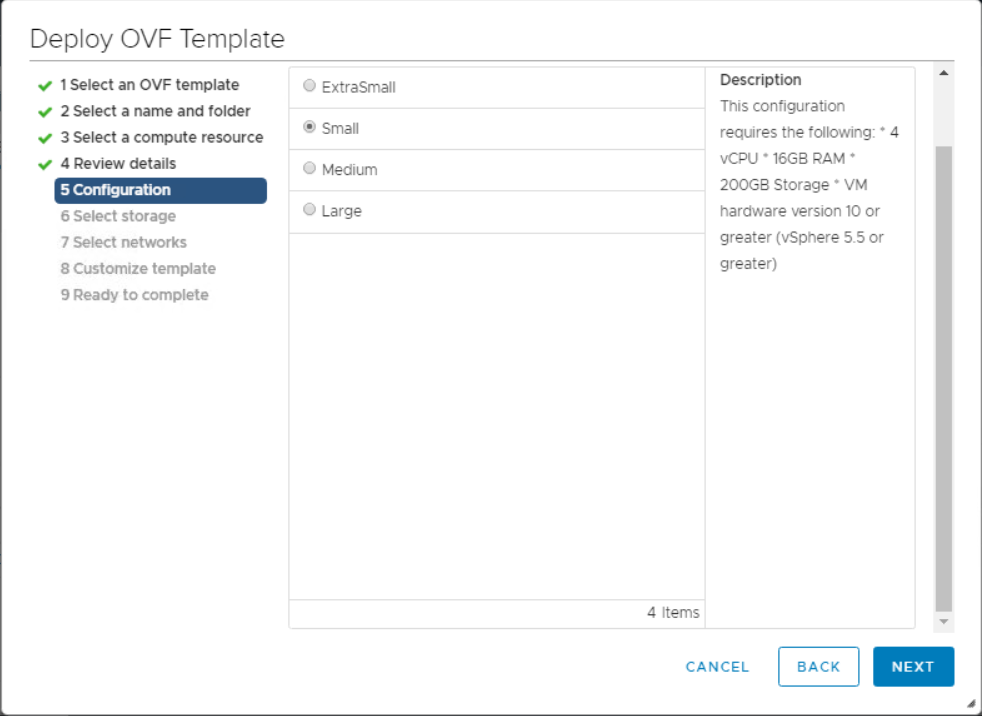
Select the appliance size to be deployed and click Next. The size determines the resources (CPU, RAM, Storage) allocated to the appliance.
NSX Manager supports the following form factors:
Extra small: 2 CPUs, 8 GB memory, 200 GB hard disk
Small: 4 CPUs, 16 GB memory, 200 GB hard disk
Medium: 6 CPUs, 24 GB memory, 200 GB hard disk. The default size is medium.
Large: 12 CPUs 48 GB memory, 200 GB hard disk
The NSX Manager small VM must be used in lab and proof-of-concept deployments. The NSX Manager extra-small VM resource requirements apply to the Cloud Service Manager only.
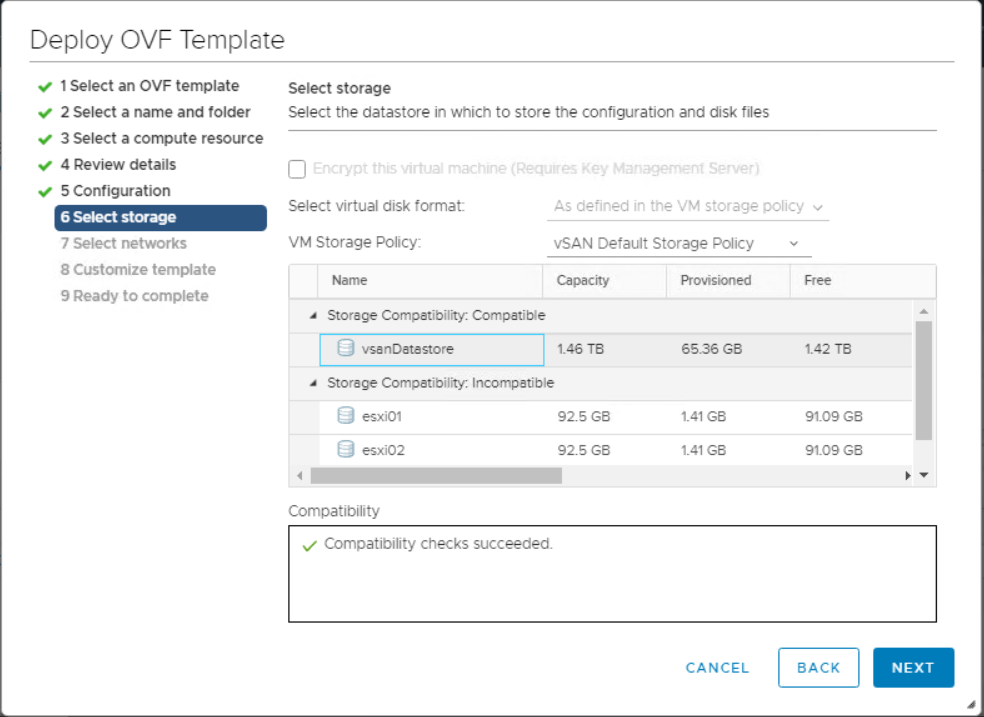
Select the storage location for the NSX manager files. Click Next.
On ESXi, it is recommended that the NSX Manager appliance be installed on shared storage.
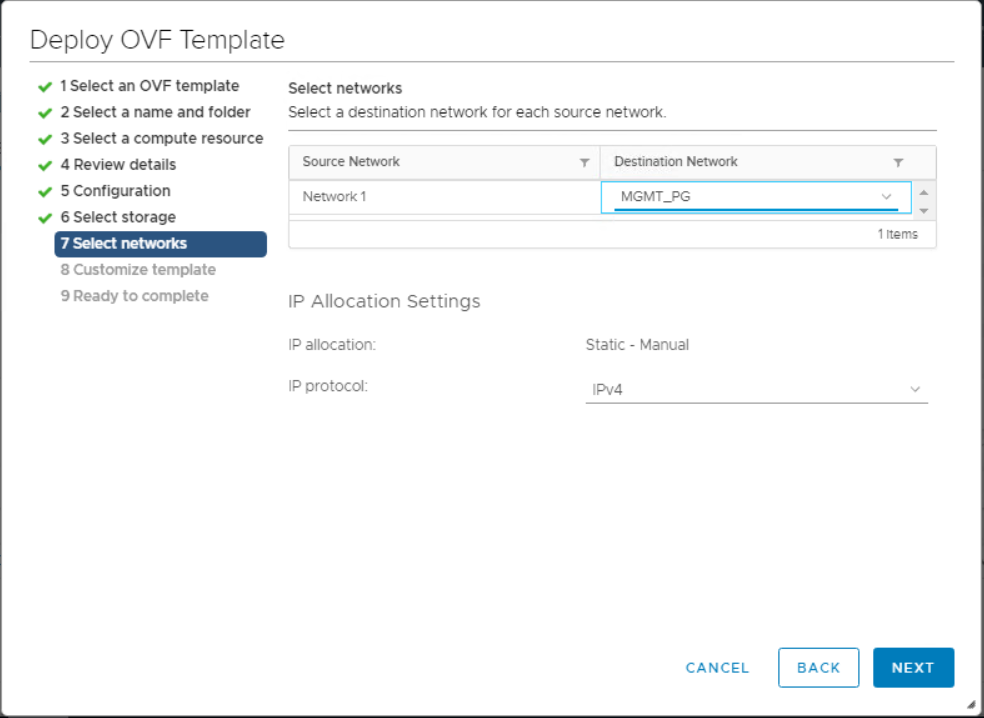
Select the management network that NSX manager will be connected to. Click Next.
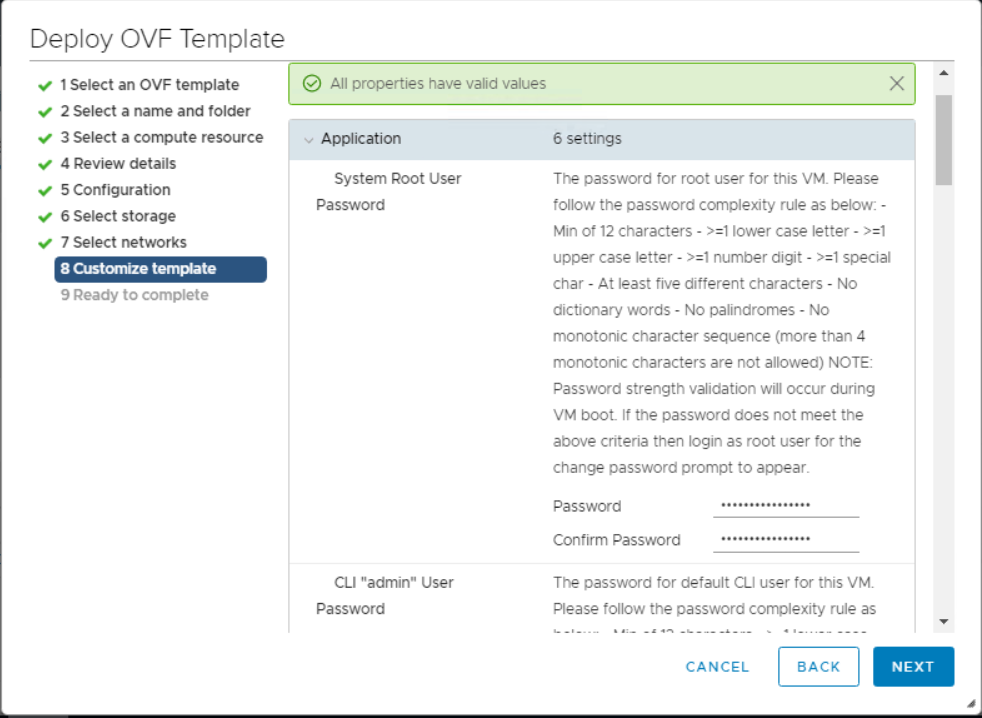
At this step you customize the deployment settings:
In the Application section, choose a password (min 12 characters) for Root, Admin, and Audit user accounts.
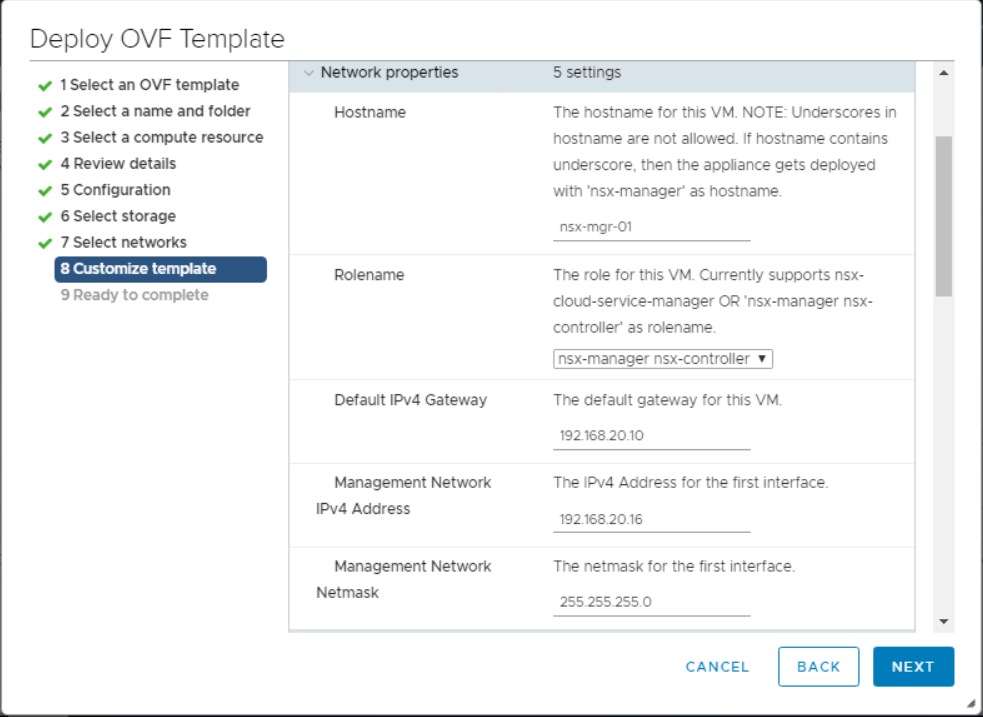
In the Network Properties section, specify a host name for the VM, select the role name (in our case it should be nsx-manager nsx-controller), and provide the static IP address details for the appliance.
In the DNS section, specify the DNS server list and domain name.
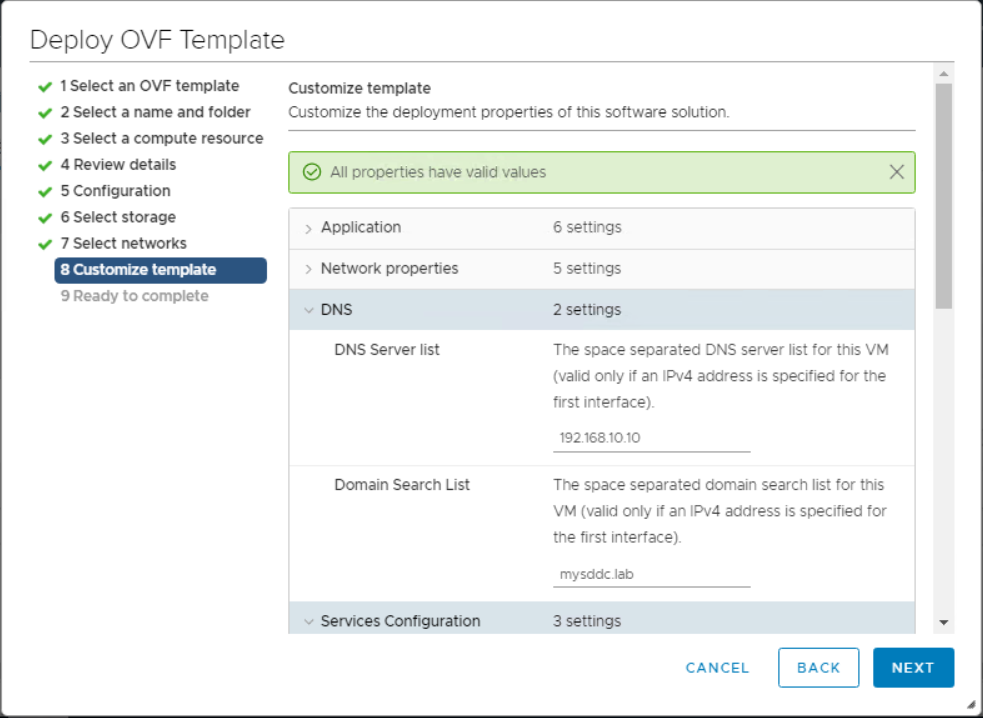
In the Services Configuration section, provide the NTP server(s) details, enable SSH & allow root SSH logins. Click Next.

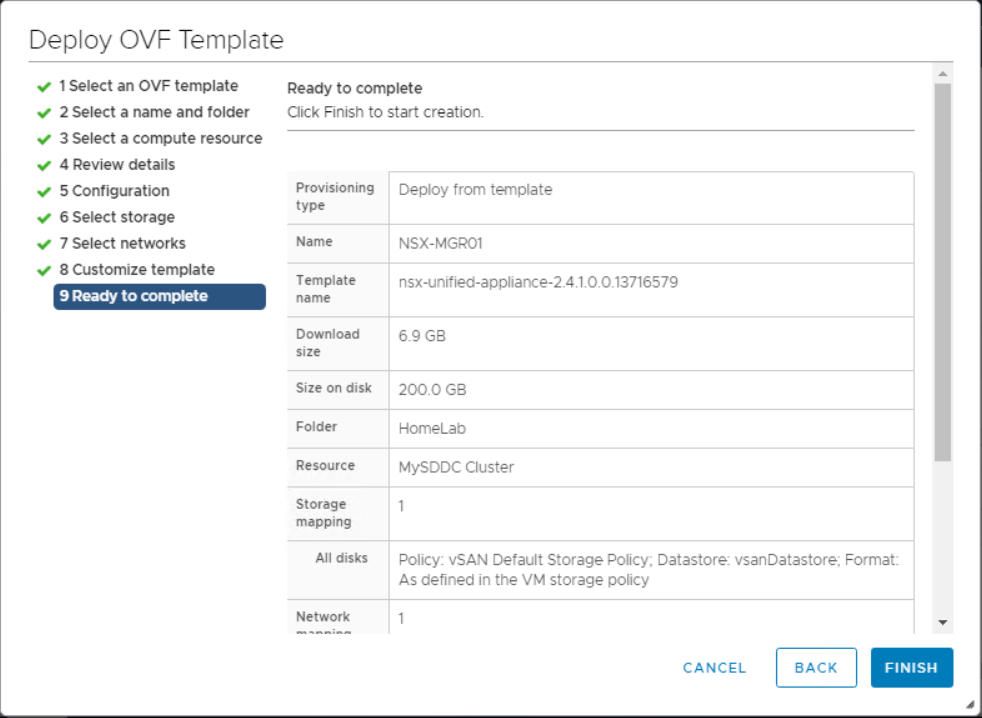
Verify the configuration settings and complete the deployment by clicking Finish.
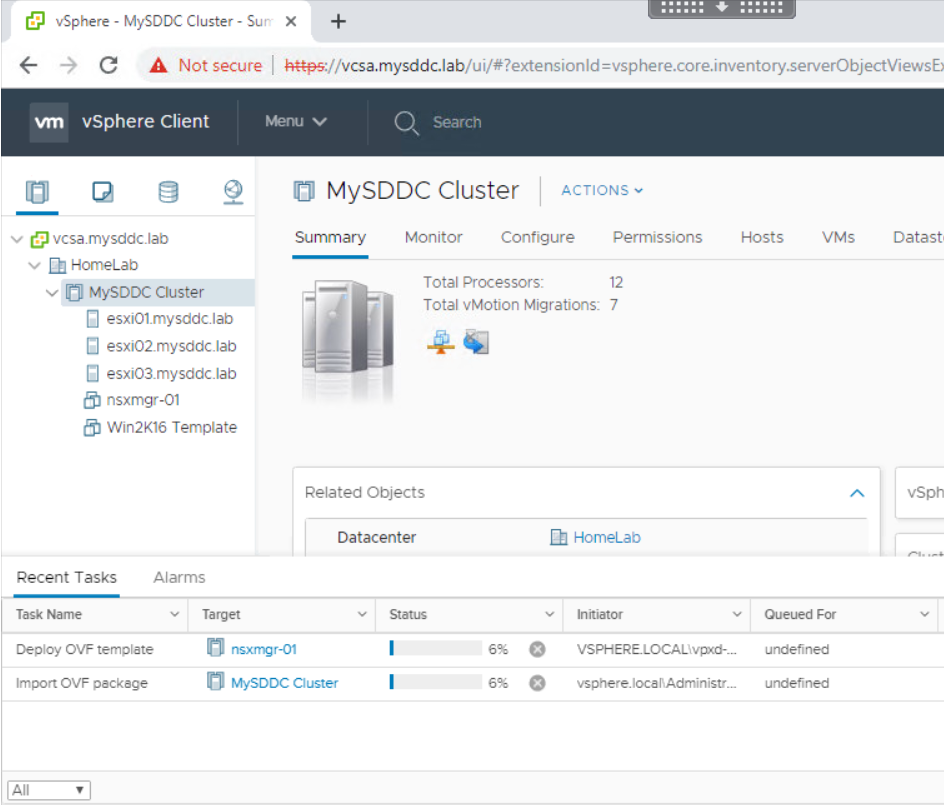
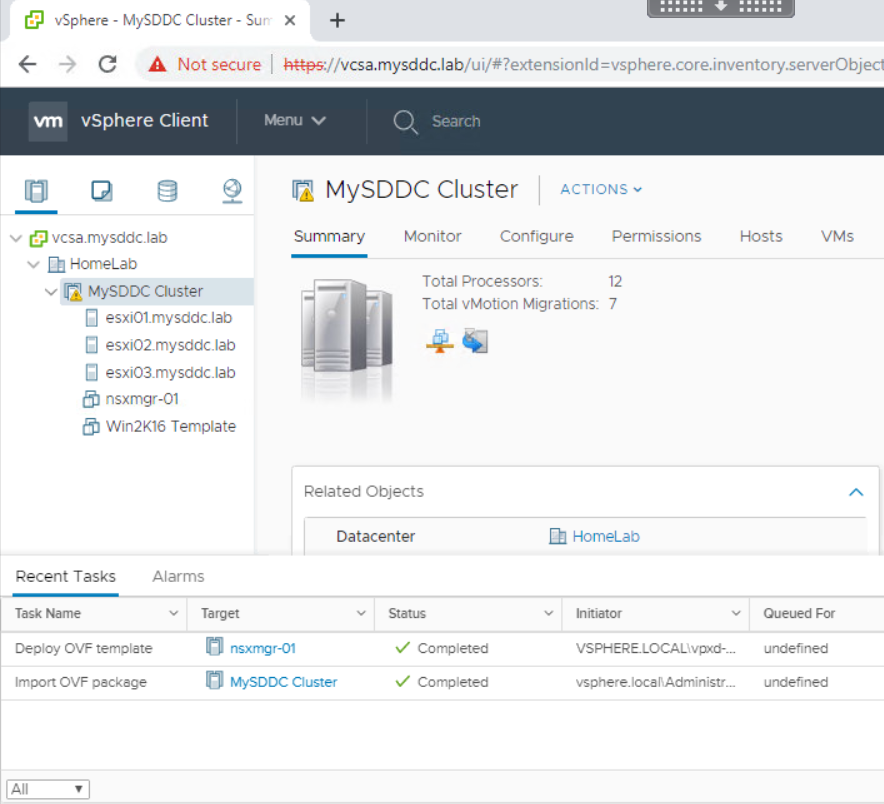
Wait for the OVA deployment process to finish. You can monitor the progress from the Resent Tasks view.
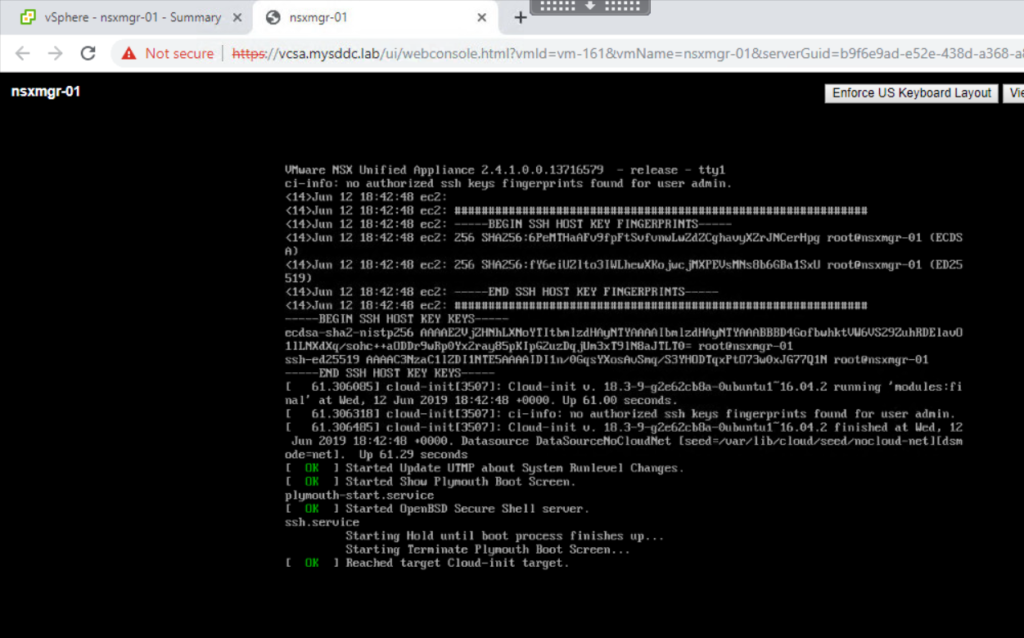
As the deployment has been completed successfully. You can power on your NSX-T manager appliance now. Wait for the NSX-T manager appliance to completely start up.
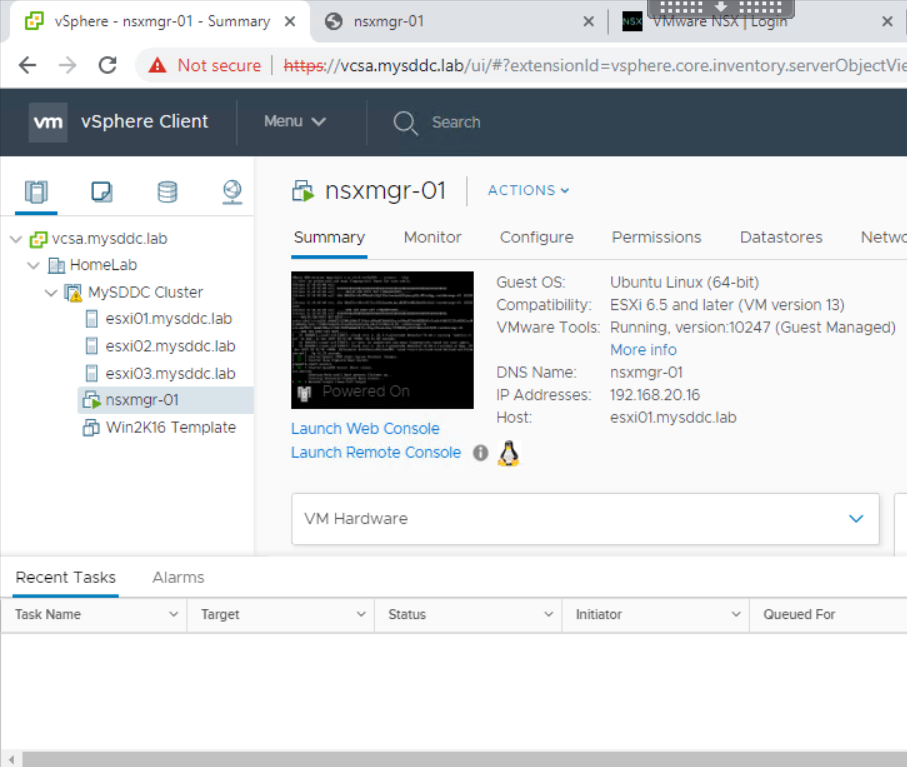
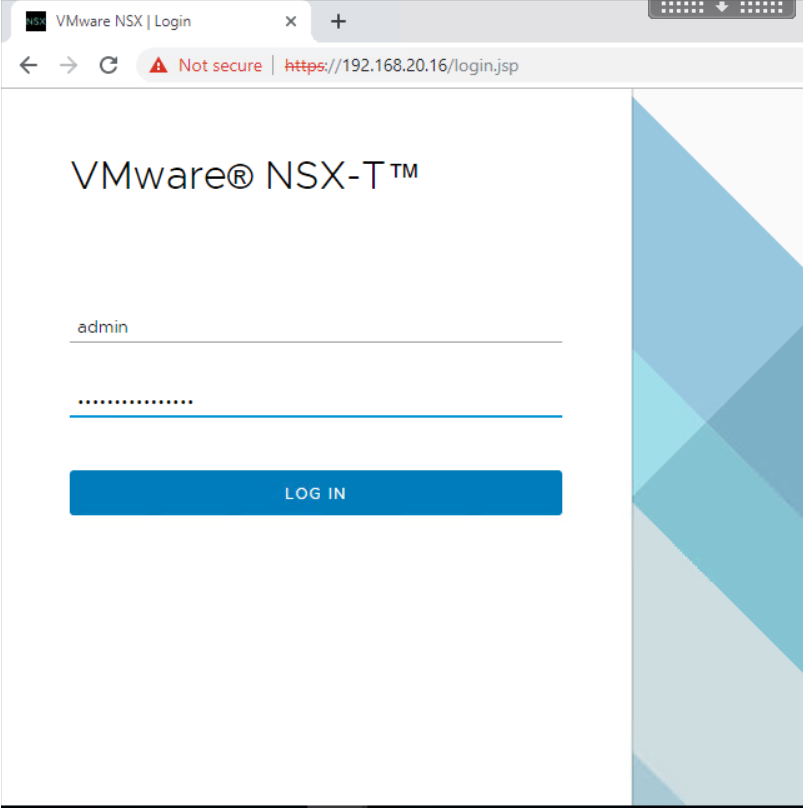
Now the appliance is completely deployed, you can login to the HTML5 interface of the NSX-T manager using admin credentials via https://<NSX_MGR_IP_Address or FQDN/.
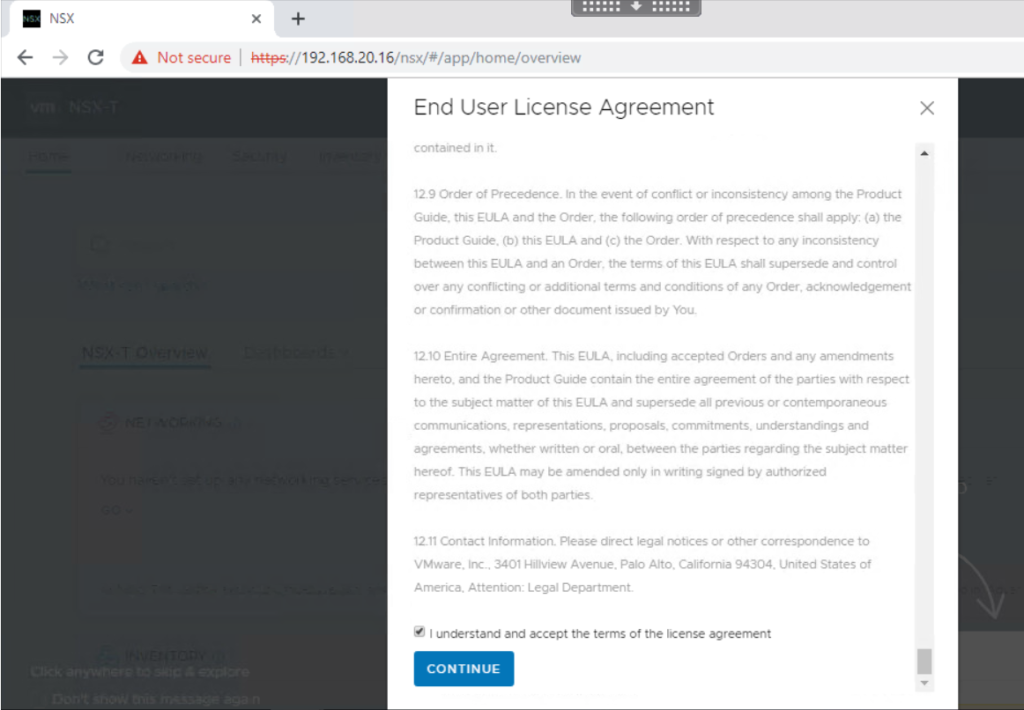
Accept the license agreement and click Continue.
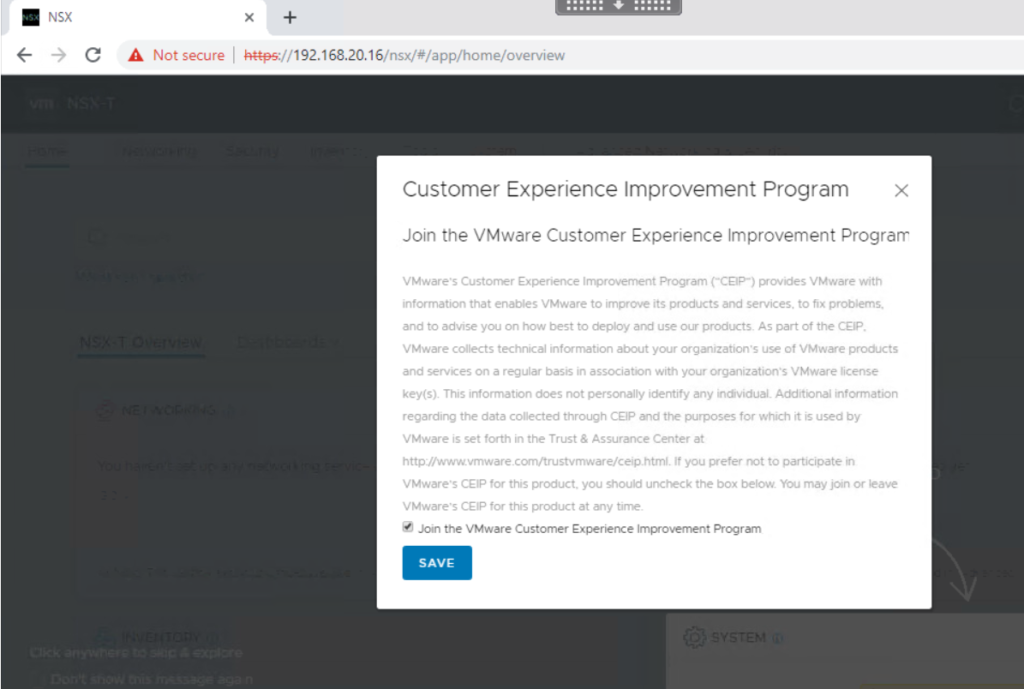
Select whether you want to join the VMware Customer Experience Improvement Program and click Save.
Finally, you are greeted with the main HTML5 UI interface of the NSX-T manager.
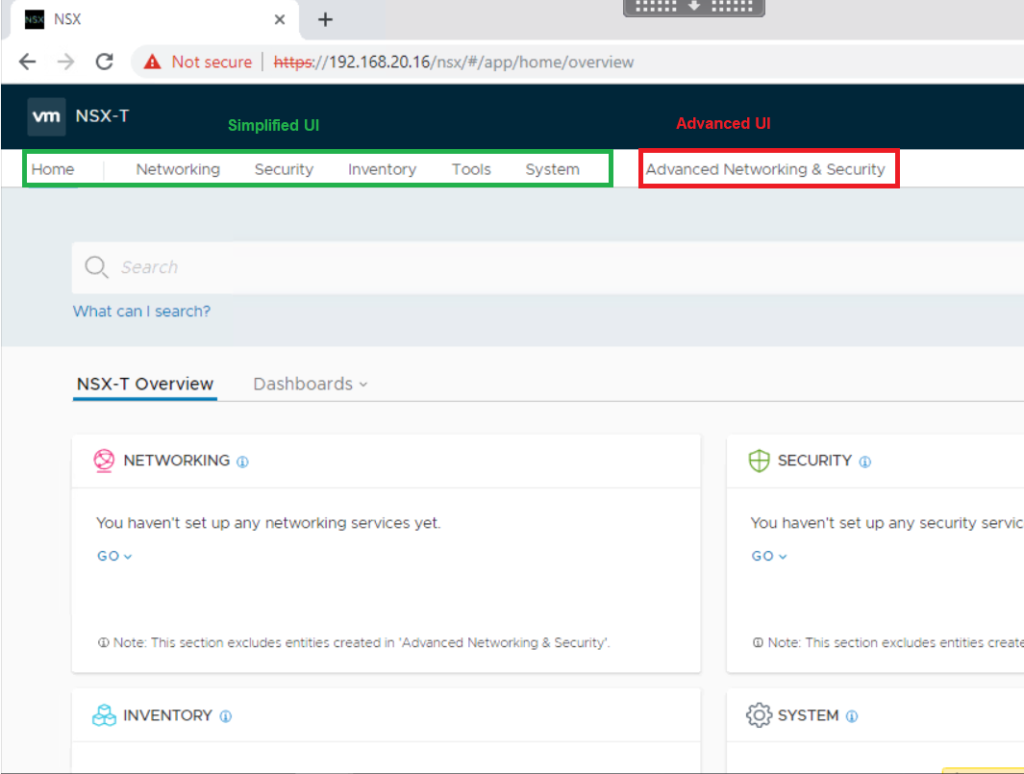
Notice that starting with NSX-T Data Center 2.4, the NSX manager UI is divided into simplified and advanced sections. You can use the simplified or advanced UI to configure objects, but VMware recommends that you use the simplified UI whenever possible.
Note: The objects created using the Advanced Network and Security tab are not replicated into the simplified UI.
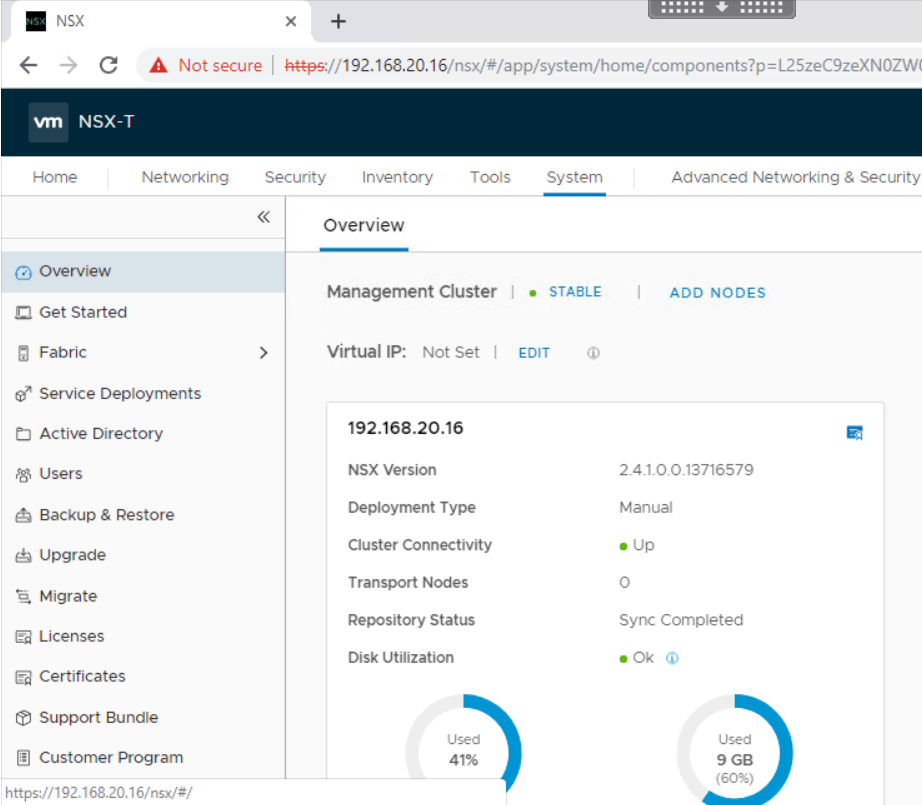
Navigate to System > Overview to verify the status of the NSX-T manager.
In a later post, we will configure licensing, registration with compute manager, and NSX-T manager clustering. Stay tuned !!
Hope this post is informative,
Thanks for reading,
Mohamad Alhussein

 (3 votes, average: 4.67 out of 5)
Thank you for this post. I have been searching for the better part of a week trying to patch various links and documentation together in order to deploy NSX-T in my lab.
Thank you Steve, glad that it helped you.
Thank you bro for sharing valuable information.
Thank you Nisar, much appreciated brother.
thank you man
you are doing a great job
Thank you Issam, Much Appreciated !
Thank you very much for your detailed posts which are tremendously helpful for me
Thank you Dan, Much Appreciated !
Thank you Mohamad for sharing with us this information. Keep up the good work!
Thank you Ahmad, Much Appreciated !