VMware Cloud Director enables cloud providers to build secure, multi-tenant clouds by pooling virtual infrastructure resources into virtual data centers. Cloud Director introduces the virtual infrastructure resources to users through web-based portals and programmatic interfaces as a fully automated, catalog-based service.
A provider virtual data center combines the compute and memory resources of vCenter Server resource pools with the storage resources of one or more storage policies from a single vCenter Server instance. For network resources, a provider VDC can use NSX for vSphere and NSX-T Data Center.
In this post, I am going to walk you through the steps to create a Geneve-backed cloud director provider virtual data center (PVDC).
As a prerequisite, I assume that you have already integrated cloud director with the vCenter server and NSX-T manager. The NSX-T infrastructure should be deployed and ready to be consumed by cloud director including the creation of Tier-0 gateway.
Step1: Create Geneve-backed Network Pool
A network pool is a collection of virtual machine networks. VDCs consume the network pools to create vApp networks. Organizations consume them to create Organization VDC networks. Network traffic on each network in a pool is isolated at layer 2 from all other networks.
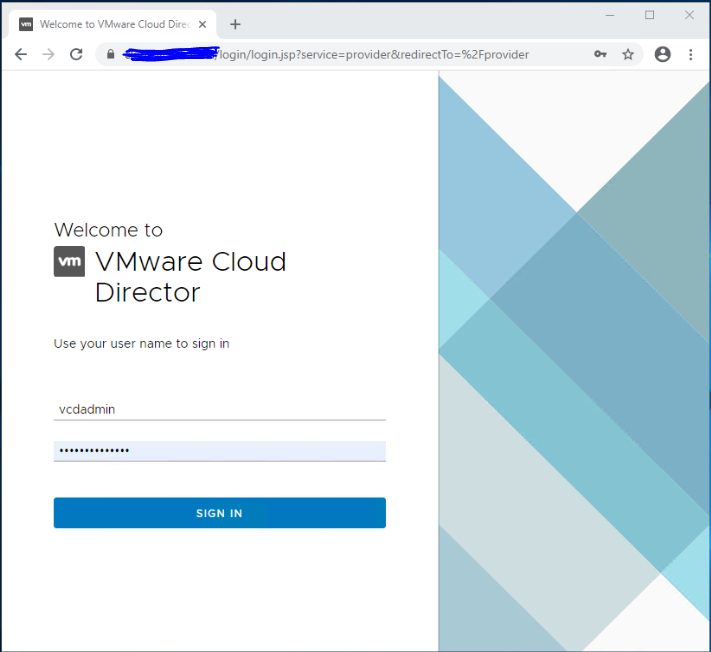
Login as system administrator to the provider portal: https://<vCD-LB-FQDN>/provider
Note that only system administrator has the privilege to create provider VDCs.
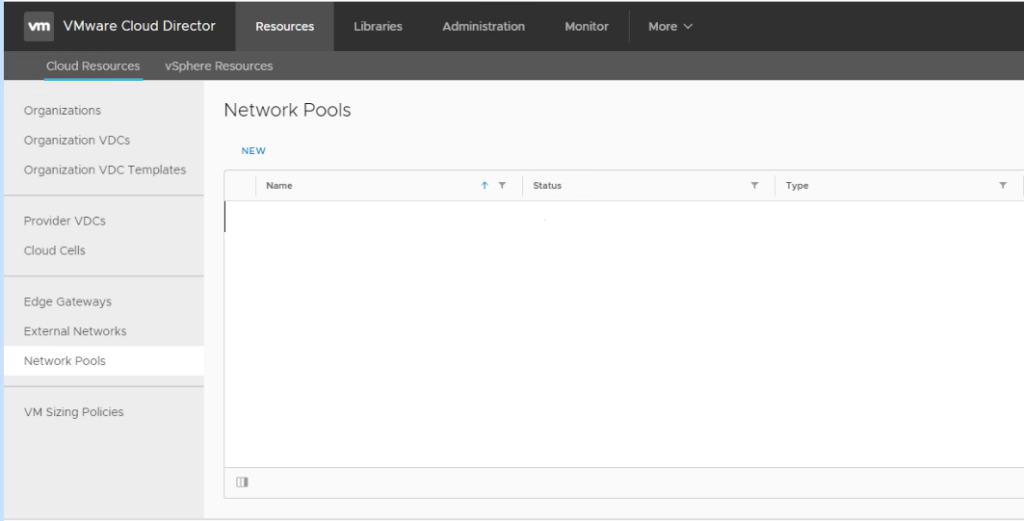
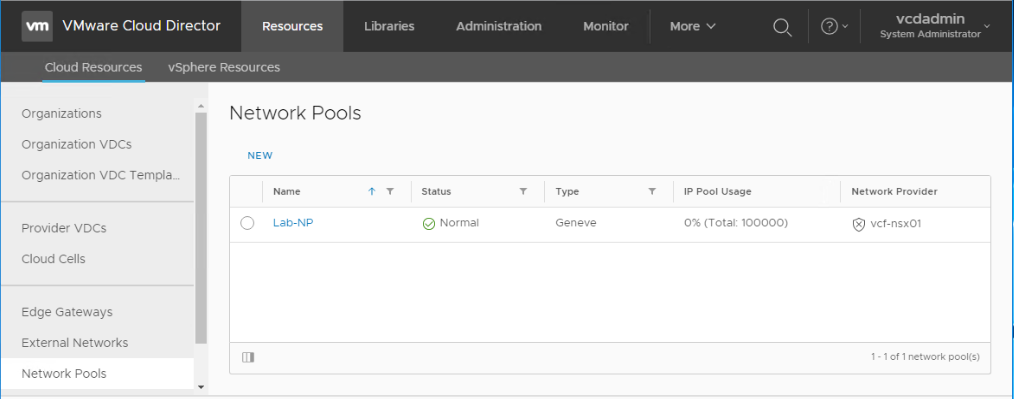
Navigate to Resources > Cloud Resources > Network Pools, and click New.
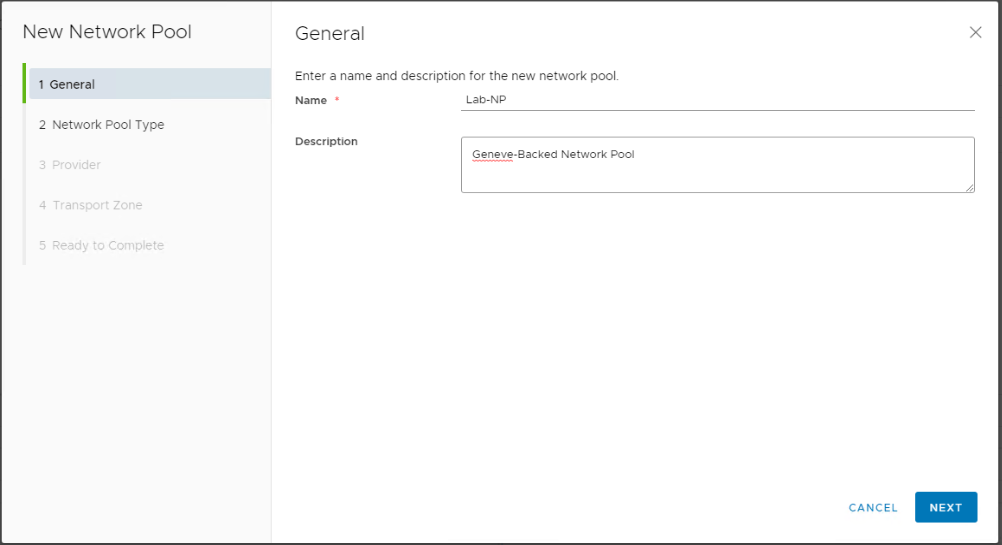
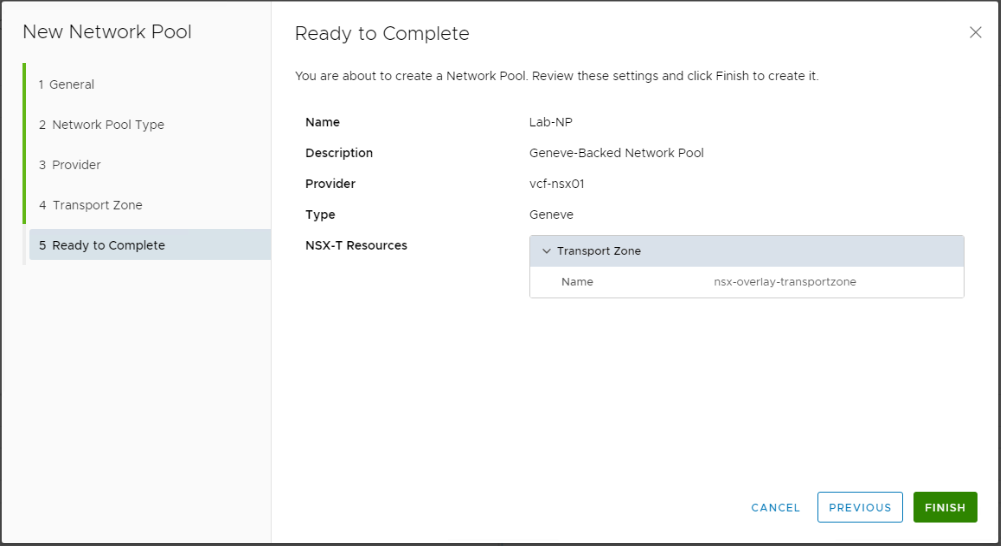
Provide a name and a description (optional) for the network pool.
Choose Geneve backed as the network pool type. This will create a network pool backed by an NSX-T overlay transport zone.

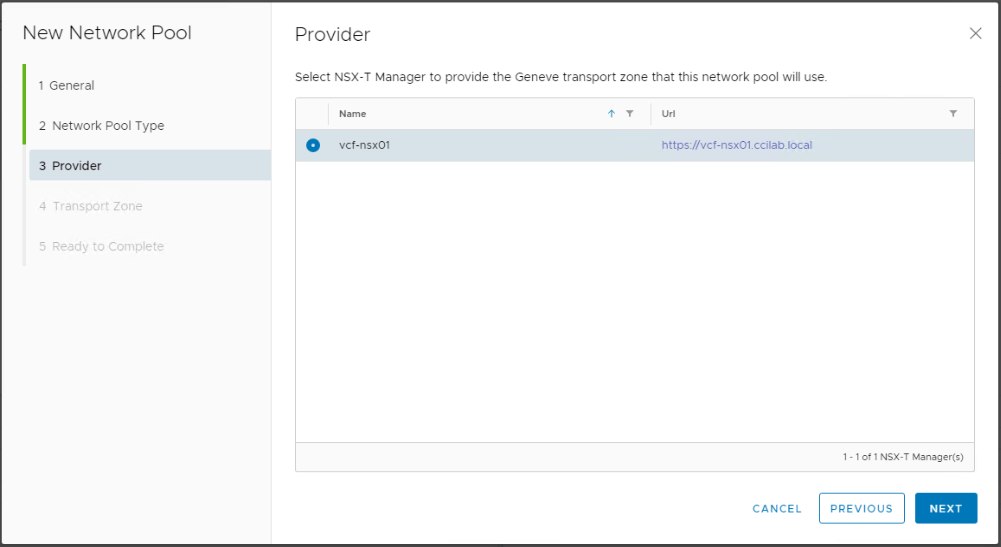
Select the NSX-T Manager to provide the Geneve transport zone that this network pool will use.
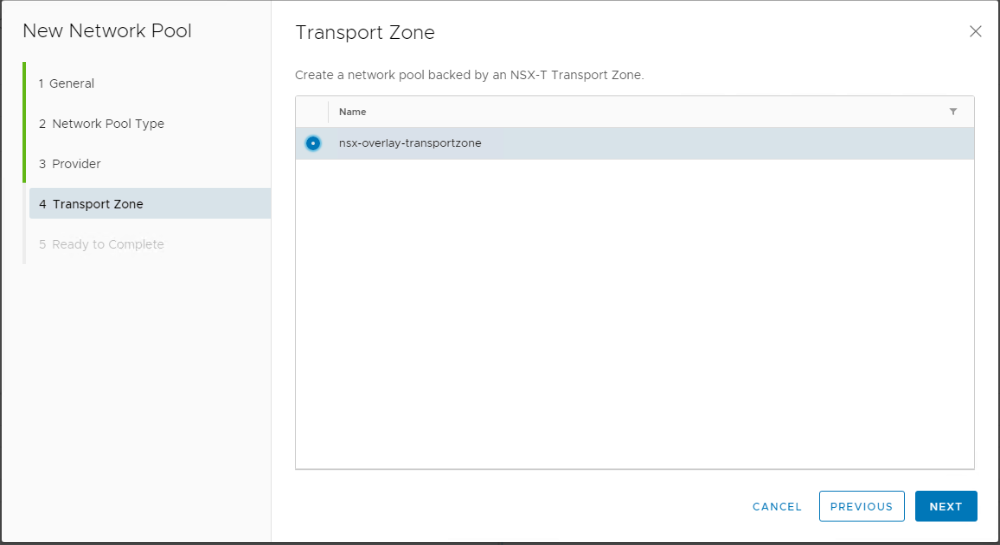
Select the NSX-T overlay transport zone.
Step2: Create an External Network
By adding an external network, you register vSphere network or NSX-T resources for VMware Cloud Director to use. This external network will be used later by Organization VDC networks to connect to the outside world.
To create an external network backed by NSX-T, Tier-0 gateway must already exist in NSX-T infrastructure. The external Network will bind to the pre-created T0 Gateway in vCD.
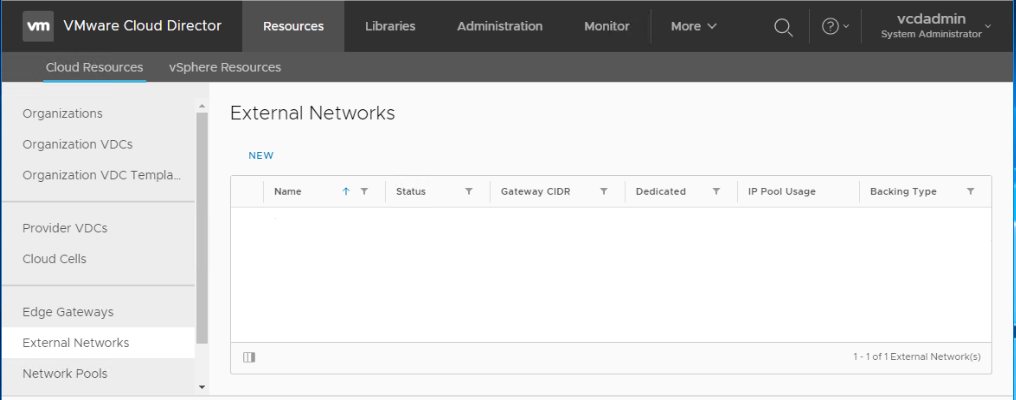
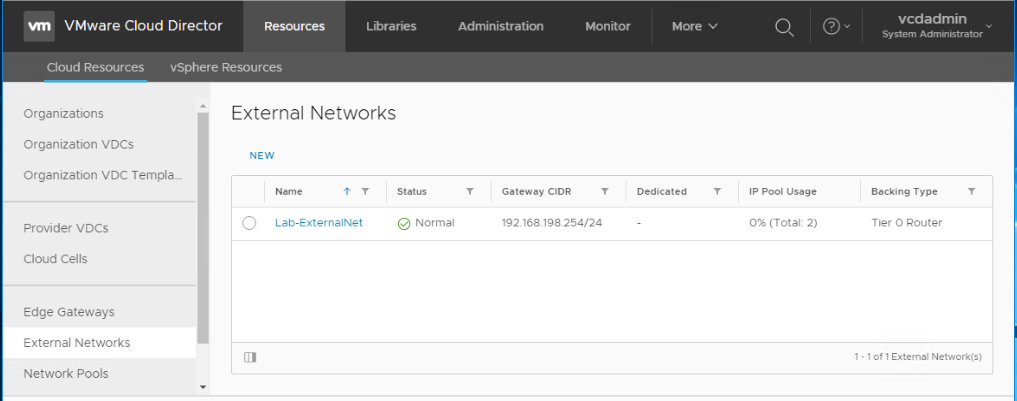
Navigate to Resources > Cloud Resources > External Networks. Click New.
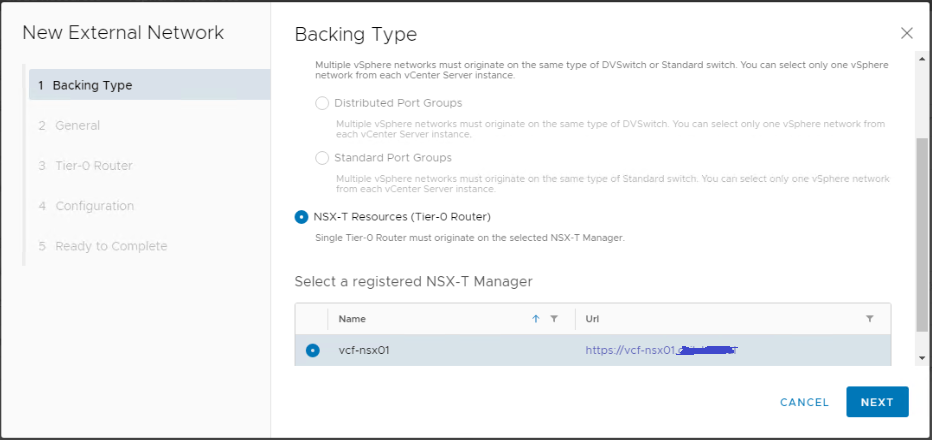
Choose NSX-T resources (Tier-0 Router) as backing type and choose the NSX-T manager.
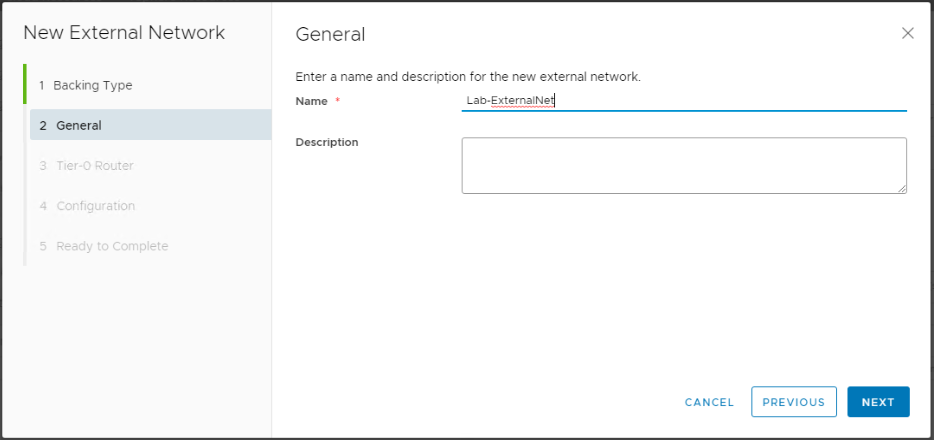
Provide a name for the external network.
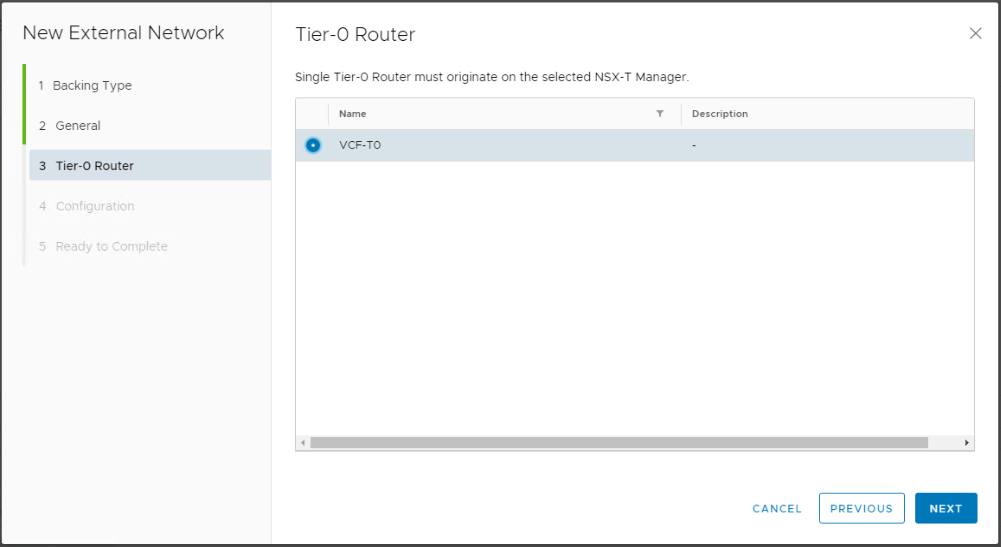
Select the NSX-T Tier-0 gateway.
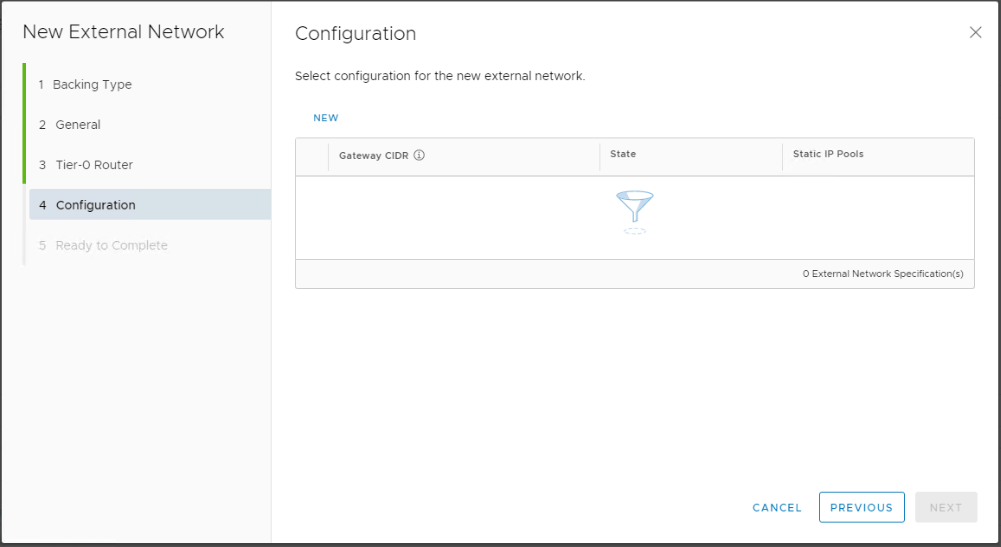
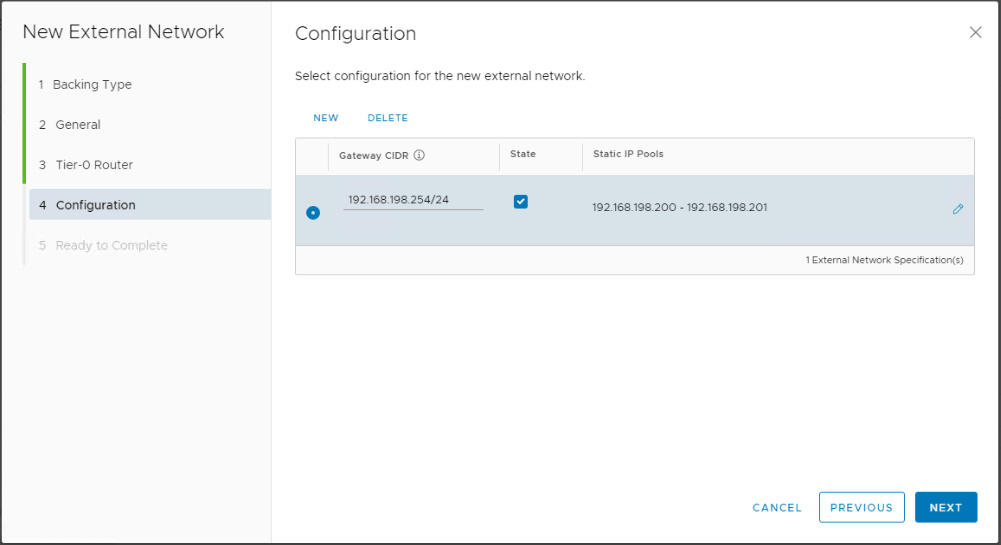
At this stage we will need to specify the external network Gateway (in CIDR format), and the external network IP range.

Step3: Create Provider VDC
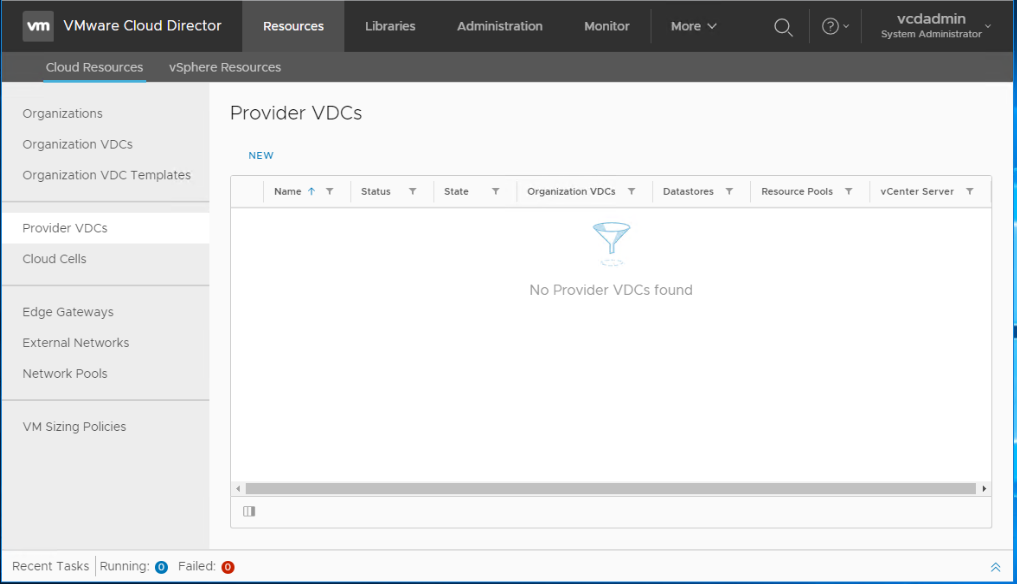
Navigate to Resources > Cloud Resources > Provider VDCs. Click New.
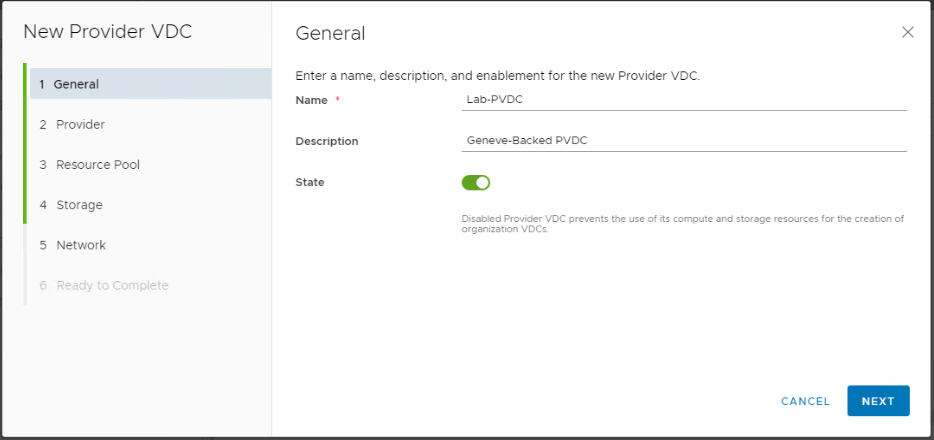
Provide a name and description for the PVDC to be created. Make sure the state is kept as enabled so that org VDCs can consume resources later when created from this PVDC.
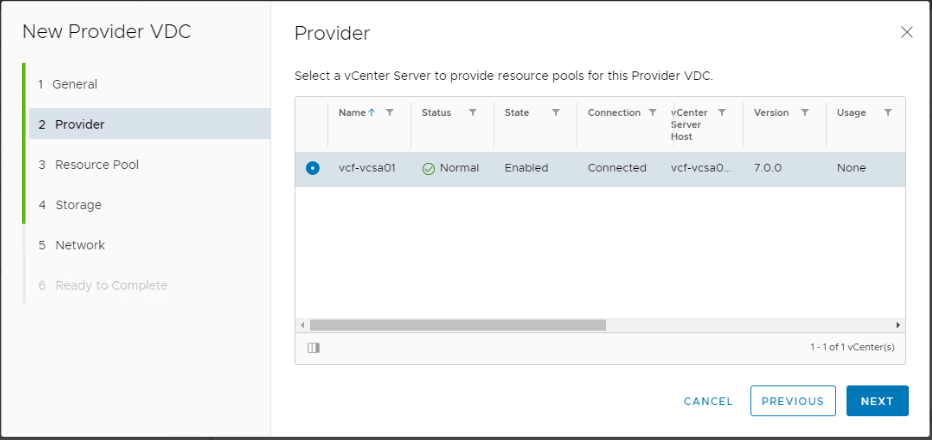
Select the vCenter server that will provide the compute and storage resources for the PVDC.
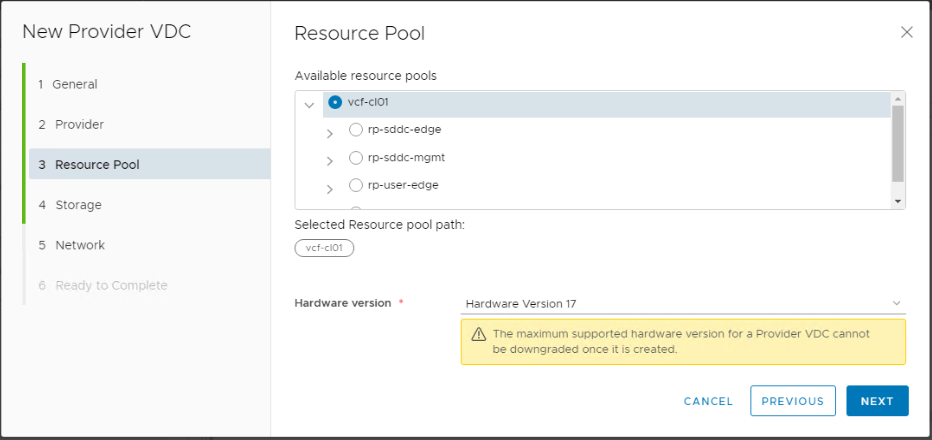
Select the entire cluster or a specific resource pool to be consumed by vCD. In addition, specify the highest virtual hardware version to be supported in organization VDCs based on this provider VDC.
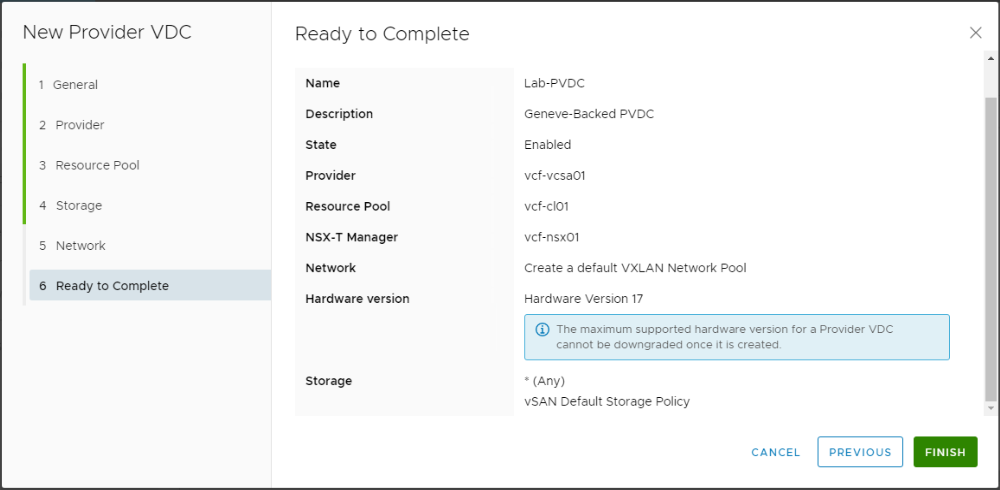
As I have a vSphere 7.x infrastructure i am going to select hardware version 17 as the maximum supported version.
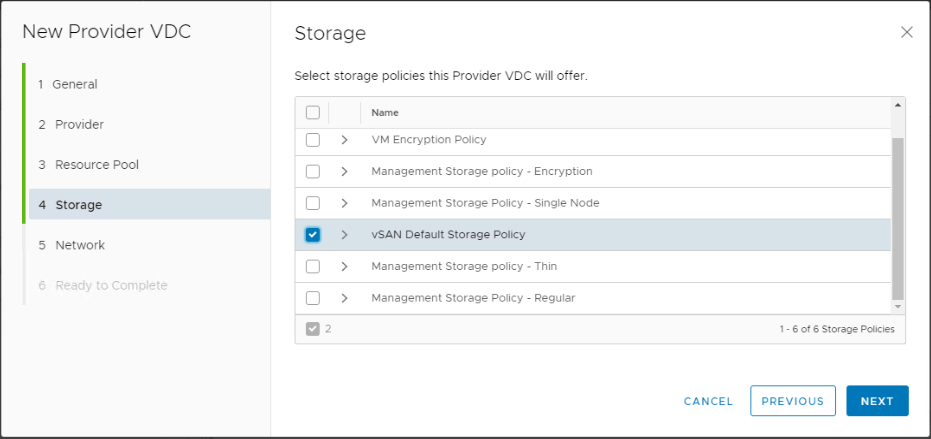
Select the storage policies that this PVDC will provide. Multiple different storage policies can be used by the same PVDC to offer different storage SLAs for the organization VDCs.
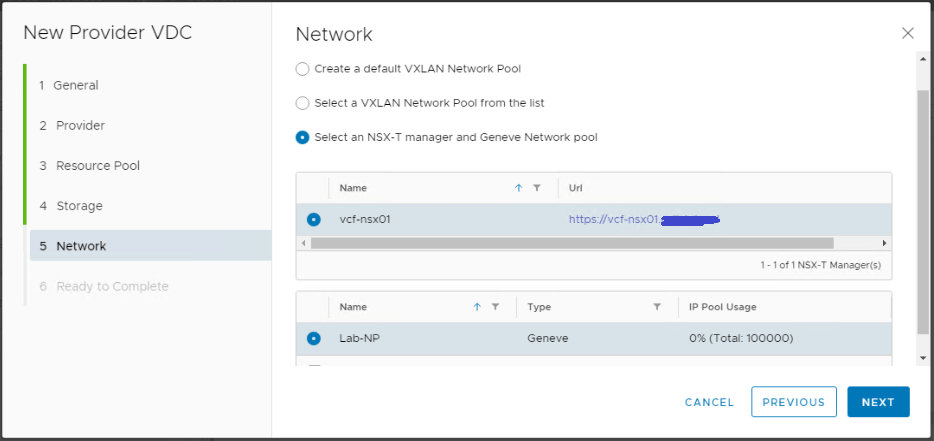
Select your NSX-T manager and the Geneve network pool we created earlier.
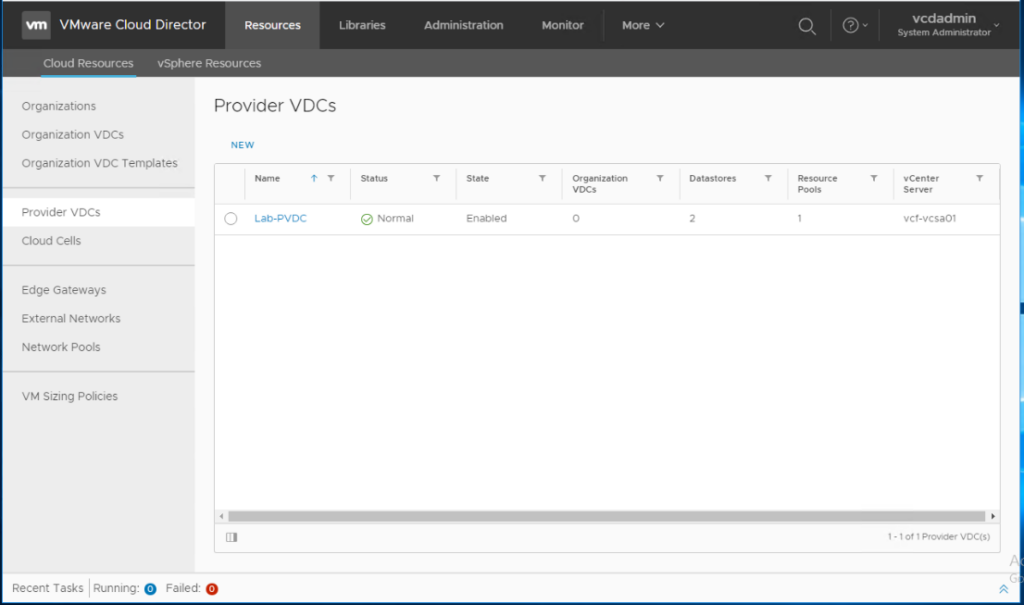
Make sure the status is Normal after the provider VDC is created. Green is Good 🙂
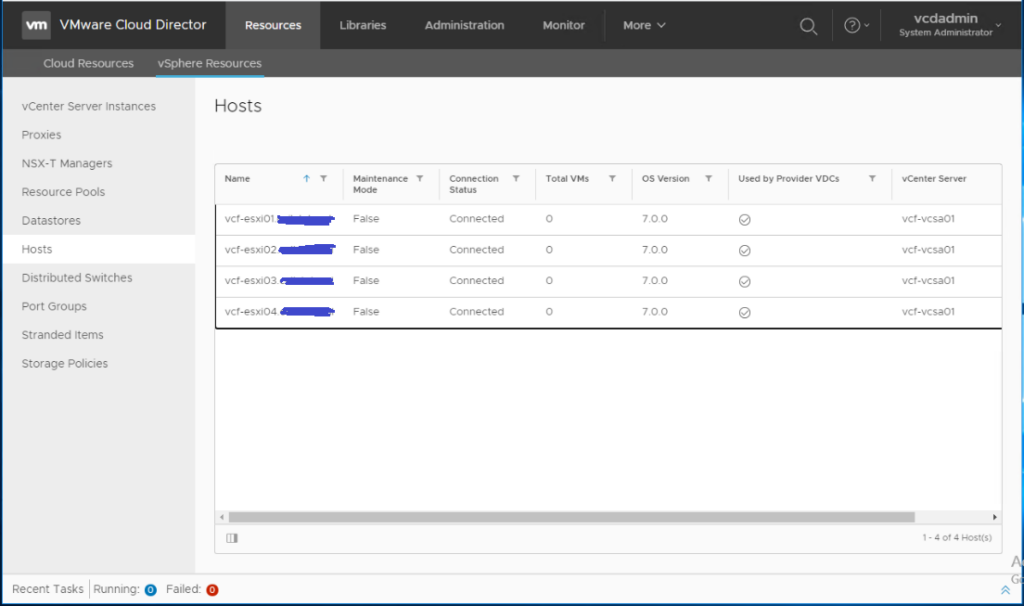
The PVDC has been created successfully. You can navigate to Resources > vSphere Resources > Hosts and notice that the vSphere cluster hosts are available now, abstracted as provider VDC pool of resources and ready to be consumed later by organization VDCs.
Hope this post was informative,
Many thanks for reading,
 (1 votes, average: 5.00 out of 5)
Can you still link a VLAN- or PG-backed network pool to the OrgVDC? This doesn’t seem to work in my testlab?