One of the latest things I tried to do recently in my VMware cloud director environment is to create a shared catalog with some imported vCenter OS templates to be used by other cloud director organizations while enabling guest OS customization so that vApp VMs will be deployed with different SIDs.
What I have noticed that if you import a vAPP template from vCenter, the option to modify the guest OS customization is greyed out. Here under is what i mean exactly.
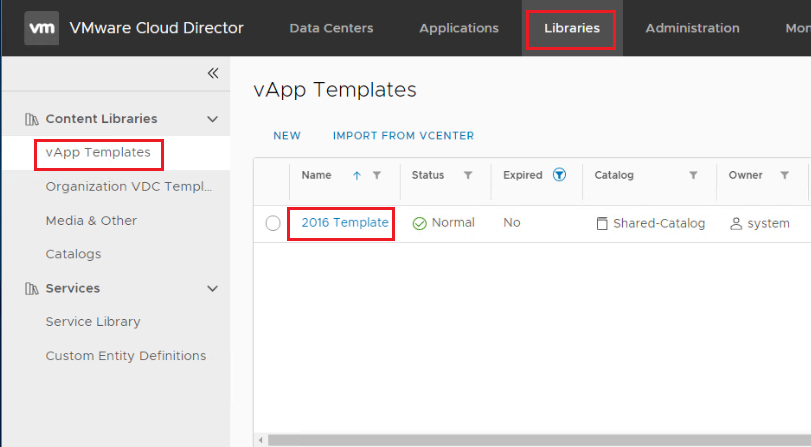
Navigate to Libraries > vApp Templates. Click on the name of your template.
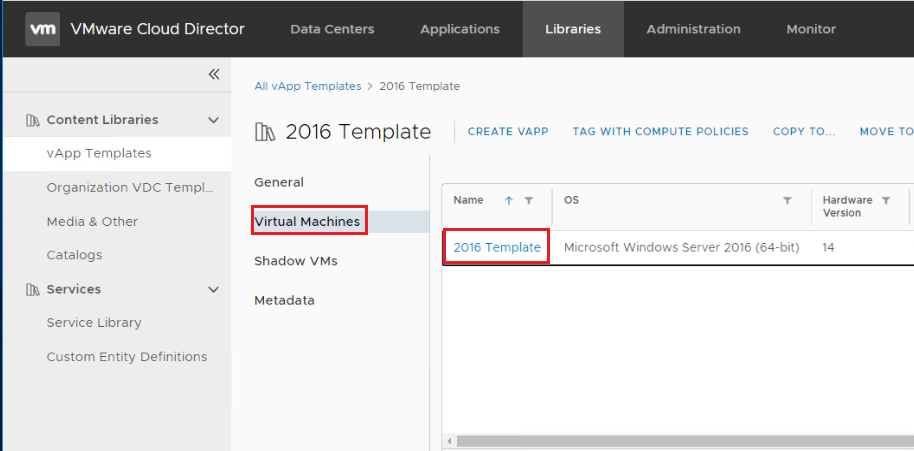
Navigate to Virtual Machines and click on the name of the VM.
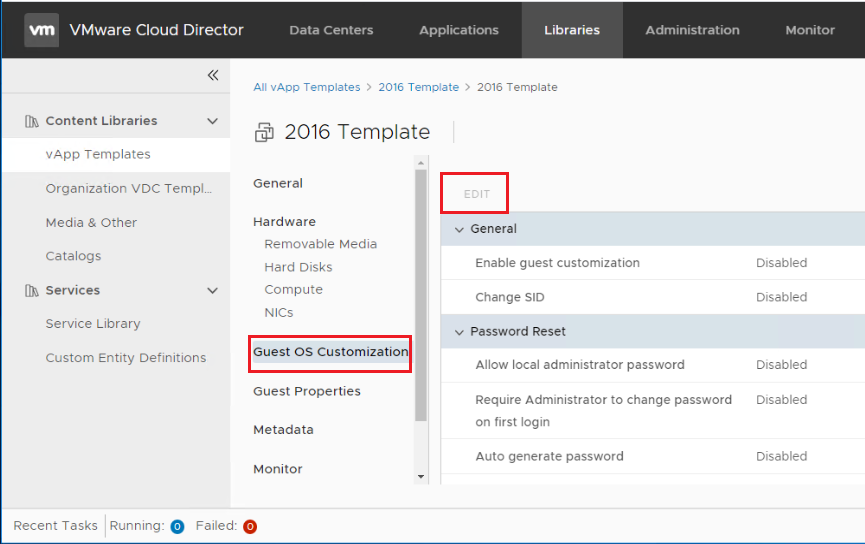
Navigate to Guest OS Customization, and notice that the Edit button is greyed out.
After some digging, it turns out that VMs in the catalog are immutable. Whenever you need to change some properties (such as Guest OS customization), you need to import the VM from vCenter into you vAPPs, make the change, then copy it to the catalog.
In this post I am going to walk you through the complete process to have a vAPP template in the catalog with modified guest OS customization.
Import VM Template from vCenter
Login in to your tenant, and navigate to DataCenters > Compute > vApps. Click on Import From vCenter.
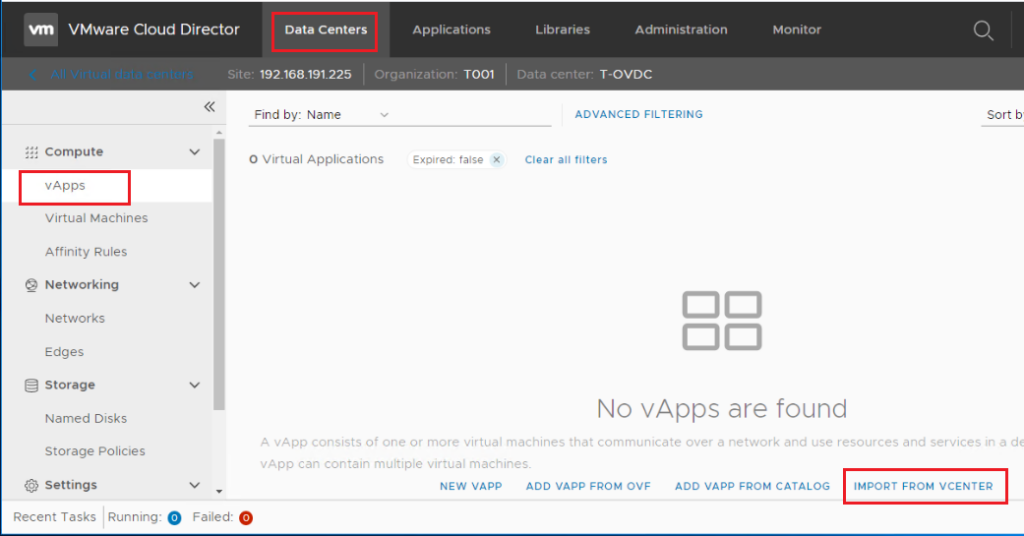
Select your vCenter, and your VM template from the inventory list and click Import.

Perform Guest OS Customization on your vApp VM
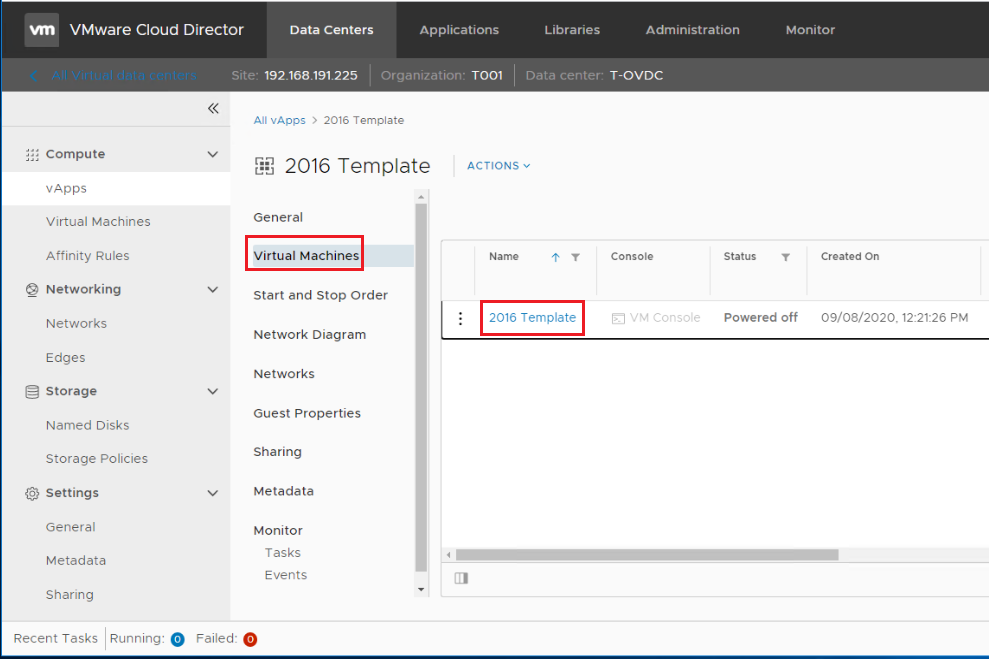
Wait until the VM is imported into your cloud vApps, then click on the deployed VM name.

Navigate to Virtual Machines and click on your VM name.
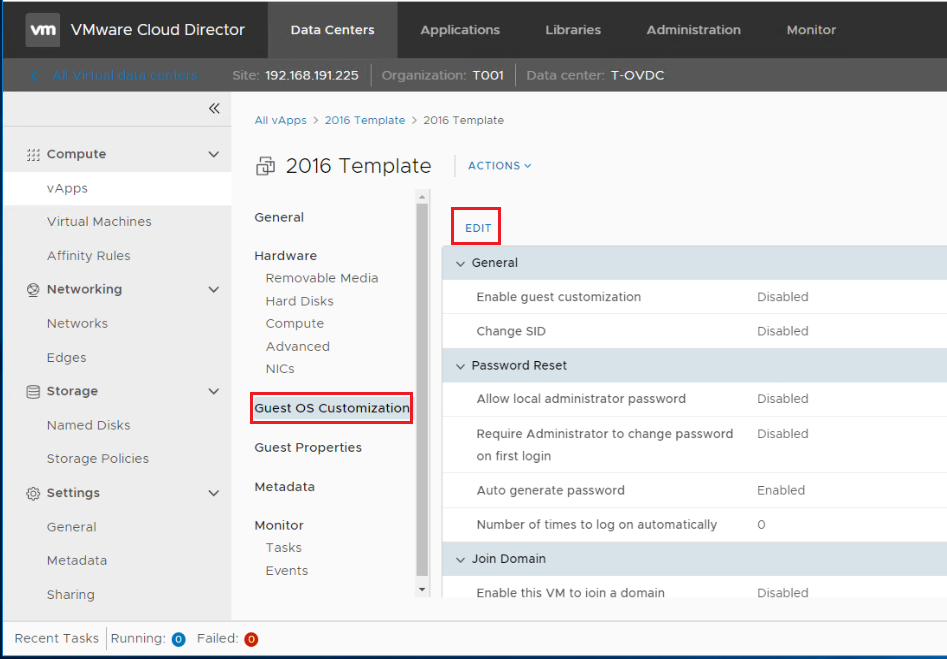
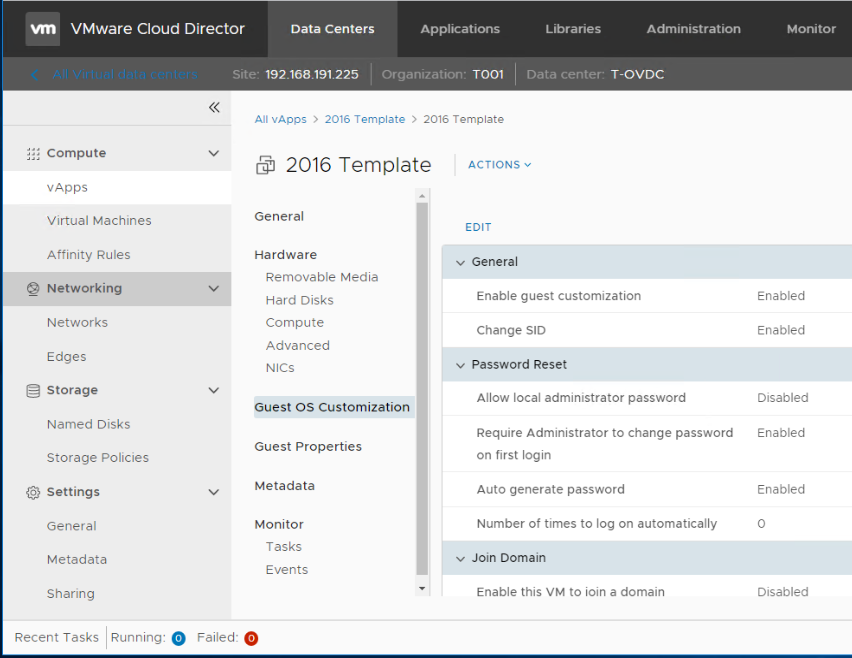
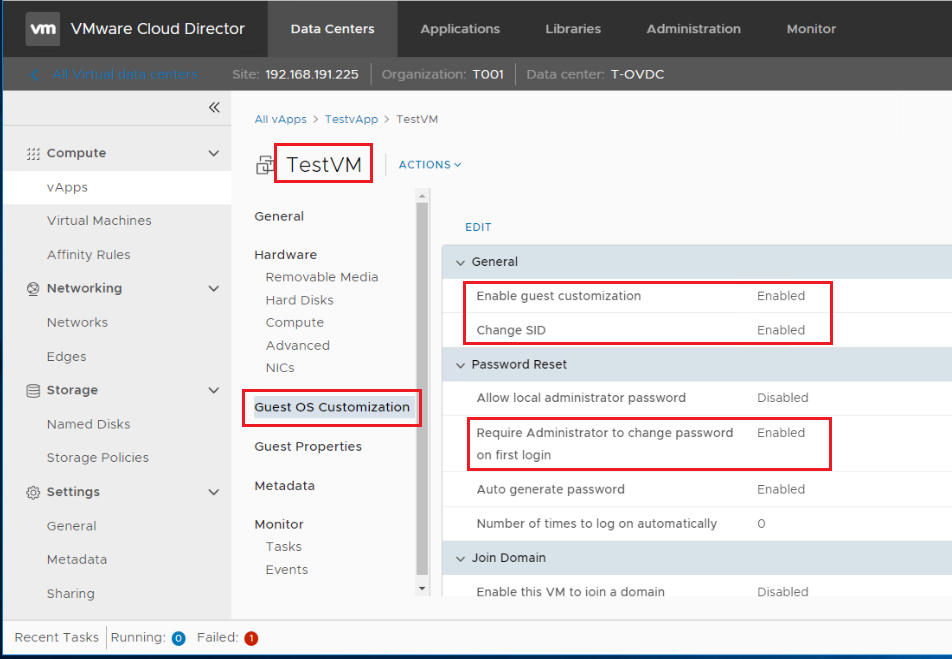
Navigate to Guest OS Customization and click Edit. Notice that it is not greyed out now.
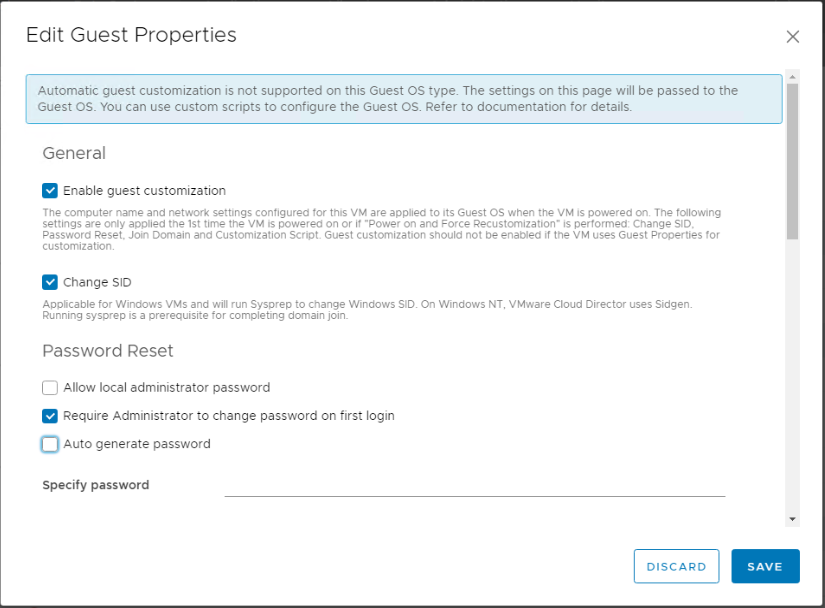
Apply whatever guest customization you need and click Save. In my case I am interested in the ability to change the windows SID whenever a VM will be deployed from this template.
Add Customized VM to Catalog
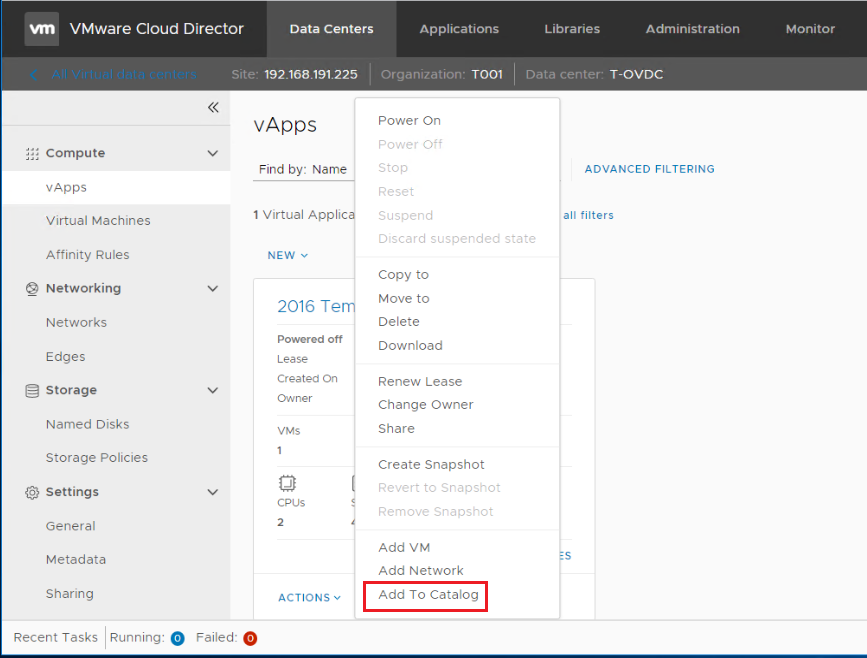
As we have modified the Guest OS settings as needed, navigate to your vApps, then select Actions > Add to Catalog under your vApp.
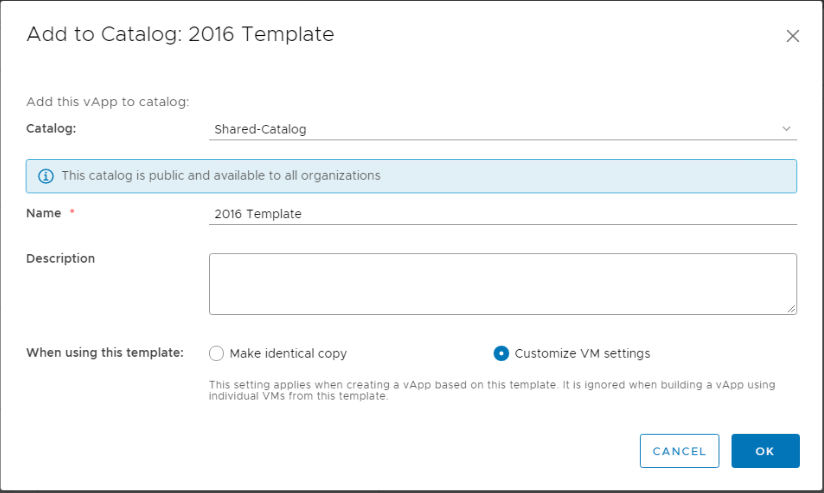
Select the shared catalog that the vApp template will be added to. Keep customize VM settings selected and click OK. The below table shows the difference between the two options:
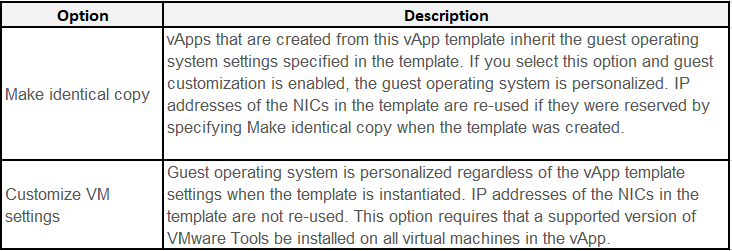
Note: The setting applies when you are creating a vApp based on the vApp template. It is ignored when you build a vApp by using individual virtual machines from this template.
Validation
Let’s create a vApp from the template in the catalog and check if the Guest OS customization is applied to the VM in that vApp.
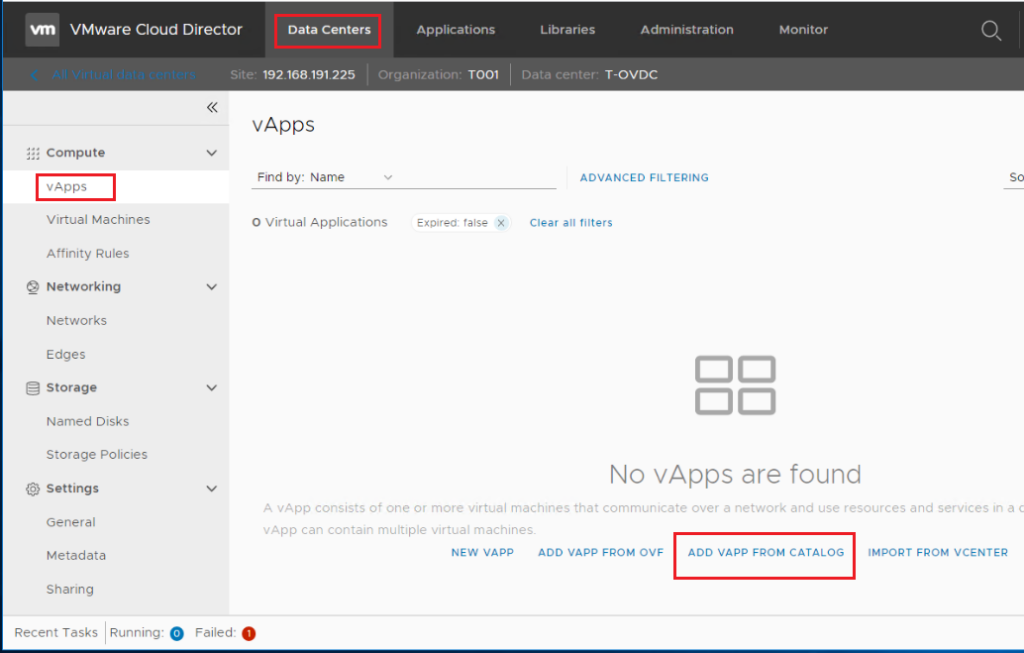
Navigate to Data Centers > Compute > vApps. Click on Add vApp From Catalog.
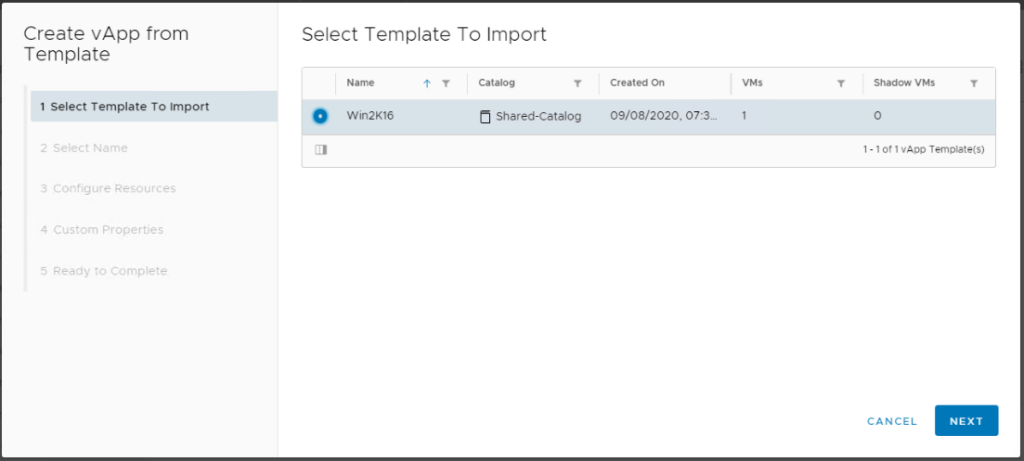
Select the template we added previously to the catalog and click Next.
Enter a name for the vApp and click Next.

Enter a name for the VM inside the vApp and click Next.
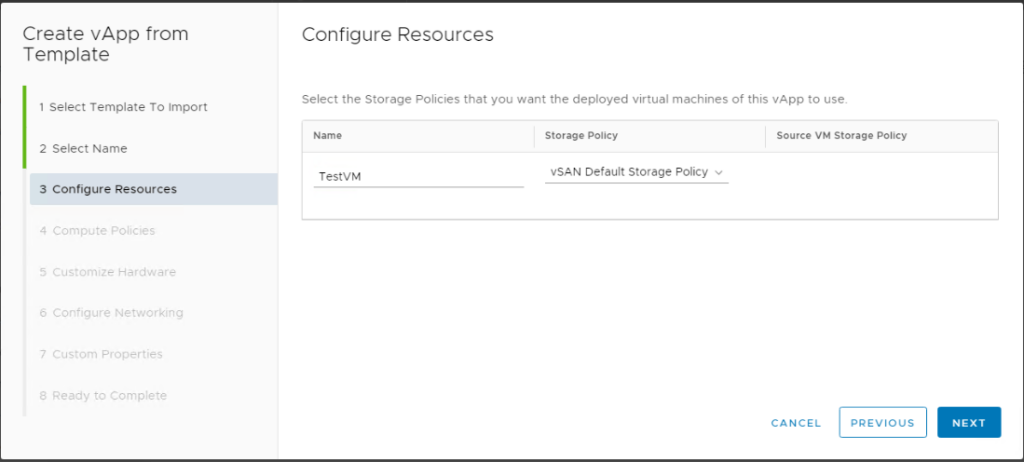
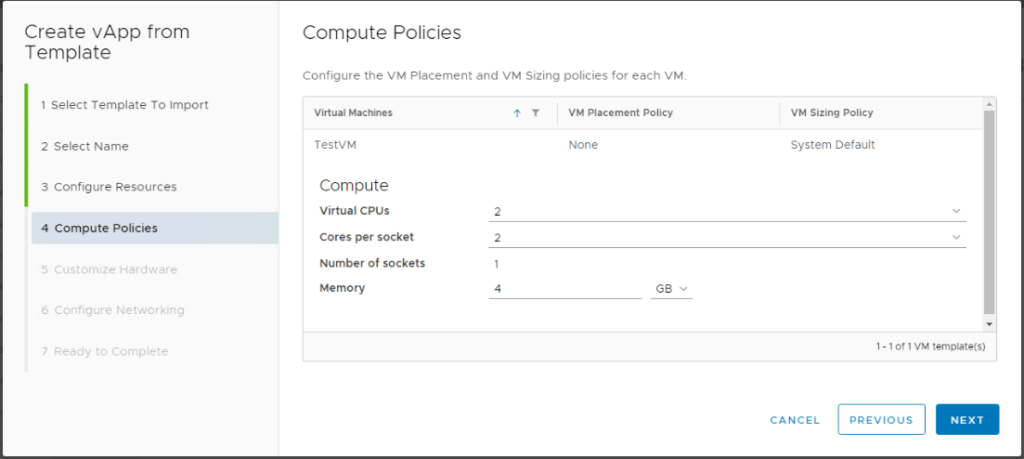
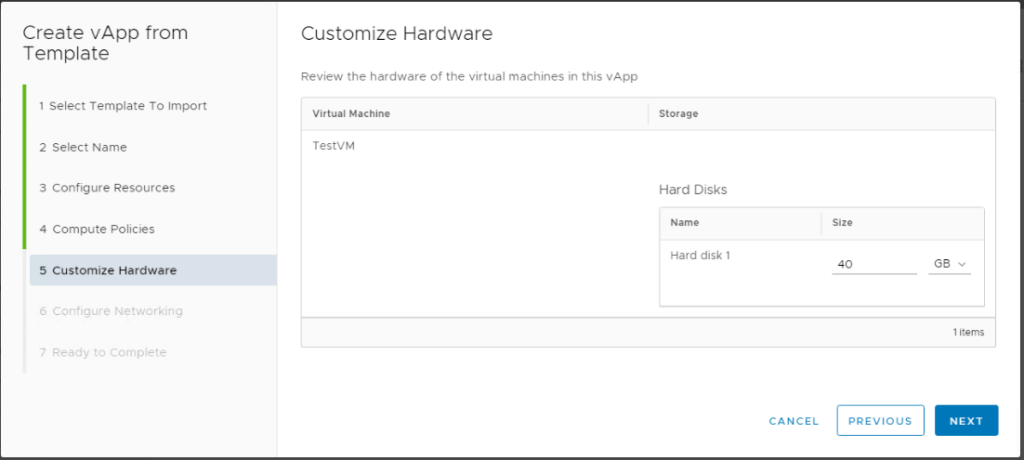
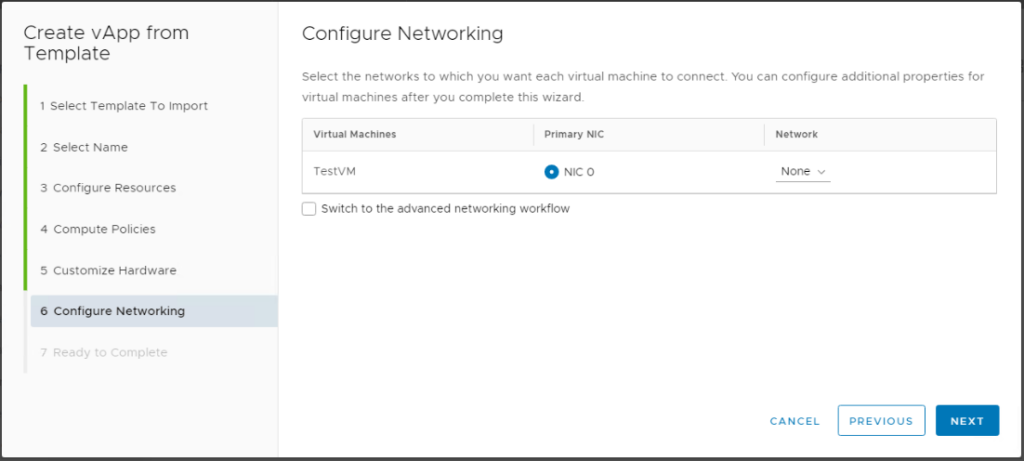
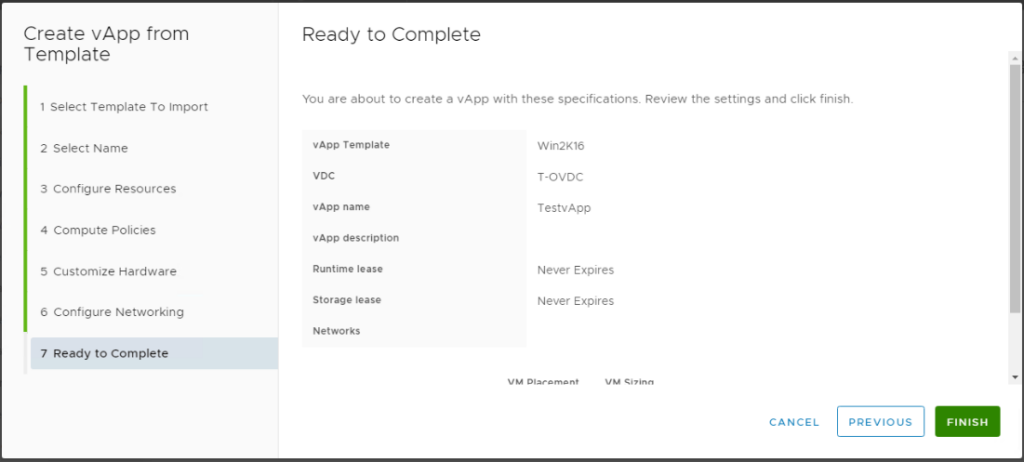
As this vApp is only for the sake of testing the guest OS customization settings, Leave default settings and proceed to finish.
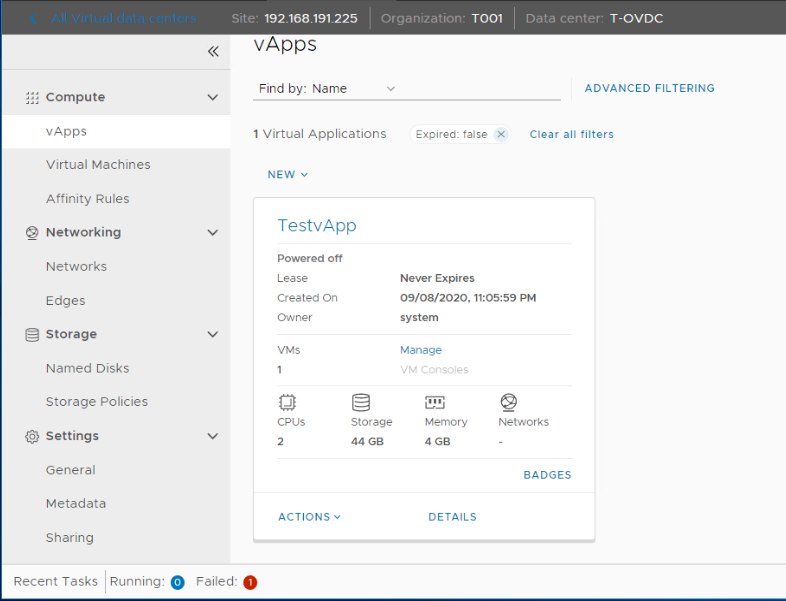
The vApp has been created successfully. Now we can check and make sure the Guest OS customization has been applied to the VM in the deployed vApp.
If you power on the VM, you will notice that you are prompted to change the administrator password in your first login as per the configured customization settings.

The guest OS customization will be applied to any future vApp deployed from the previously created template in the catalog.
Hope this post was informative,
Many thanks for reading

 (1 votes, average: 4.00 out of 5)

One thought
Comments are closed.