
As I received multiple requests about how-to steps needed for NSX-T manager cluster certificate replacement, I decided to write a 3-parts series to clarify and illustrate the complete step-by-step procedure from the very first task of configuring the CA server (I am using MS-based CA server here) to the last step where we will replace the certificates on the NSX-T manager cluster nodes and verify the results.
In part1 of this series, I will walk you through the configuration steps needed to prepare a Microsoft-based Certificate Authority server and create a certificate template with the required settings for VMware NSX-T 3.x.
Step1: Add Certificate Authority role to your MS Win Server
I have a Windows server 2016 running active directory and DNS roles in my lab. I will show you hereunder the procedure to add & configure certificate authority role on this server.
This CA server will be used later on to issue SSL certificates needed to replace the self-signed certificates on our NSX-T 3.1.1 manager cluster.
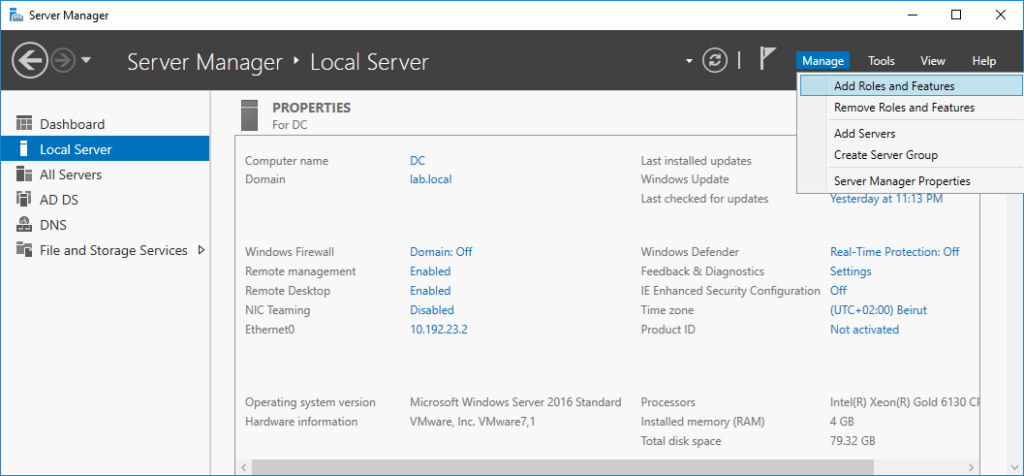
Open Server Manager and navigate to Manage > Add Role and features.
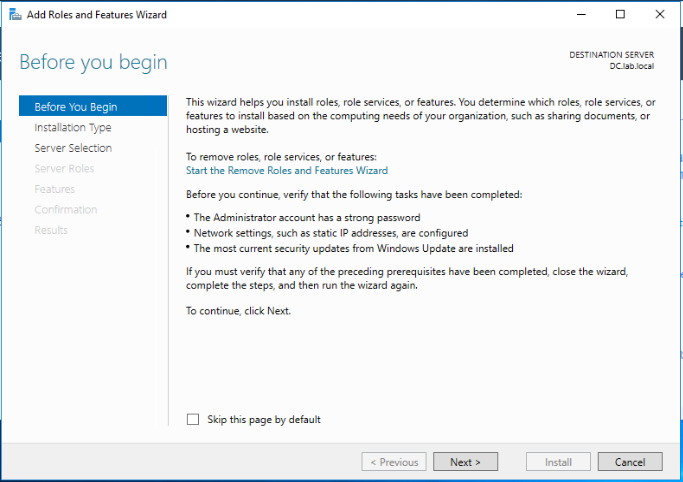
Click Next.
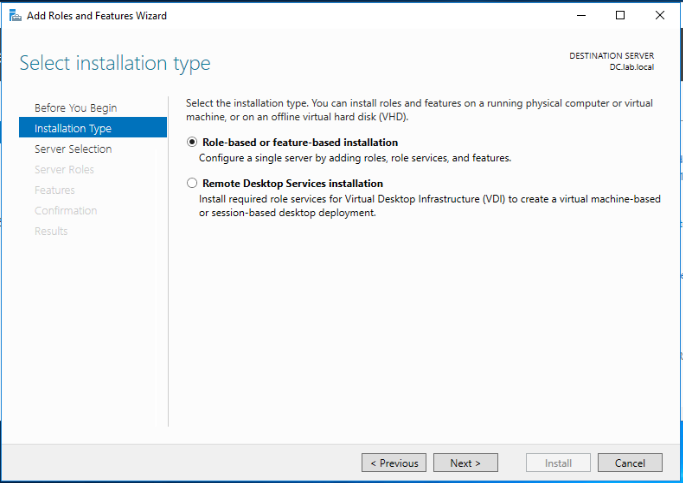
Select Role-based or feature-based installation and click Next.
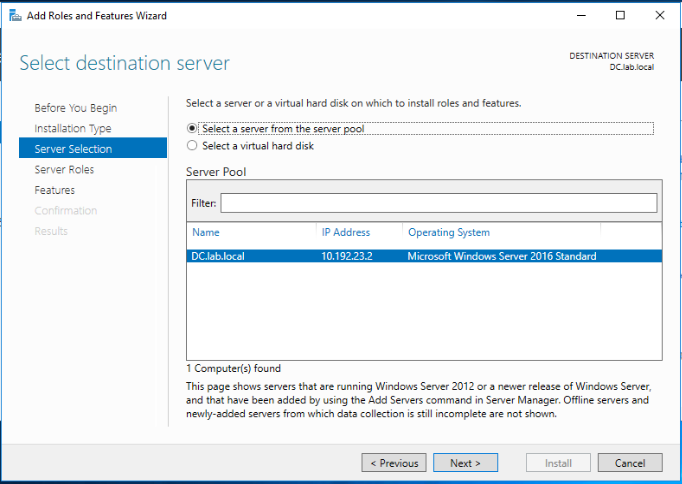
Select your server from the server pool and click Next.
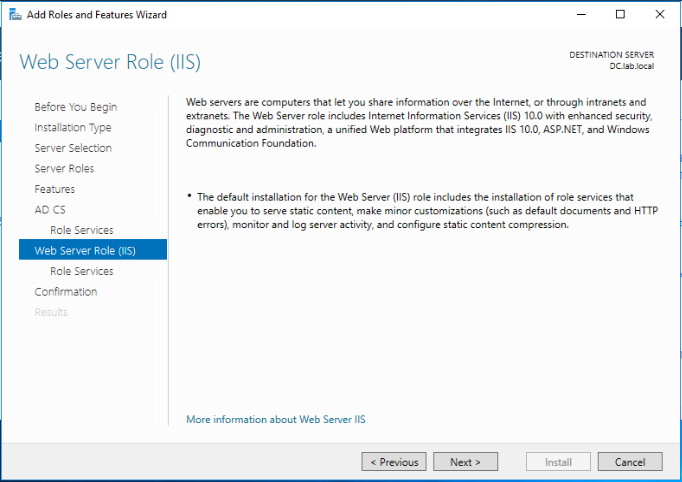
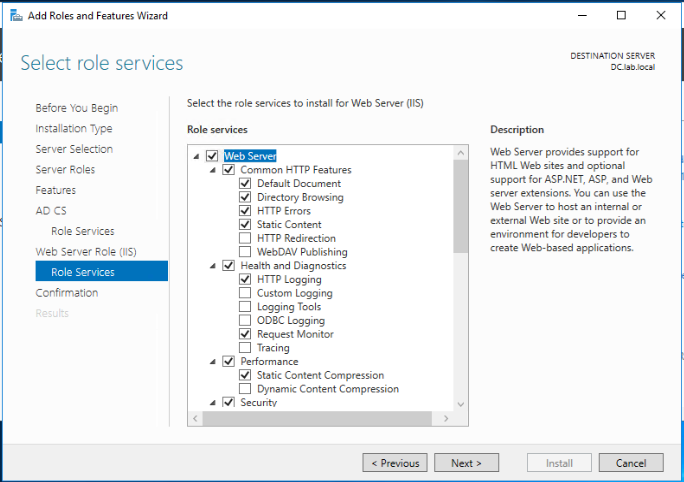
Select the Active Directory Certificate Services role. When prompted, Click on Add features to add the features required for Active Directory Certificate Services. Click Next.
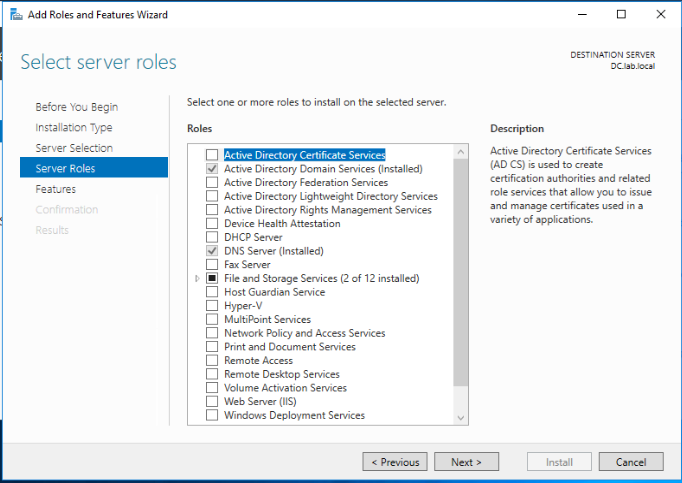
Leave defaults and click Next.
Select the below roles to be installed for Active Directory Certificate Services. Click Next.
- Certificate Authority
- Certificate Authority Web Enrollment
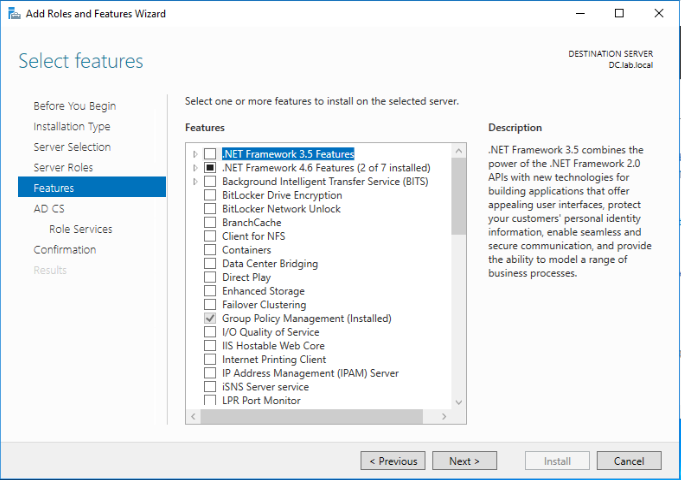
Leave defaults and click Next.
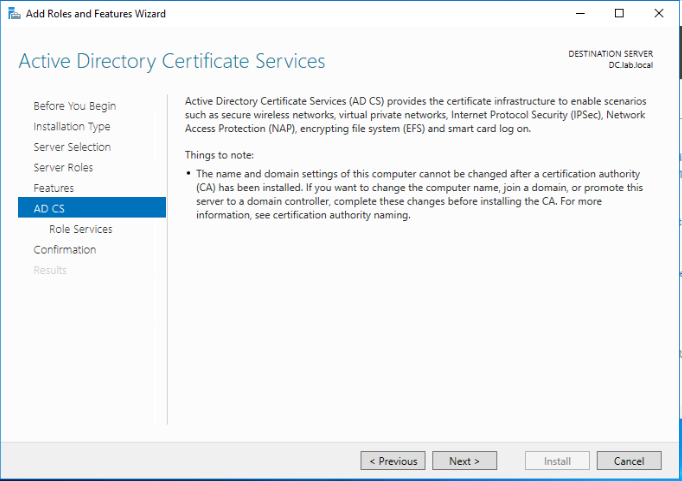
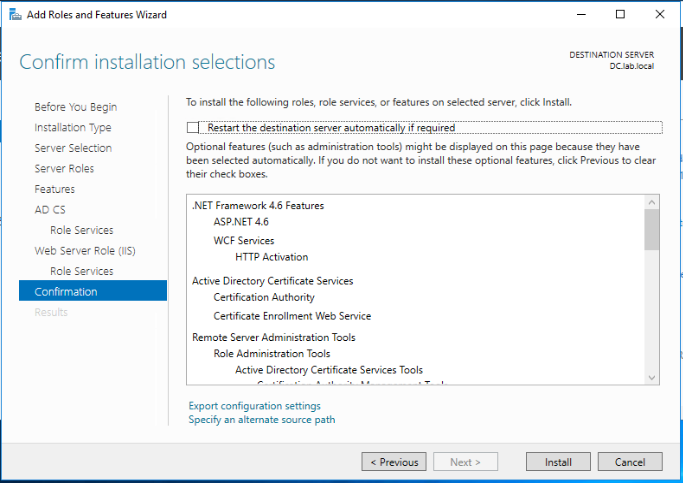
Review the selected roles and features and click Install.
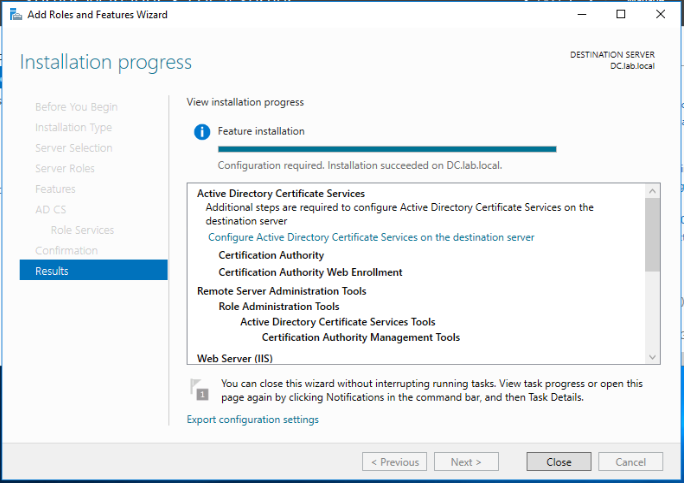
The installation of the CA role on our Windows 2016 server has been completed successfully.
Step2: Configure the Certificate Authority
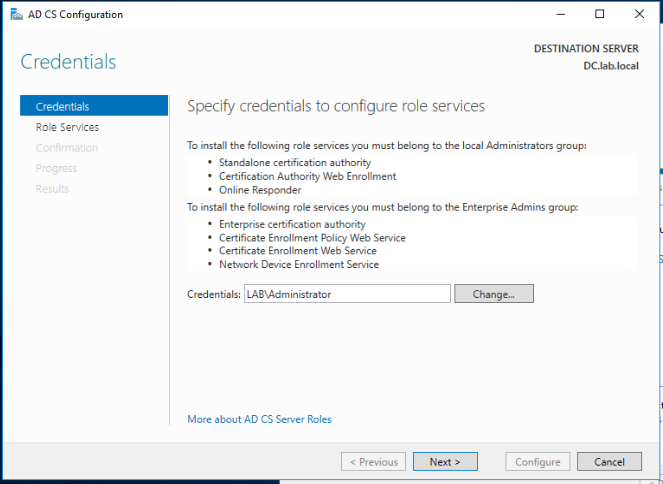
Following the last wizard, click on the Configure Active Directory Certificate Services on the destination server link.
Leave defaults and click Next.
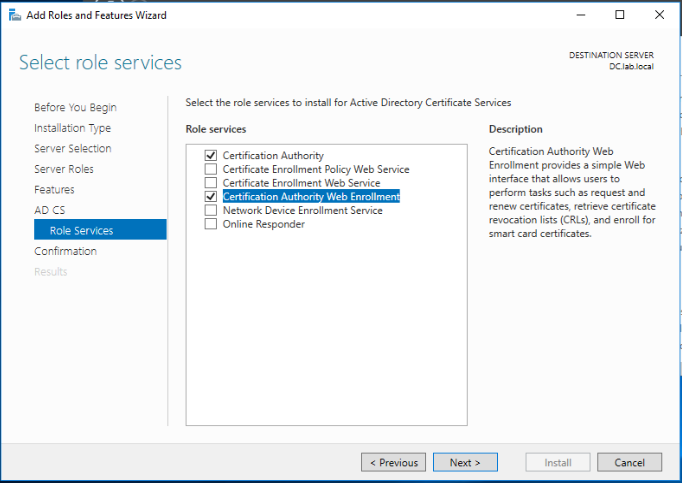
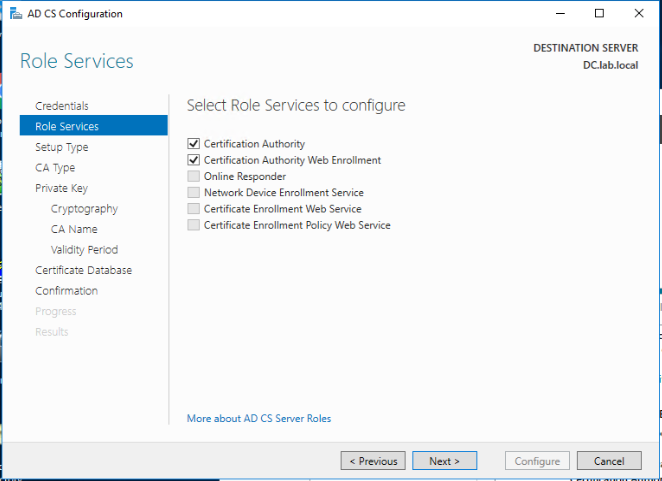
Make sure the Certificate Authority and Certificate Authority Web Enrollment role services are selected and click Next.
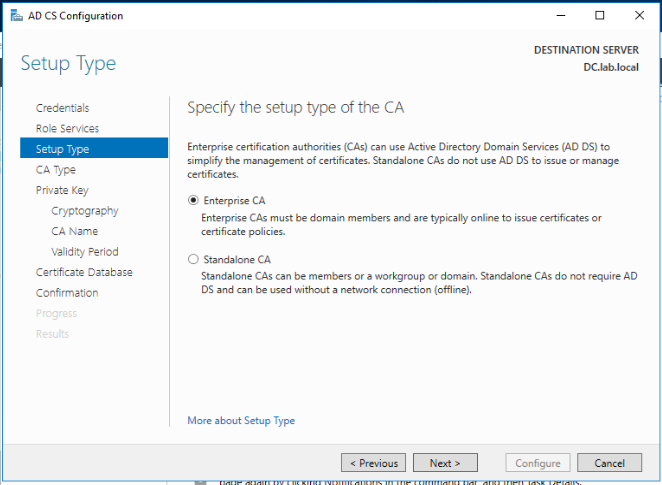
Select Enterprise CA as the type of this CA and click Next.
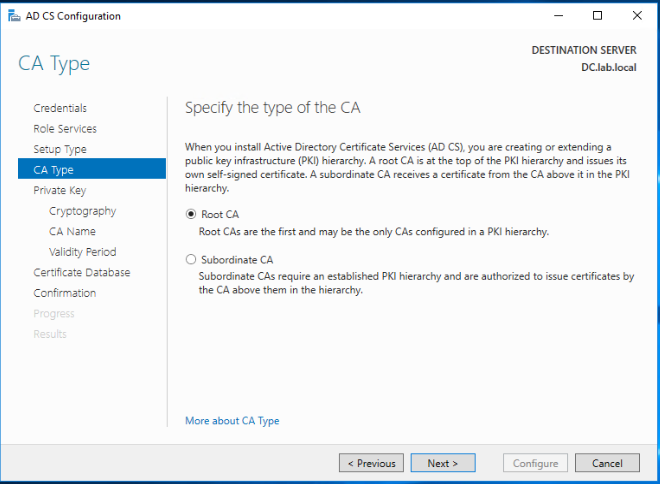
Select Root CA and click Next.
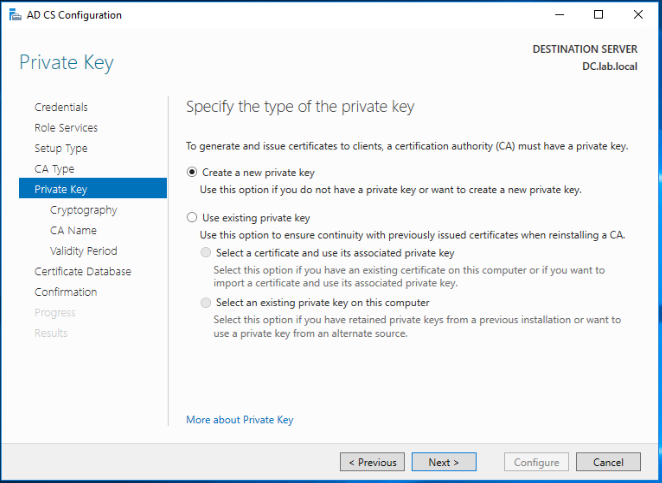
As this is a new CA server, select Create a new private key and click Next.
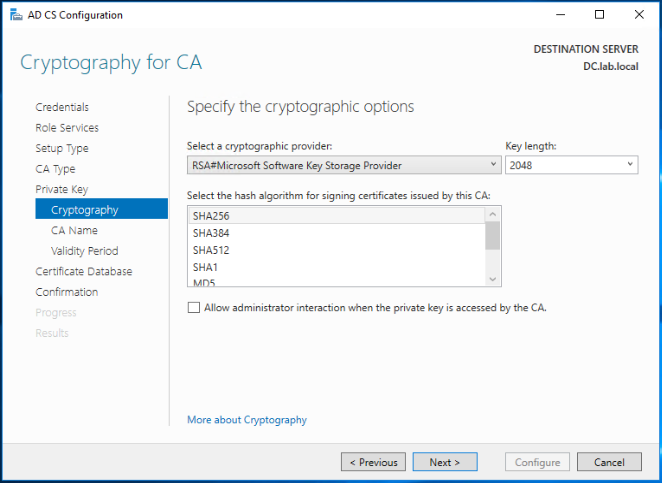
Leave the defaults and click Next.
Note: Don’t select SHA1 as the hashing algorithm as it is not supported with NSX-T 3.x. SHA256 works fine!
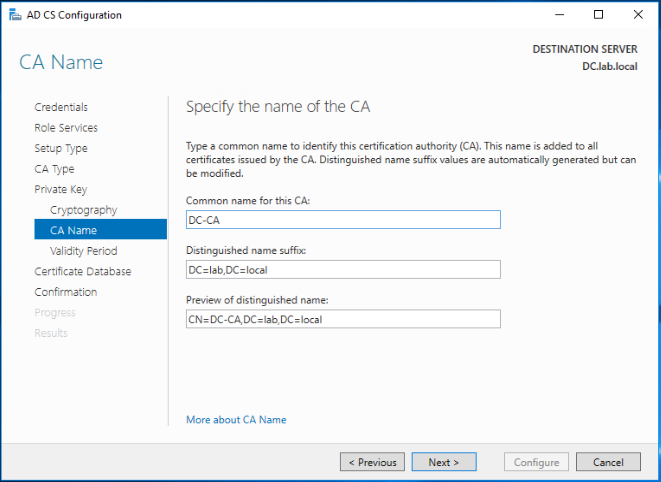
Change the common name for this CA (if needed) and click Next.
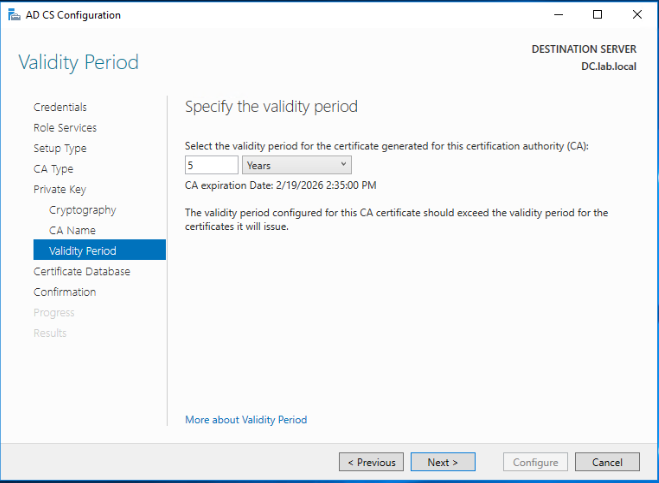
As per your security requirements, select the relevant validity period for this CA certificate. click Next.
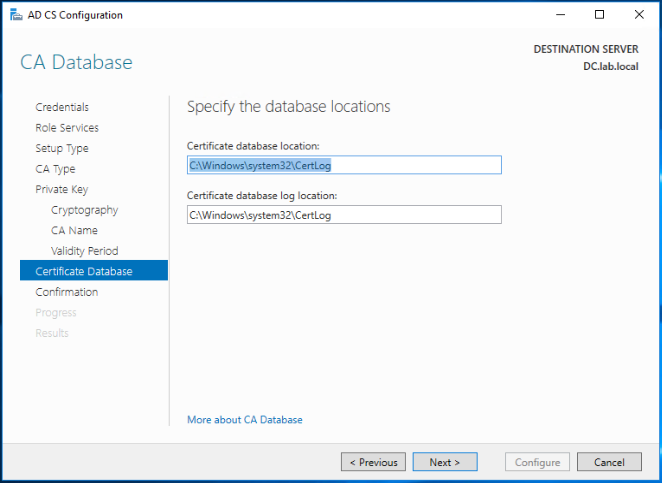
Leave the defaults for the database and logs locations for this CA and click Next.
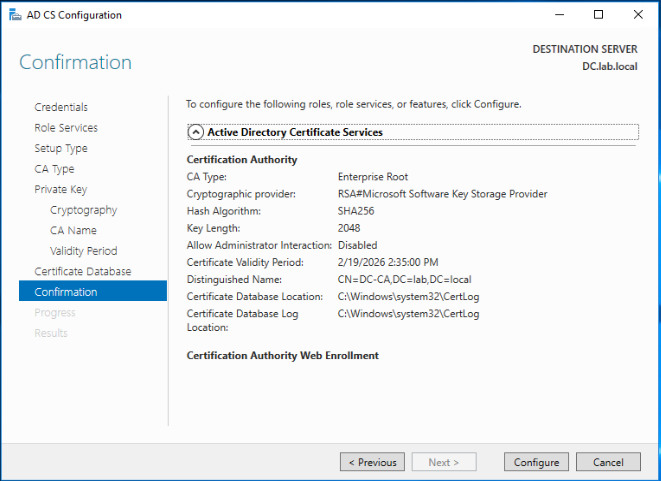
Click Configure to apply your settings.
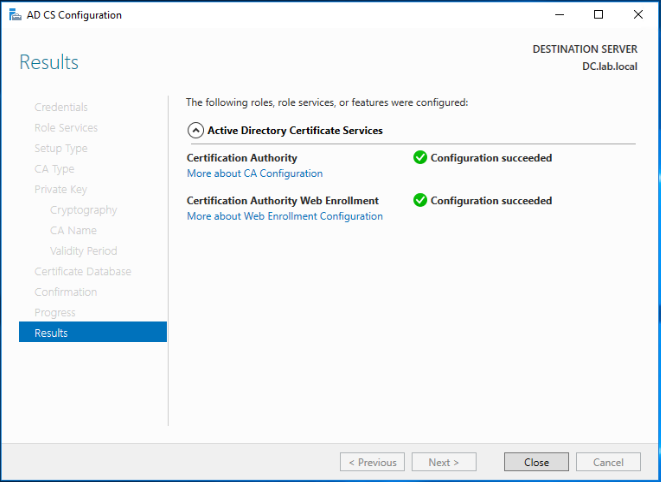
The CA roles has been configured successfully.
Step3: Configure CA template for NSX-T
Now the Certificate Authority has been installed and configured, we need to prepare the CA template that will be used later on to issue the NSX-T manager certificates from this CA sever.
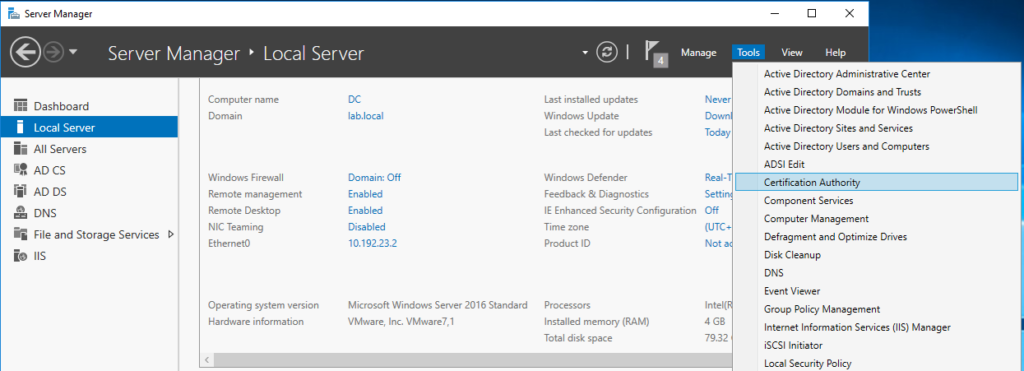
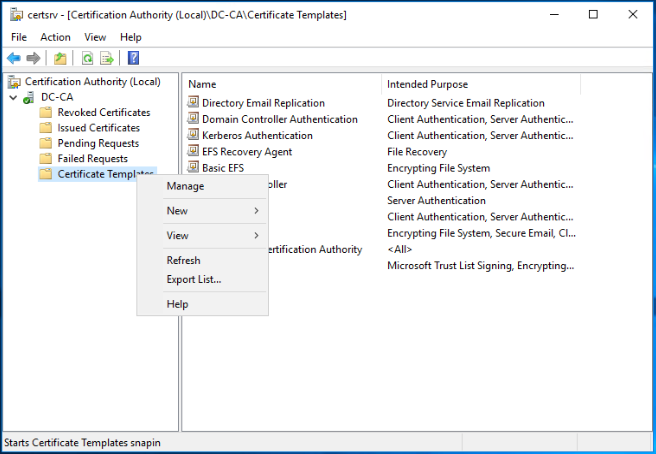
Open Server Manager and navigate to Tools > Certificate Authority.
Right click on Certificate Templates and click Manage.
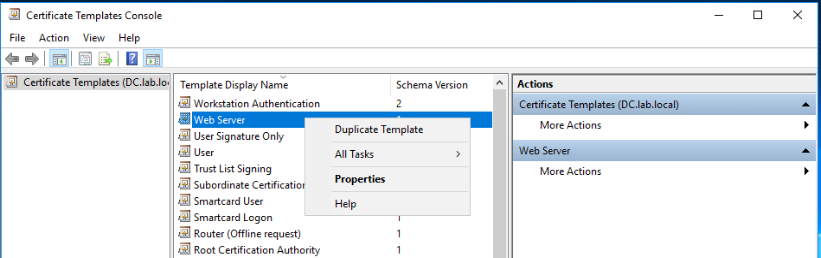
Right click on Web Server certificate template and click Duplicate Template.
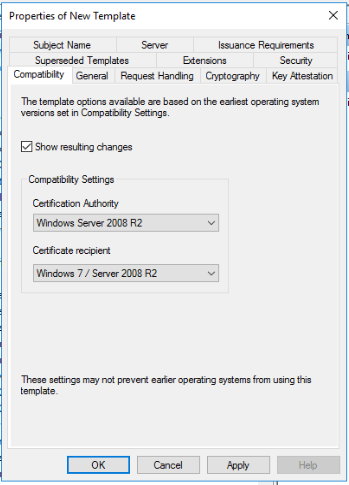
In the Compatibility tab, configure the below compatibility settings:
- Certificate Authority: Windows Server 2008 R2
- Certificate recipient: Windows 7 / Server 2008 R2
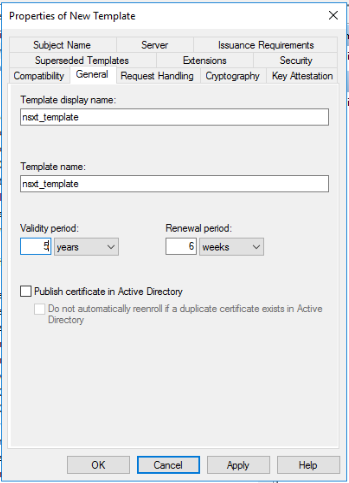
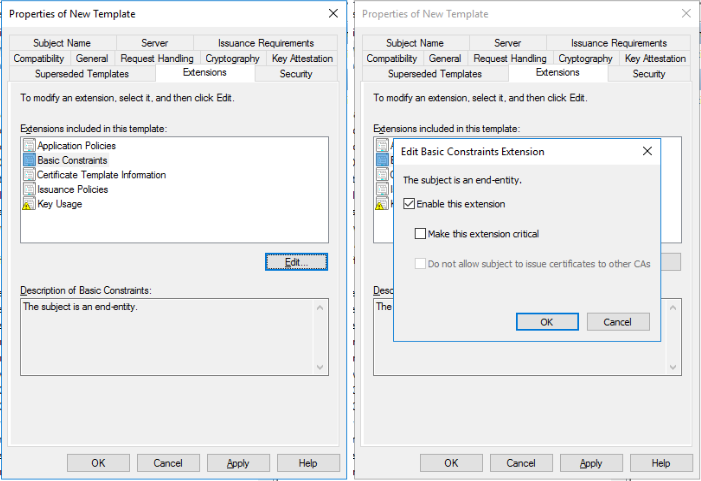
Go to the General tab, then change the template name and the validity period as per your needs.
Go to the Extensions tab, choose Basic constraints and click Edit. Make sure to tick the Enable this extension checkbox and click OK.
Click Apply when you are done.
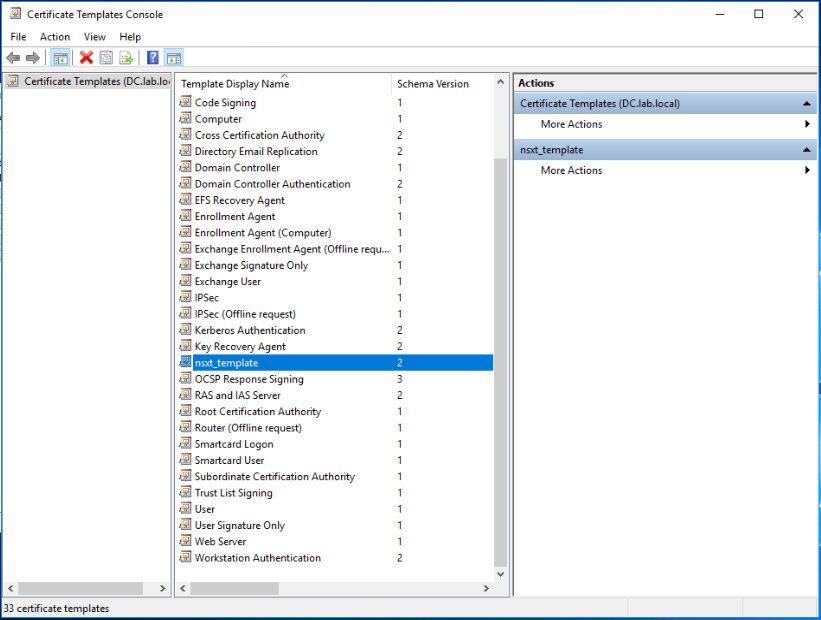
The NSX-T certificate template has been created successfully.
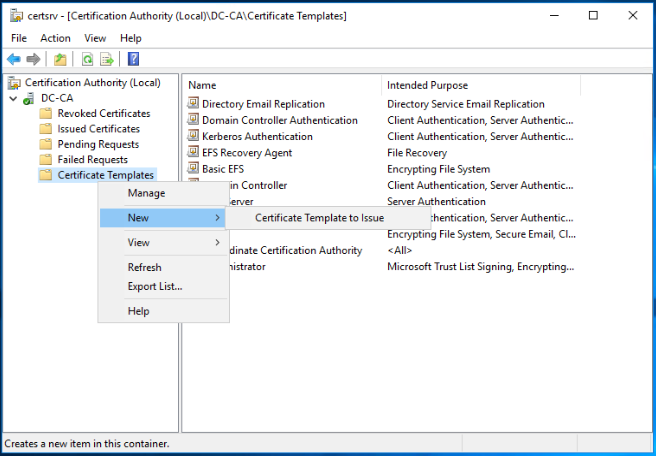
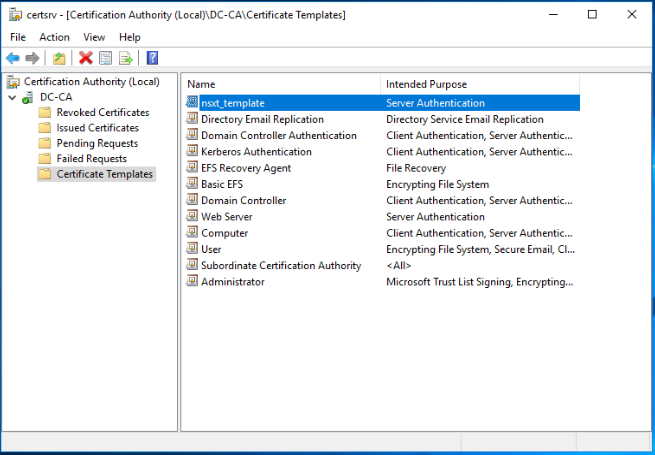
The last step needed is to make the new template available for certificate request and issue. To do so, close the previous window and go back to the Certificate Authority interface, right click on Certificate Templates and navigate to New > Certificate Template to Issue.
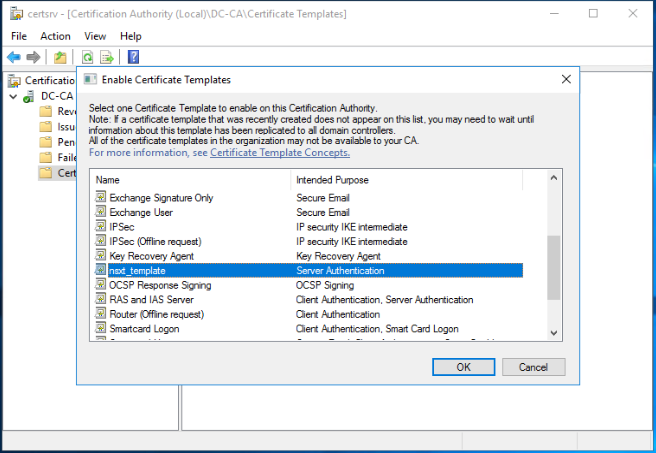
To enable the NSX-T template you already created on this CA server, select the template and click on OK.
We are done!!
The NSX-T certificate template appears now under the list of Certificate Templates.
In part2 of this series, I will walk you through the steps needed to prepare the CSR request files for the NSX-T managers and to issue the corresponding certificates from the CA server we prepared in this post. Stay tuned !!
I hope this post was informative.
Many thanks for reading.
 (1 votes, average: 5.00 out of 5)
3 thoughts
Comments are closed.