Introduction
As NSX is driving the evolution of the next generation networking era, learning NSX is a must in my humble opinion. VMware does not consider NSX as a product anymore, rather it is a platform with a rich set of integrated products building the vision of the virtual cloud network.
NSX consists of multiple components which can be categorized under different planes (management, control, and data plane).
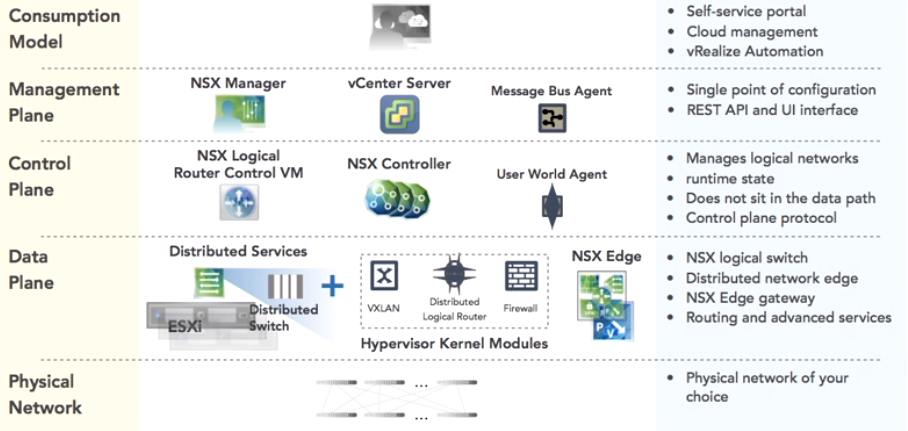
Our aim in this post is to focus on the management plane and especially on the installation and configuration of the NSX manager as this is the very first task you have to complete before proceeding with all other components installation.
Pre-requisites
Prior to installation, please make sure the below requirements are met:
- NSX manager 6.4.1 resource requirements: 16GB RAM, 4 vCPU, and 60GB disks space.
- vCenter 6.0 U2 and ESXi 6.0 U2 are the minimal versions supported by NSX manager 6.4.1.
- NTP server should be available for time synchronization between components.
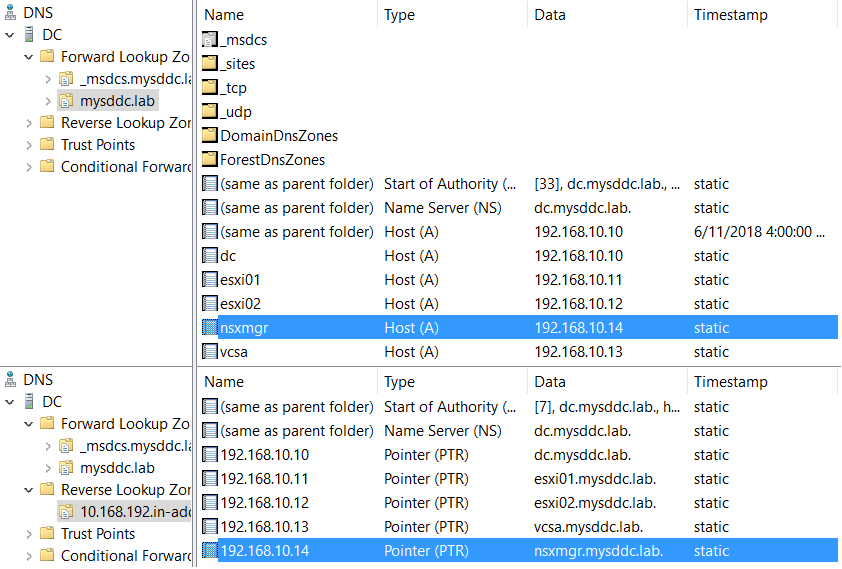
- Make sure forward and reverse DNS records are created prior to the installation.
Installation of NSX Manager 6.4.1
NSX manager is offered by VMware as an OVA package which can be easily imported into your vSphere environment. The following procedure should be followed to perform this installation:
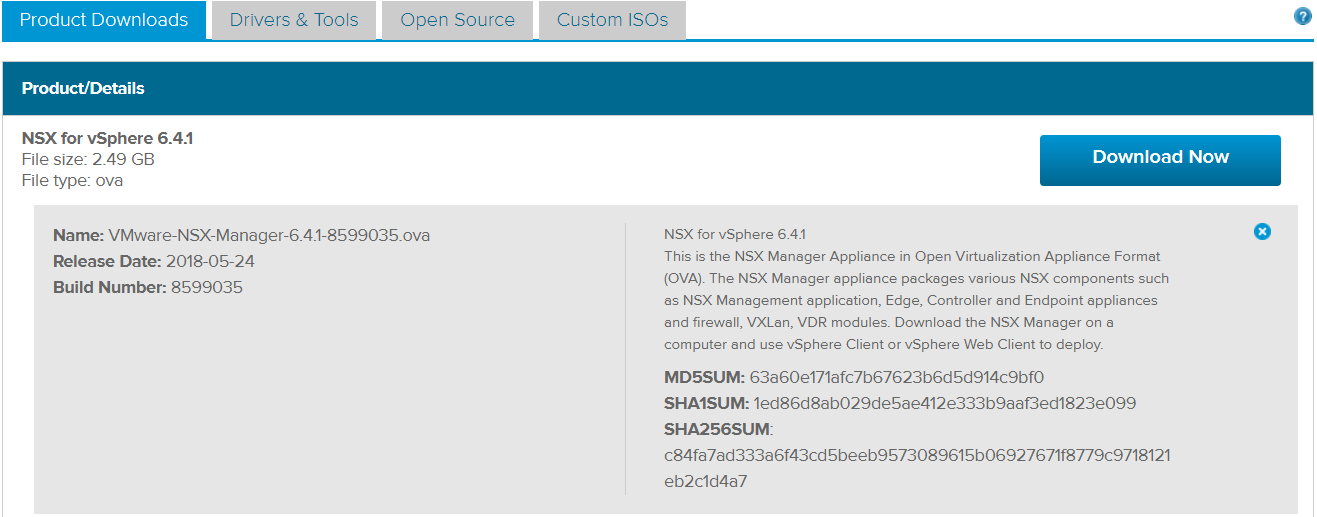
Download NSX manager OVA file from VMware downloads site.
https://my.vmware.com/web/vmware/details?downloadGroup=NSXV_641&productId=417&rPId=24263
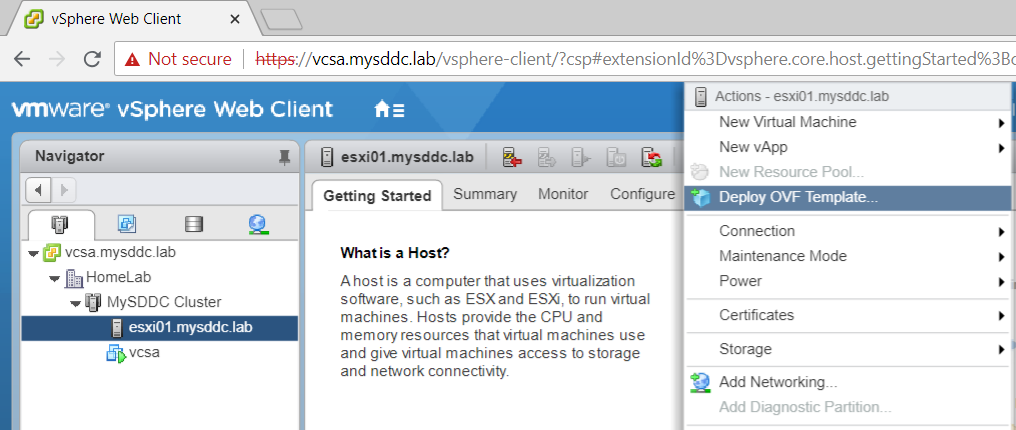
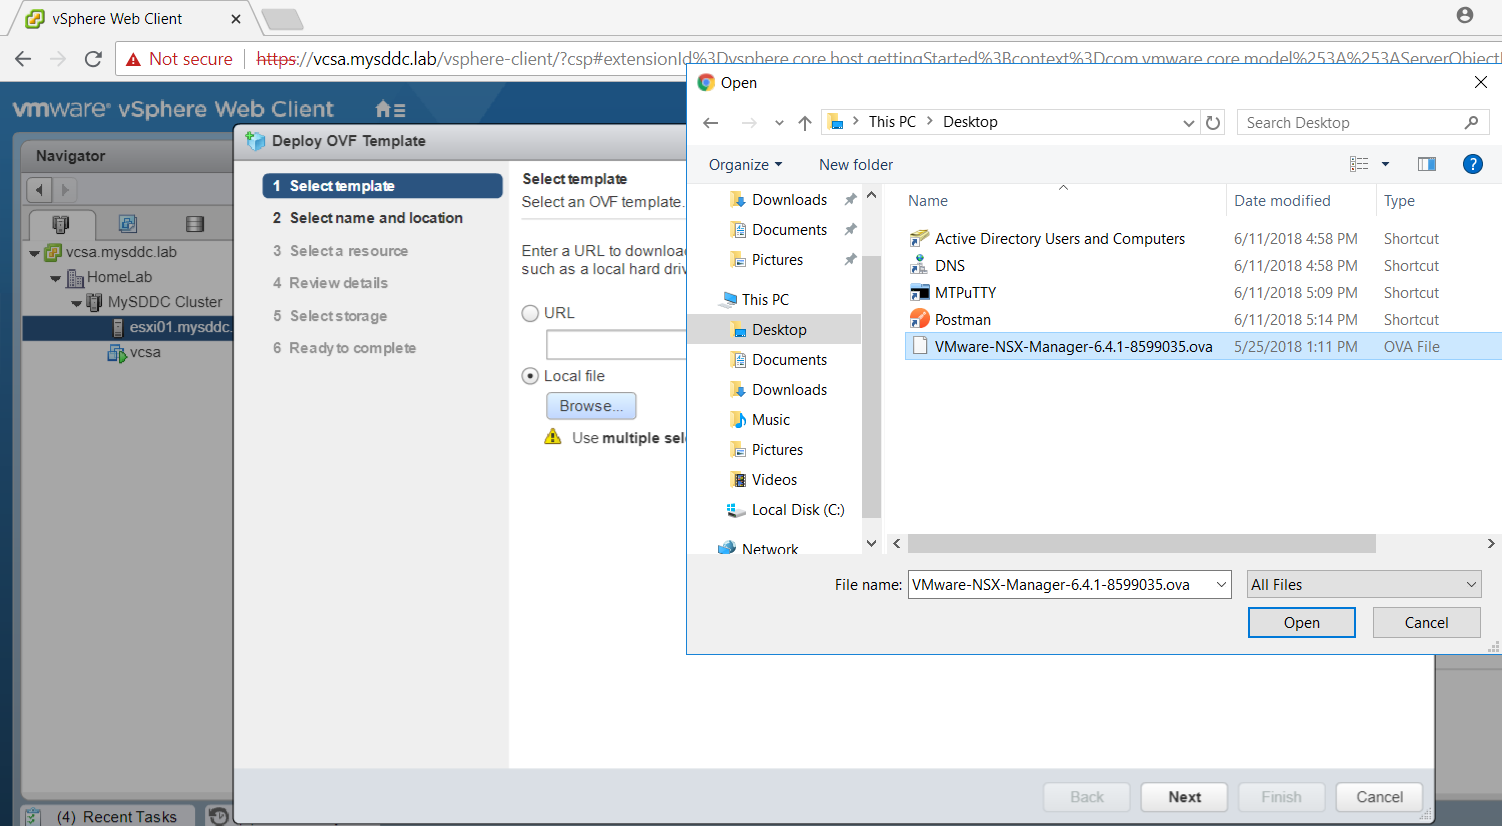
Connect to the VMware vSphere Web Client. Select the vCenter Server on which to deploy the appliance. Select Actions and select Deploy OVF template.
In the Select source dialog box, Choose Local File, click Browse and select the OVA file. Click Next.
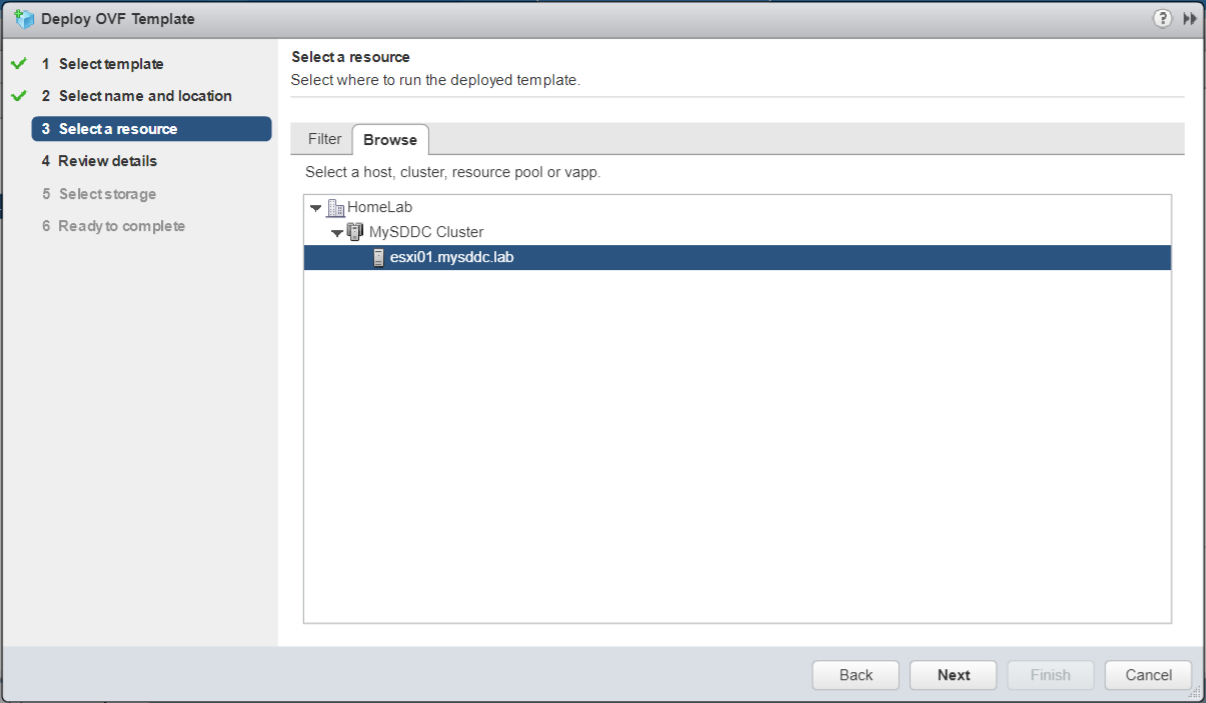
Enter a name for the OVF and select a deployment location.

Select the cluster or host in which you want to deploy your OVF.
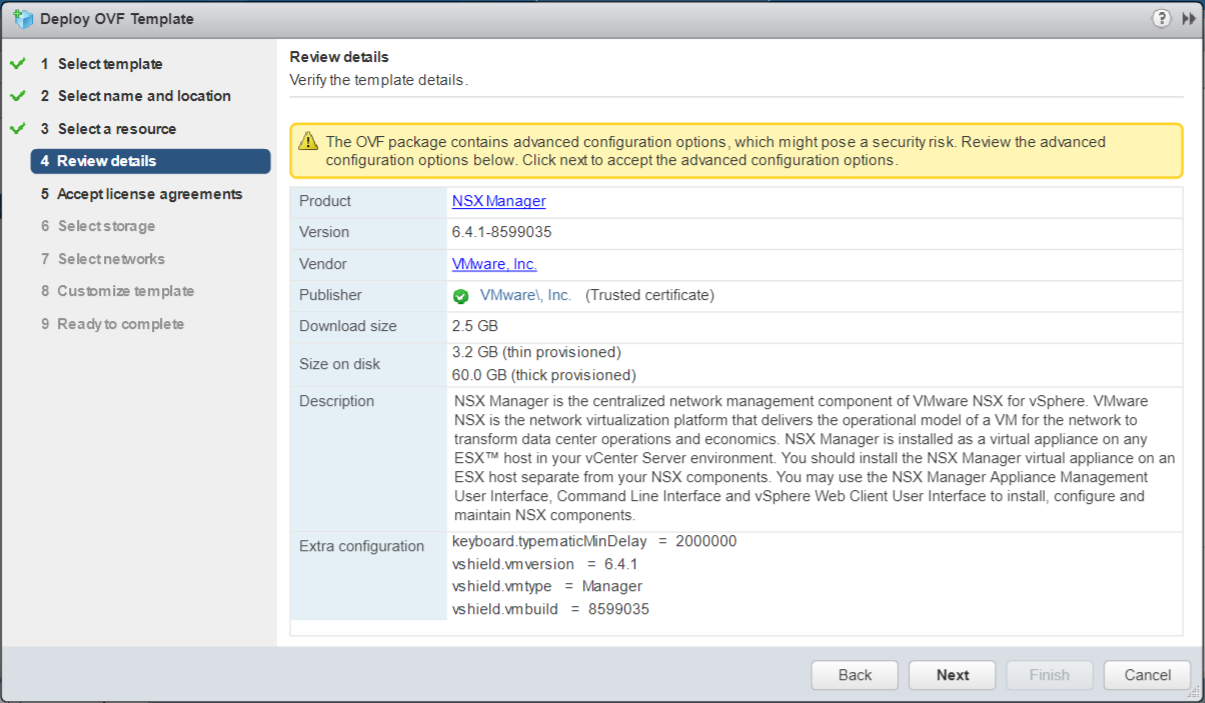
In the Review details dialog box, verify the template details and click Next.
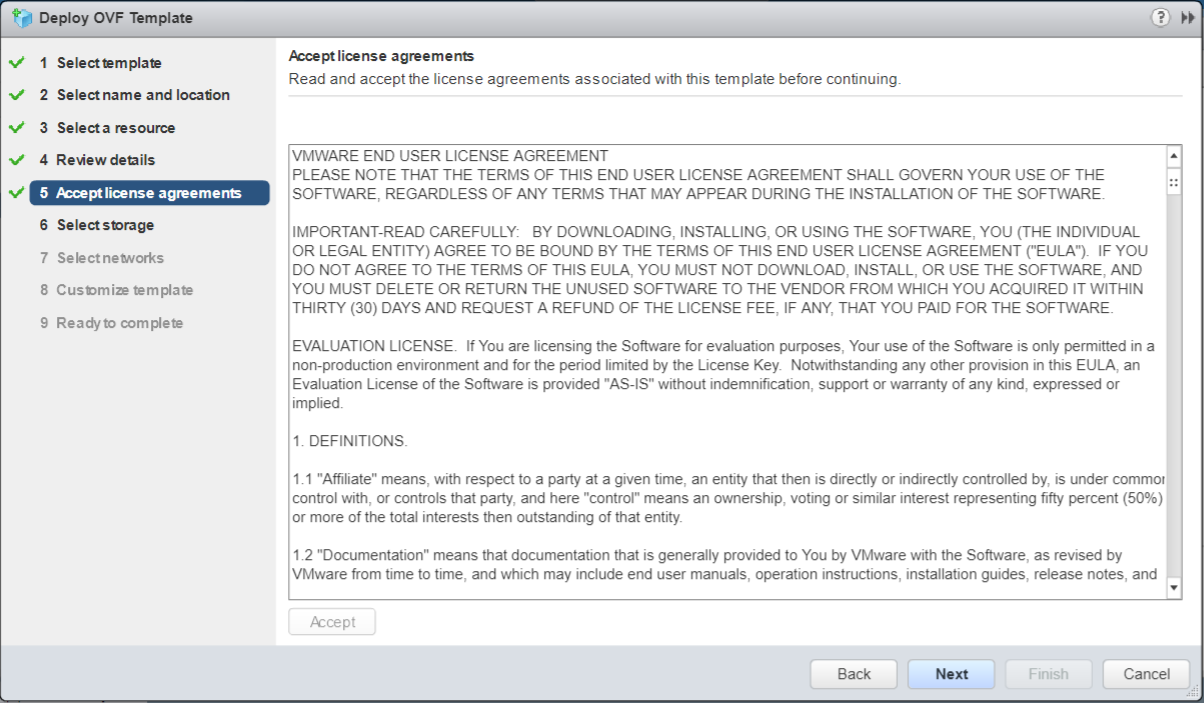
Accept the license agreement and click Next.
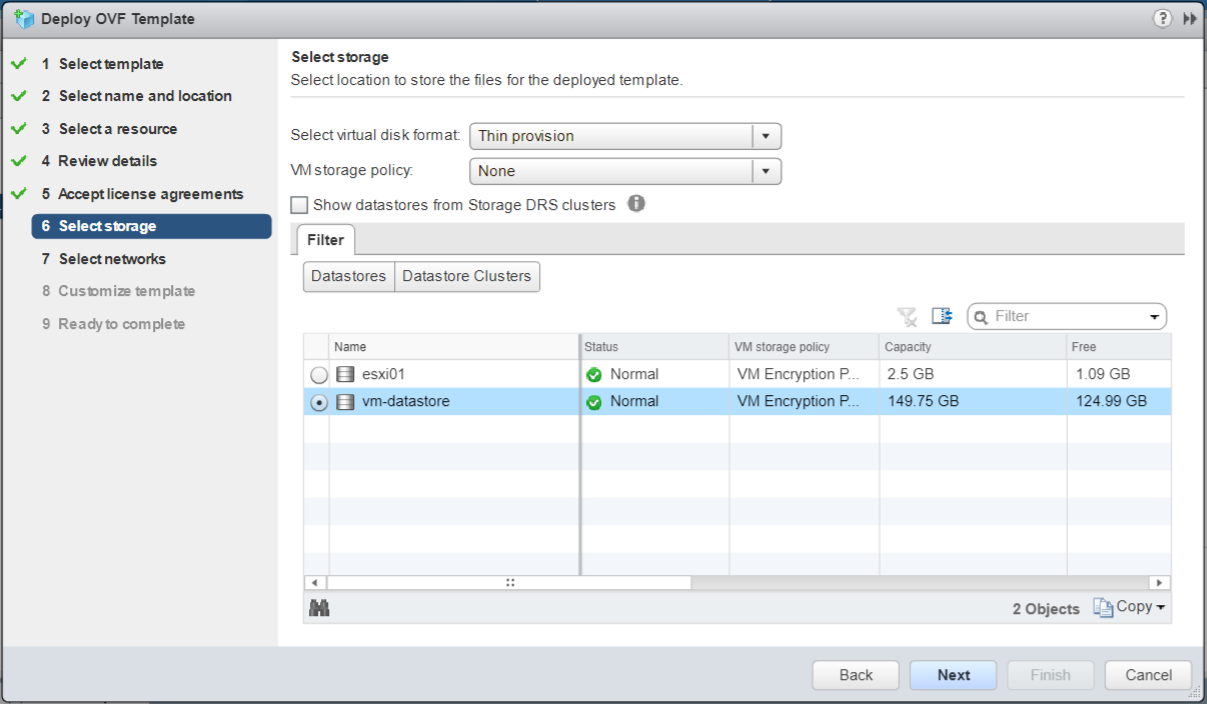
In the Select storage dialog box, select the destination datastore for the appliance and click Next. Select a VM Storage Policy if necessary.
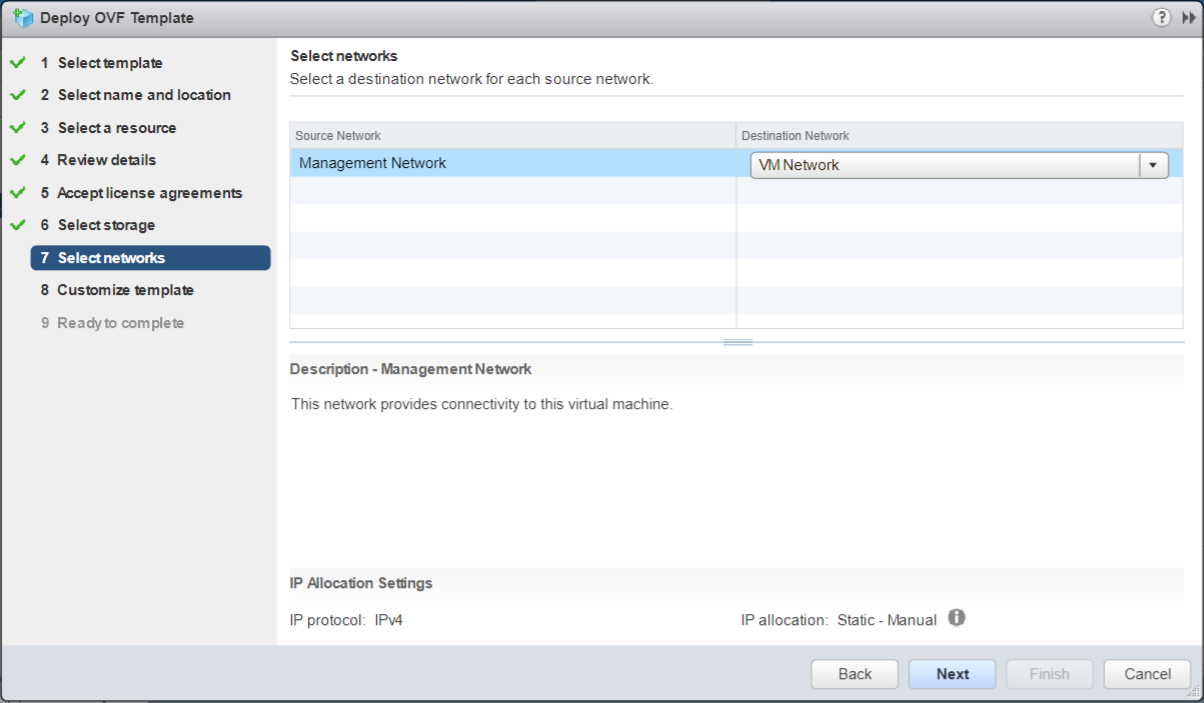
In the Setup networks dialog box, select the port group for the appliance and click Next.
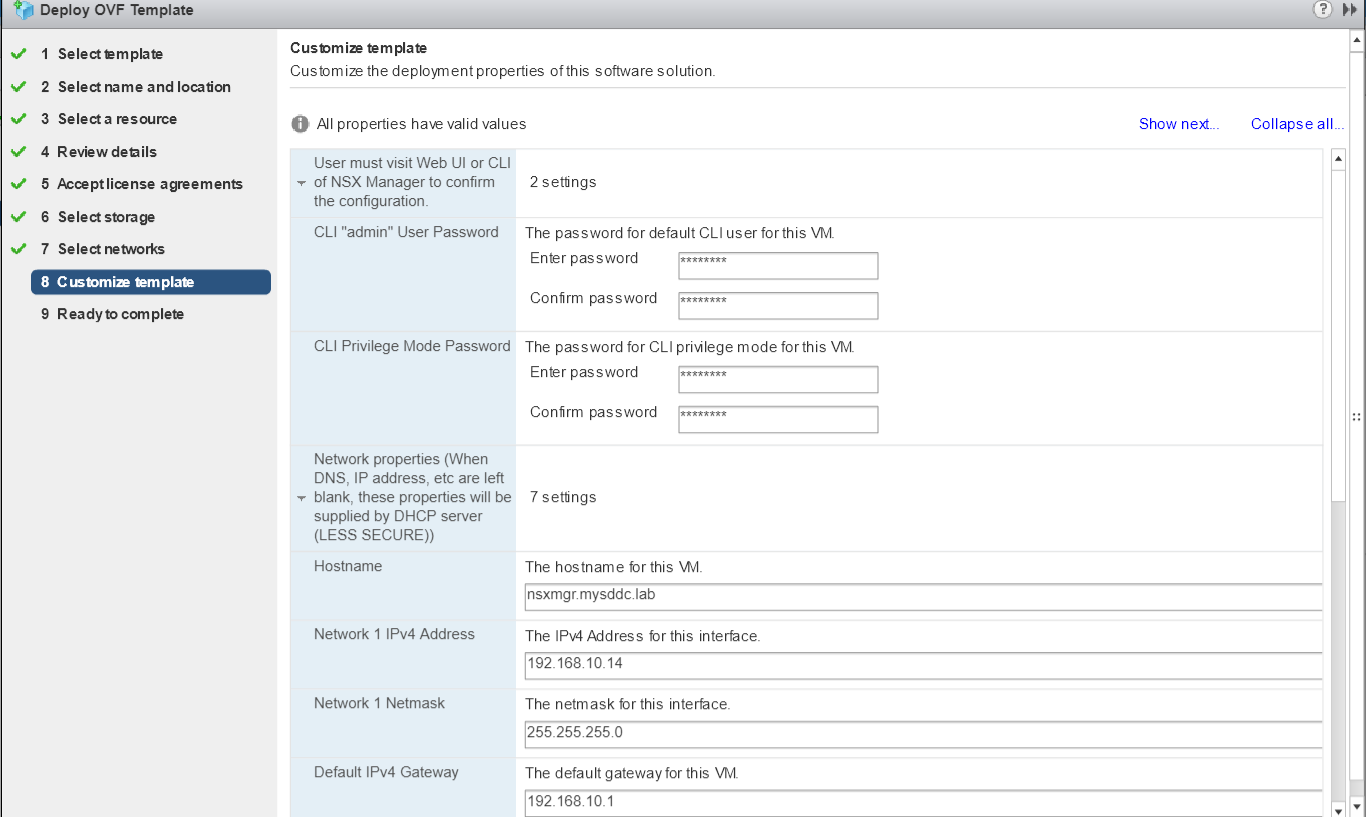
In the Customize template dialog box:
- Enter the CLI administrator user and privilege passwords.
- Enter the Network properties.
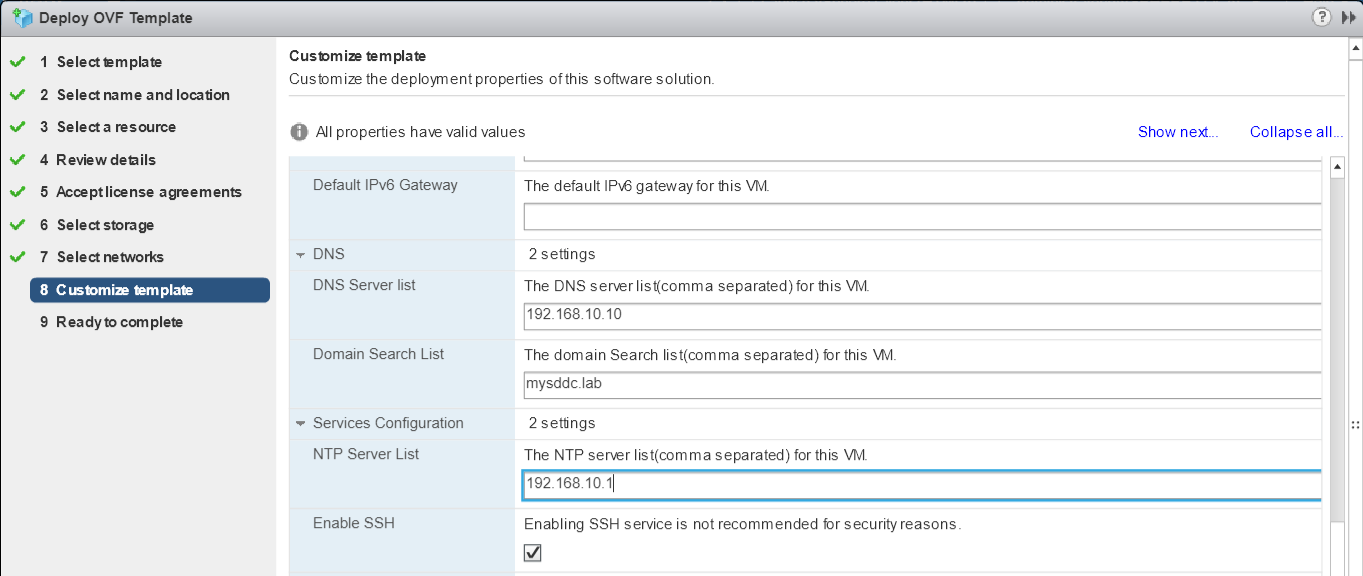
- Enter the DNS servers.
- Enter the Services Configuration.
Click Next.
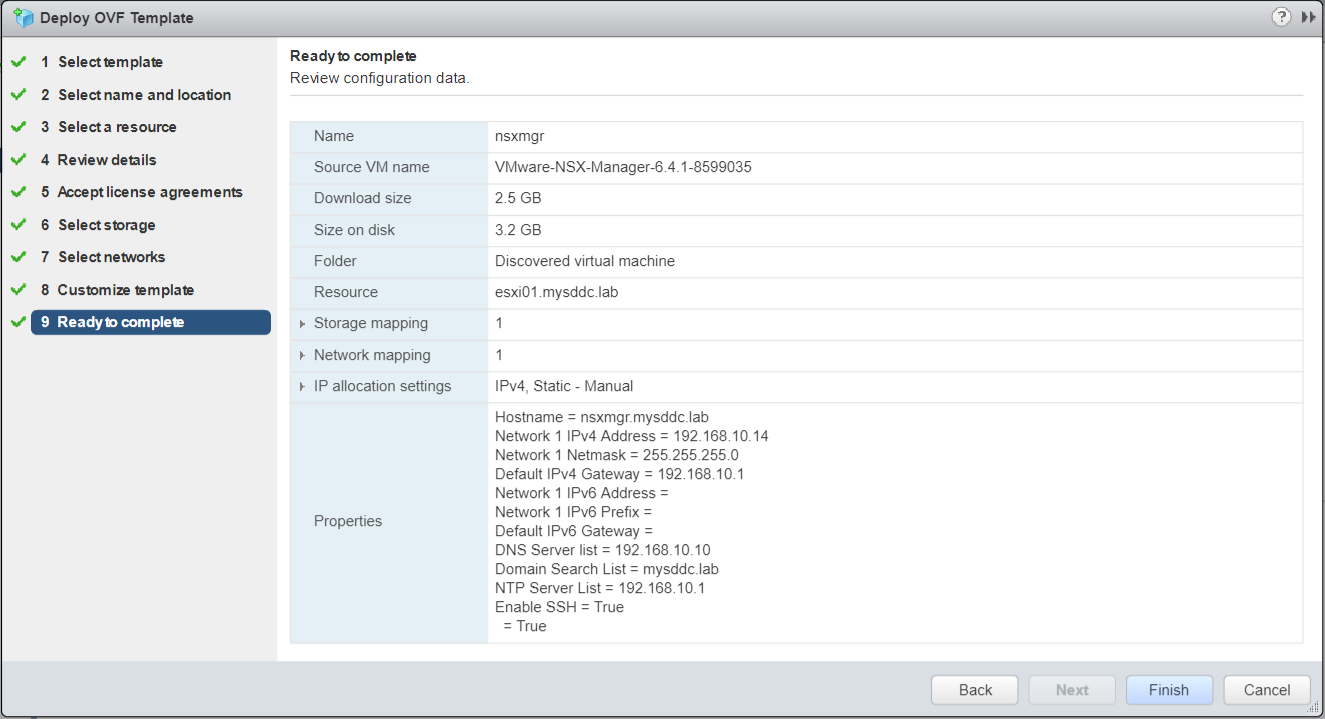
In the Ready to complete dialog box, review the configuration and click Finish.
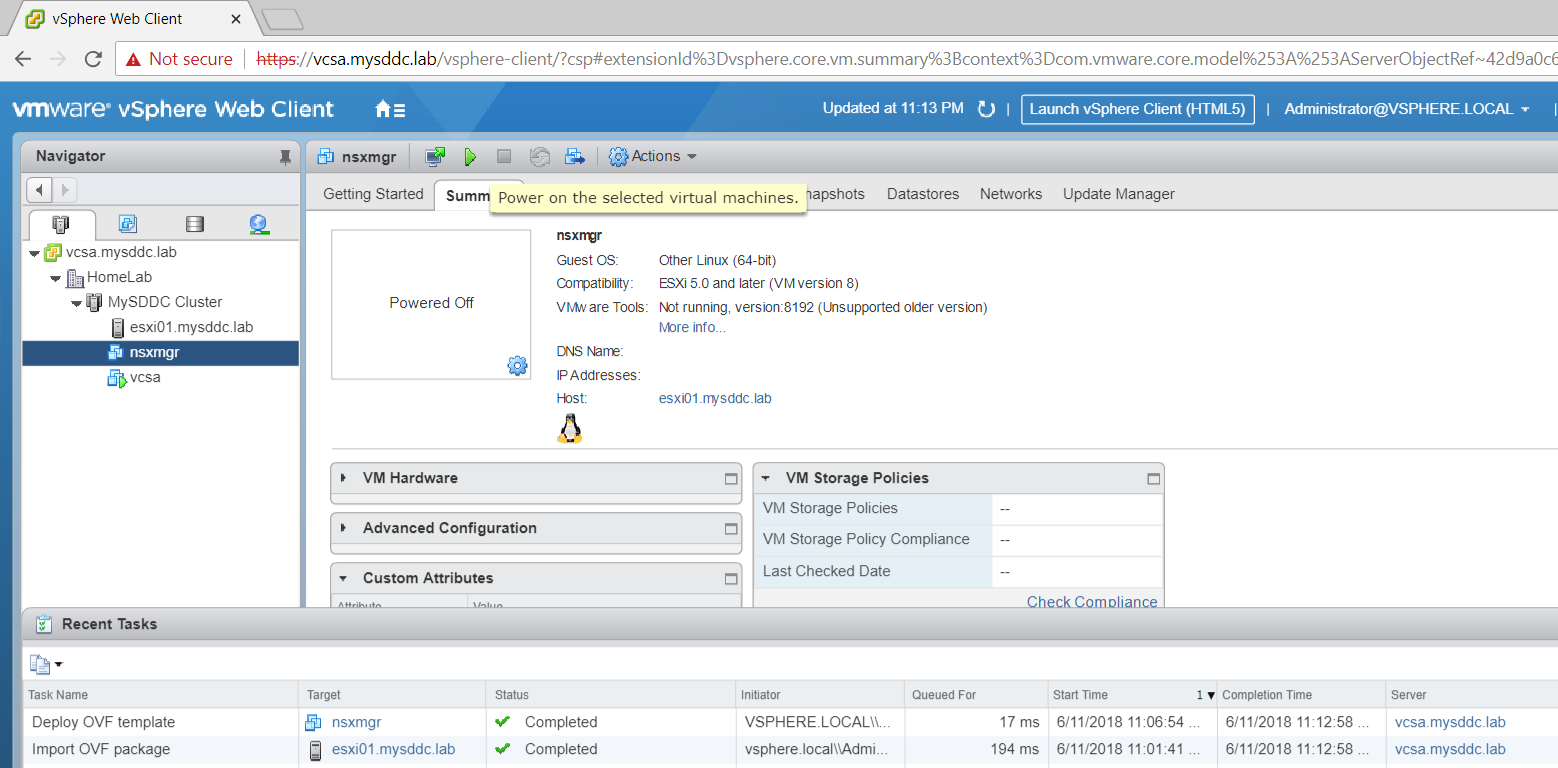
After the deployment of the OVF template completes successfully, power on your NSX manager VM.
Configuration of NSX Manager 6.4.1
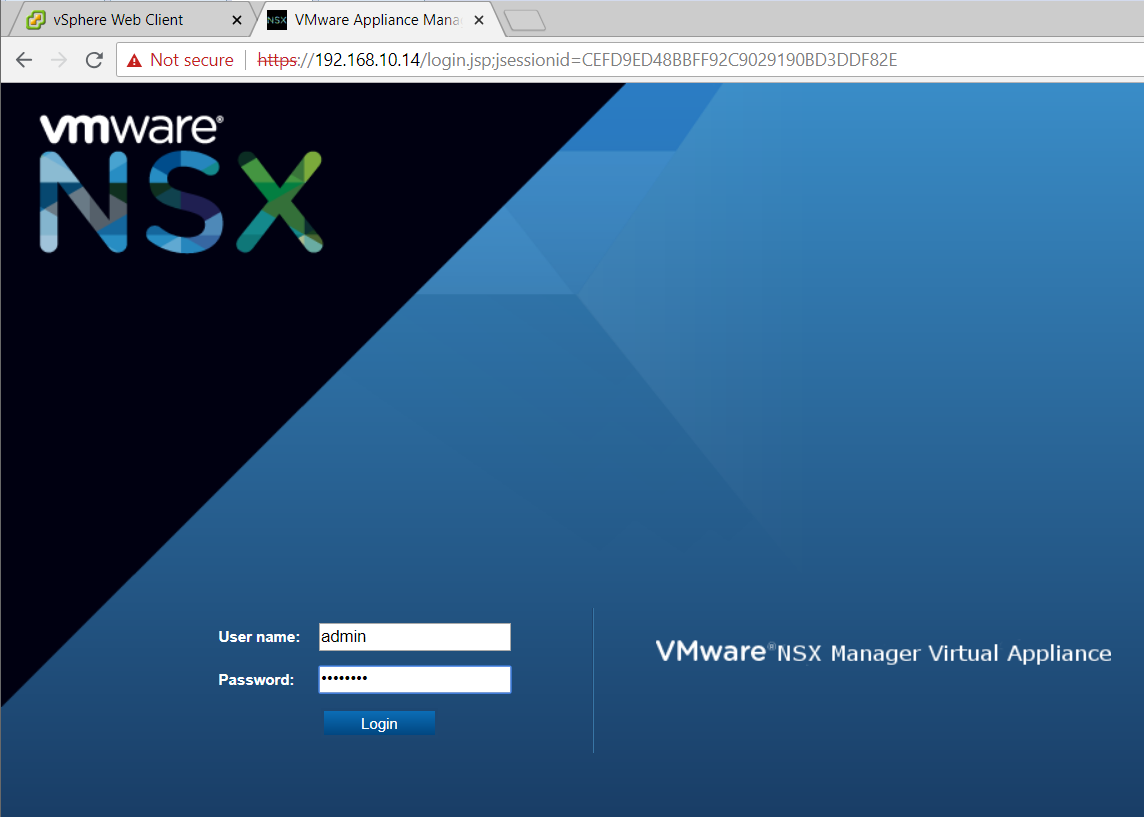
Connect to the NSX Manager admin portal: http://<IP Address or FQDN>.
The default user name is admin. The password was set during the deployment of the NSX Manager OVA.
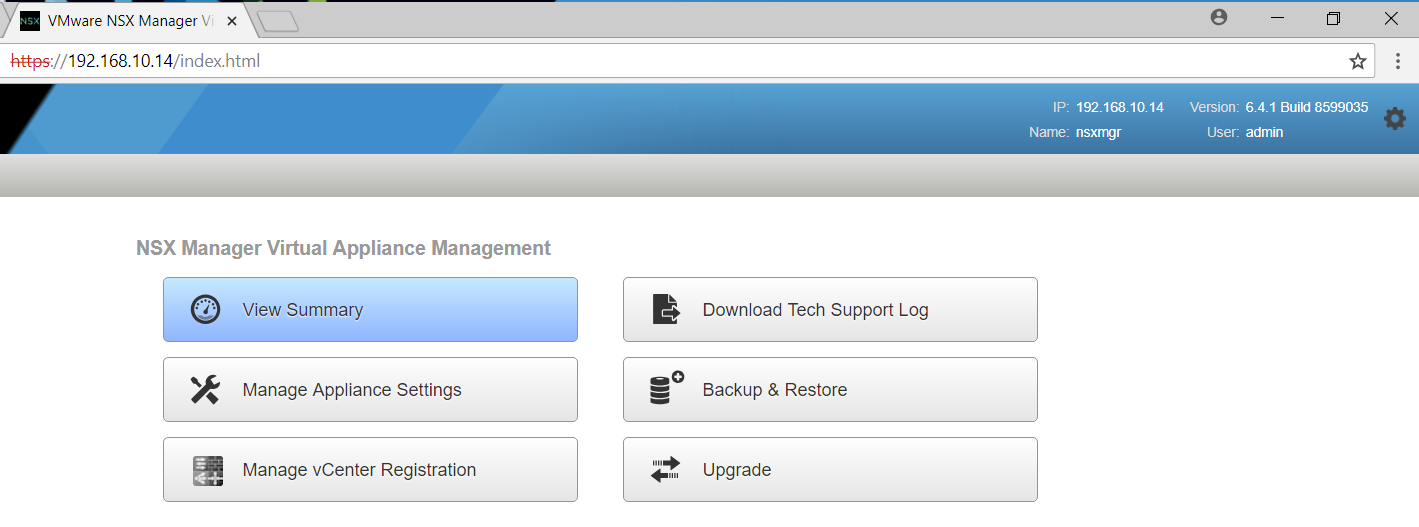
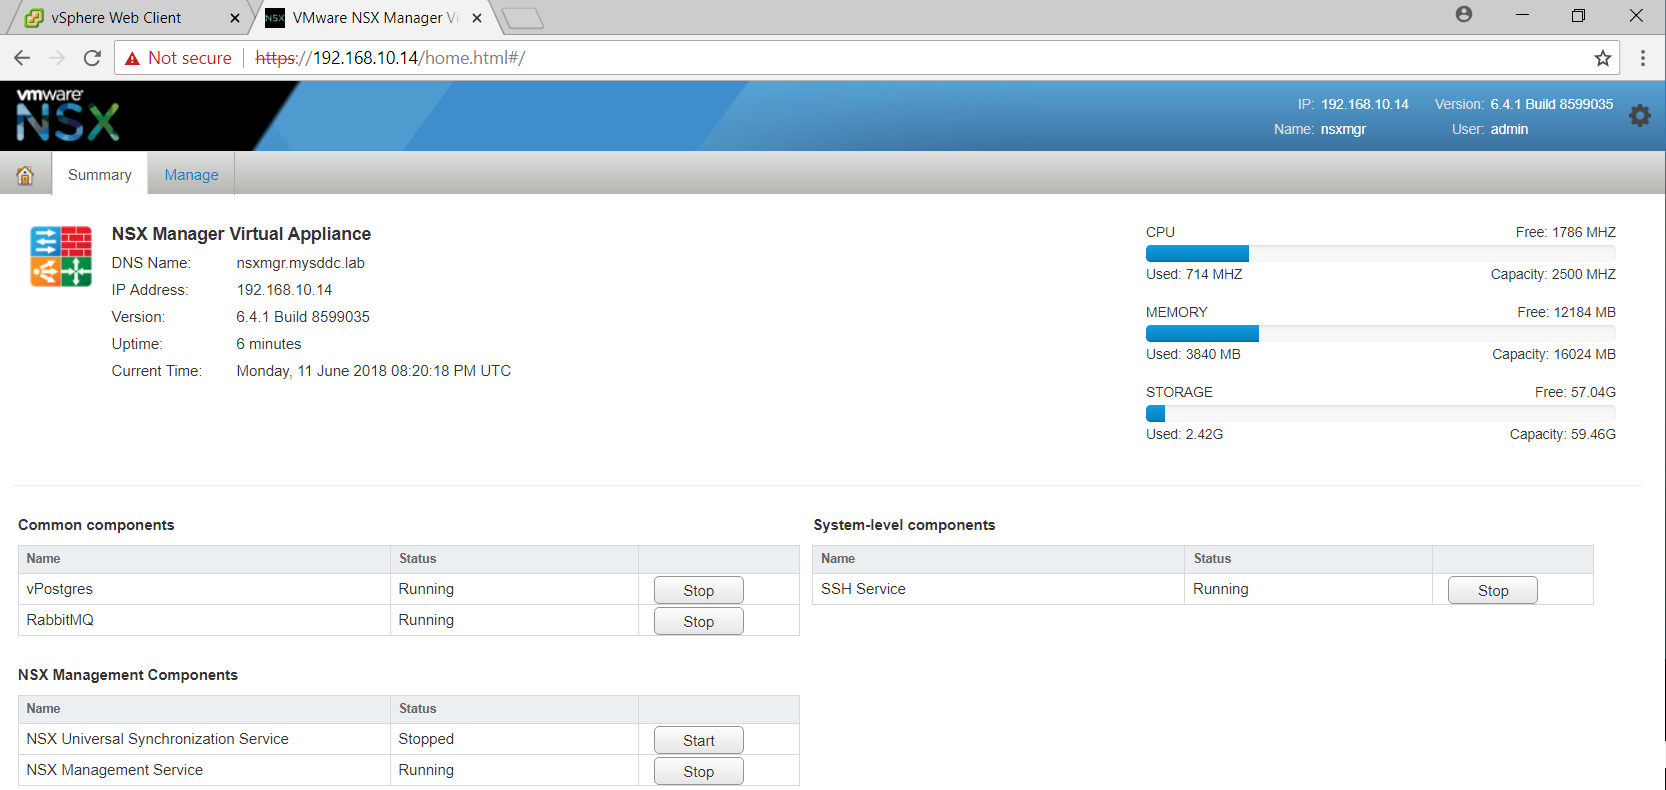
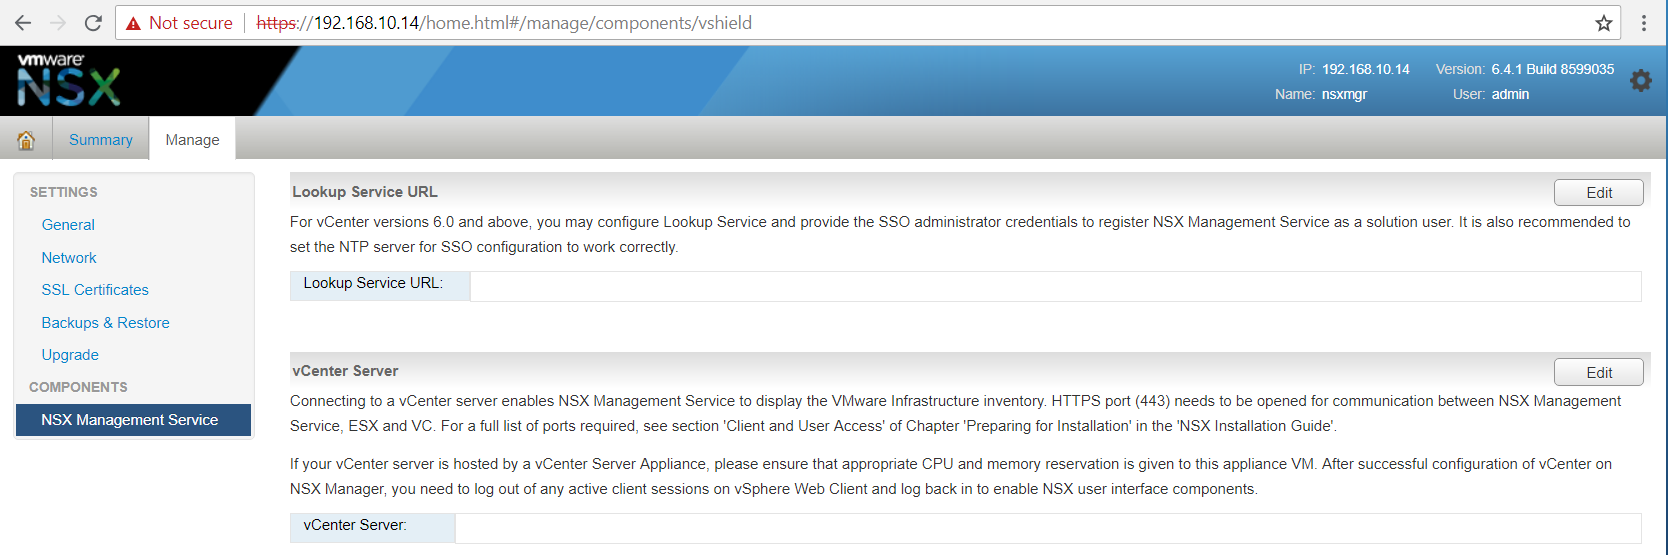
In the NSX Manager main screen, select View Summary and verify that the following services are running:
- VMware vFabric® Postgres
- Pivotal RabbitMQ
- NSX Management Service
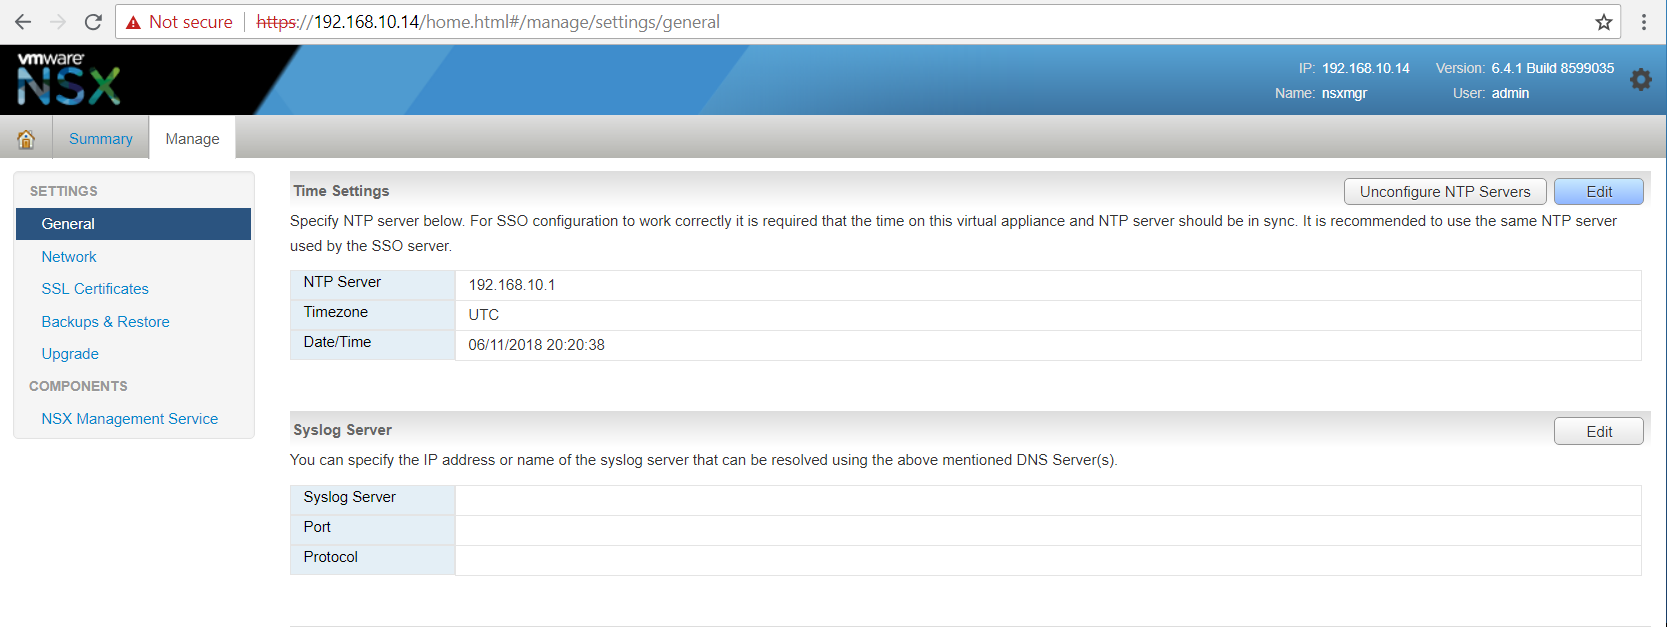
Select Manage > Settings > General.
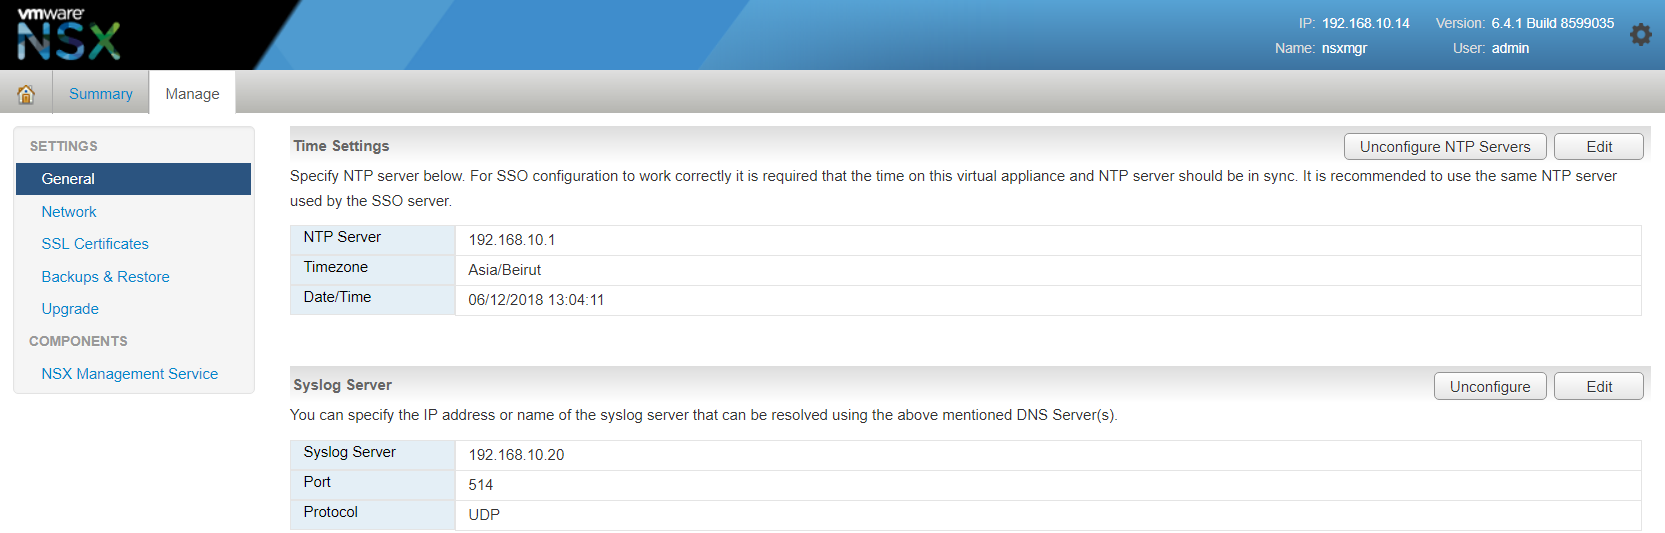
In the Time Settings section, verify that the NTP server entries are correct. Click edit and adjust your timezone.
In the Syslog Server, click edit and enter syslog server information (IP Address or FQDN, Port 514, UDP protocol).
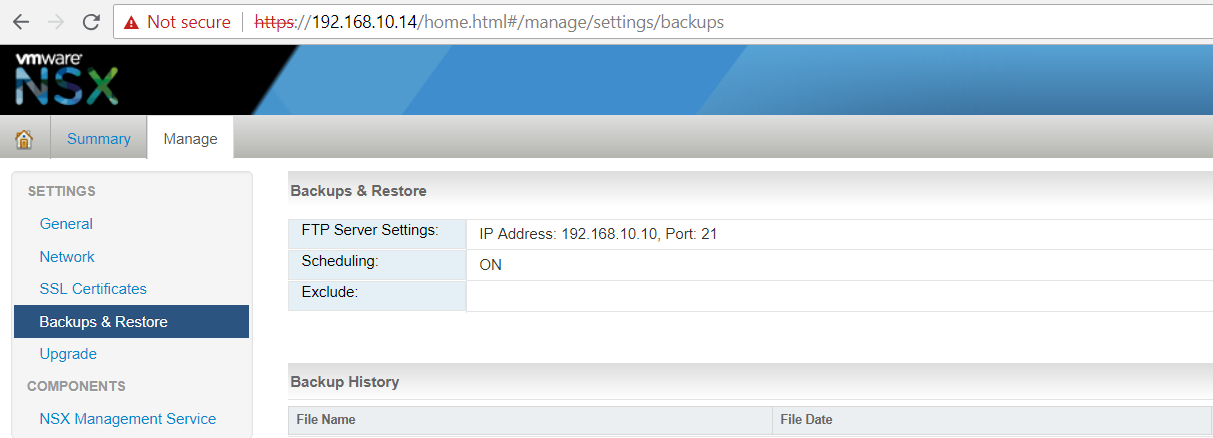
Select the Backups & restore left pane.
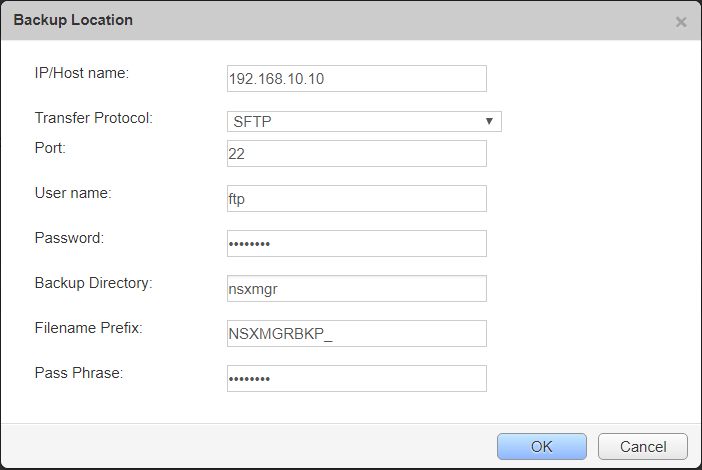
- Click the Change button to enter the FTP Server Settings:
- Enter the IP or host name of the FTP/SFTP server in the IP/Host name text box.
- Select FTP or SFTP from the Transfer Protocol drop down box.
- Enter the user name in the User Name text box.
- Enter the password in the Password text box.
- Enter the backup directory path in the Backup Directory text box.
- Enter the backup file prefix in the Filename Prefix text box.
- Enter the pass phrase in the Pass Phrase text box.
- Click OK.
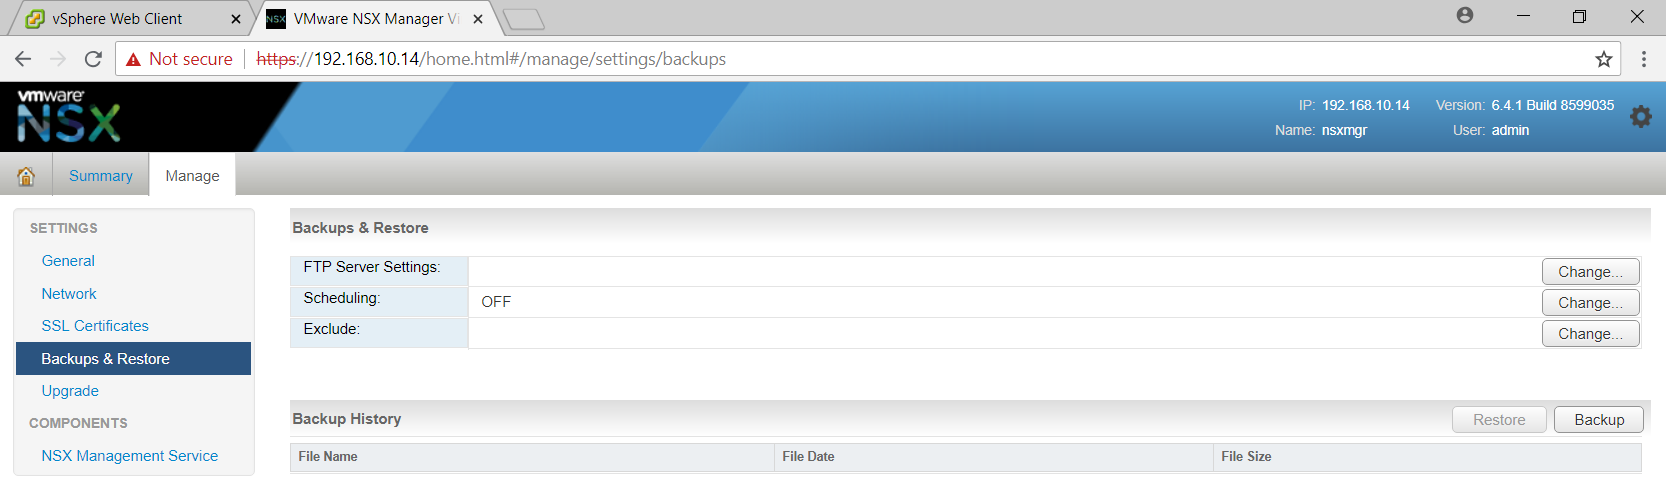
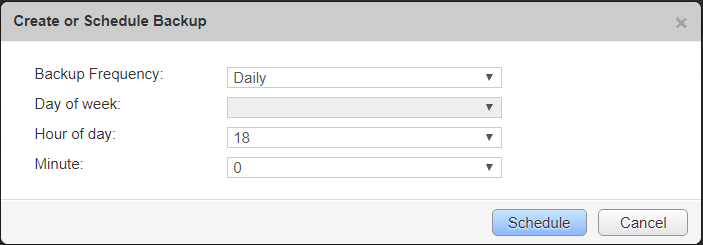
Click Change to enter the Scheduling details:
- From the Backup Frequency drop-down menu, select the frequency at which to perform a backup of the NSX Manager.
- From the Day of week drop-down menu, select the day of the week to perform a backup of the NSX Manager.
- From the Hour of day drop-down menu, select the hour of the day to perform a backup of the NSX Manager.
- From the Minute drop-down menu, select the minute at which you want to perform a backup of the NSX Manager.
- Click Schedule.
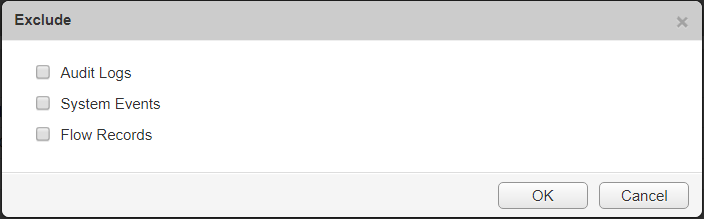
Click Change to enter the Exclude details. Select the check boxes for the items to exclude from the NSX Manager backups. Click OK.
In Components > NSX Management Service, in the vCenter Server section, click Edit to connect NSX Manager to vCenter Server.
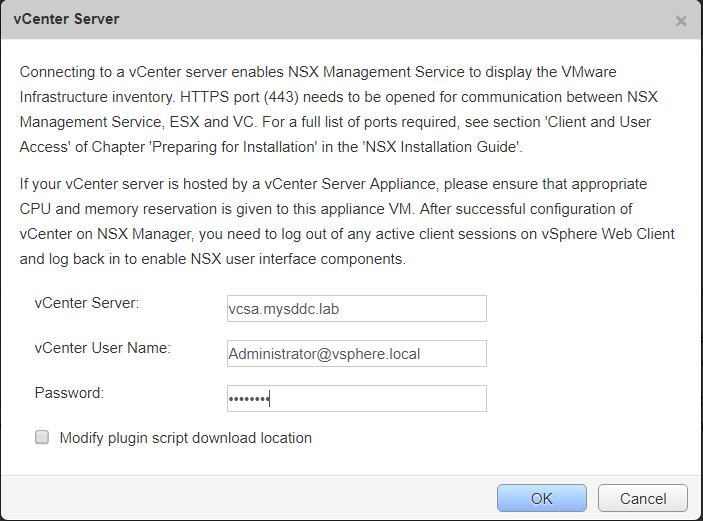
In the vCenter Server dialog box:
- Enter the vCenter Server FQDN in the vCenter Server text box.
- Enter the vCenter user name in the vCenter User Name text box.
- Enter the password for the vCenter user in the Password text box.
Click OK.
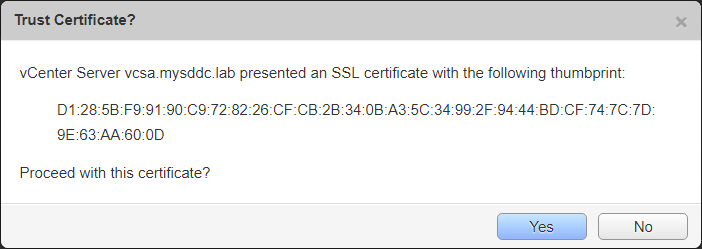
In the Trust Certificate dialog box, click Yes to proceed with the SSL certificate.
After a short period, verify that the vCenter Server status displays Connected.
One NSX manager can be registered to one and only one vCenter.

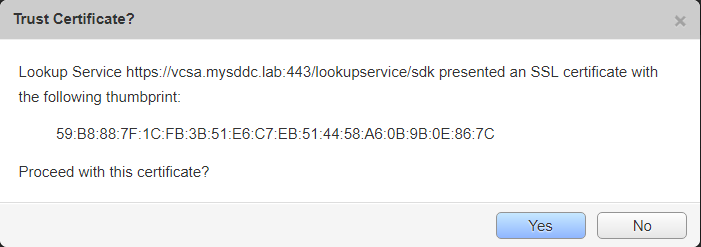
In Components > NSX Management Service, in the Lookup Service section, click Edit to connect to the SSO Server.
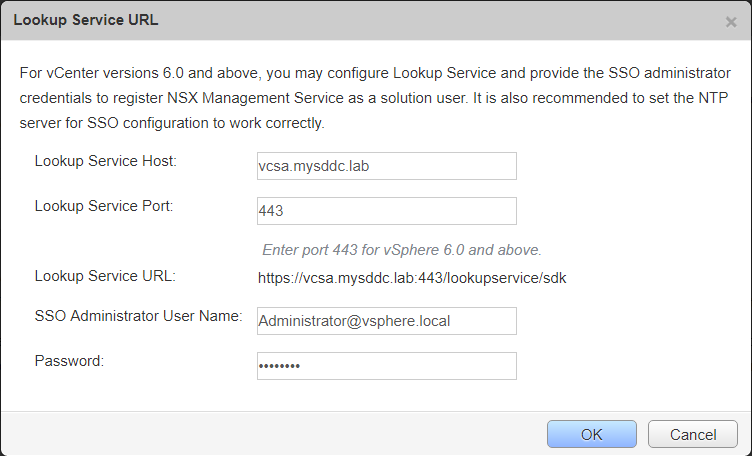
In the Lookup Service dialog box, enter the appropriate values:
- Enter the FQDN of the SSO server in the Lookup Service Host text box.
- Enter the user name for the SSO Administrator in the SSO Administrator User Name text box.
- Enter the password for the SSO Administrator in the Password text box.
Click OK.
In the Trust Certificate dialog box, click Yes to proceed with the SSL Certificate.
After a short period, verify that the Lookup Service status displays Connected.

Note: Registration with SSO server or vCenter server mail fail if the time is not synchronized between the NSX manager, PSC and vCenter components.
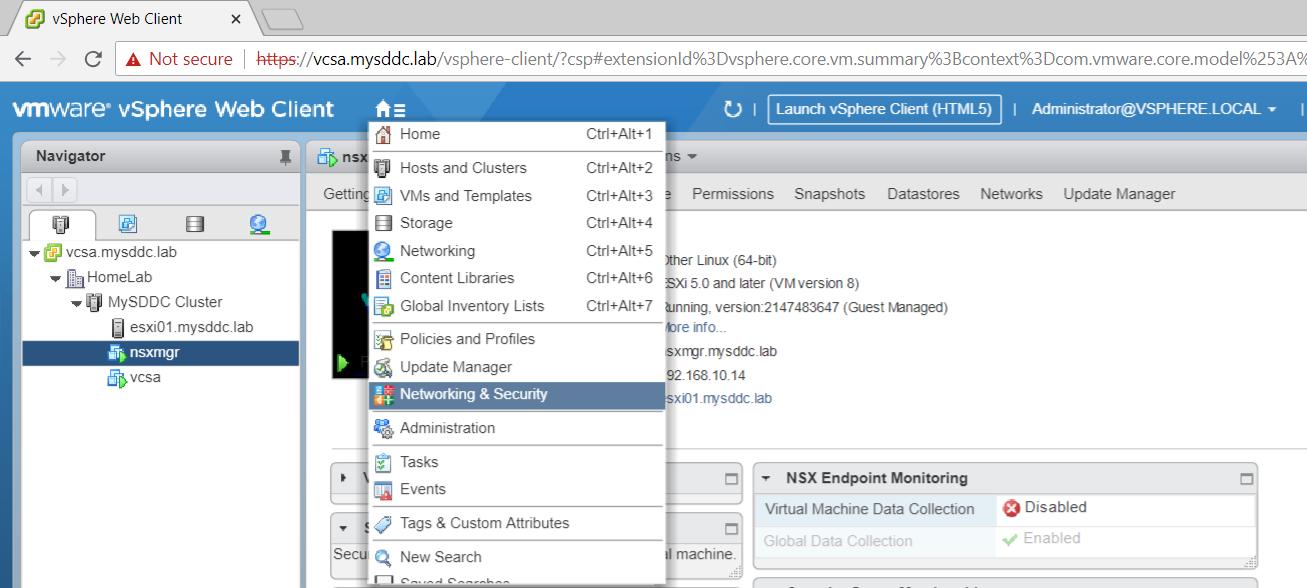
The initial configuration is done. Next, you should logon to the vSphere web client and notice the new Network and security plugin got registered with the vCenter.
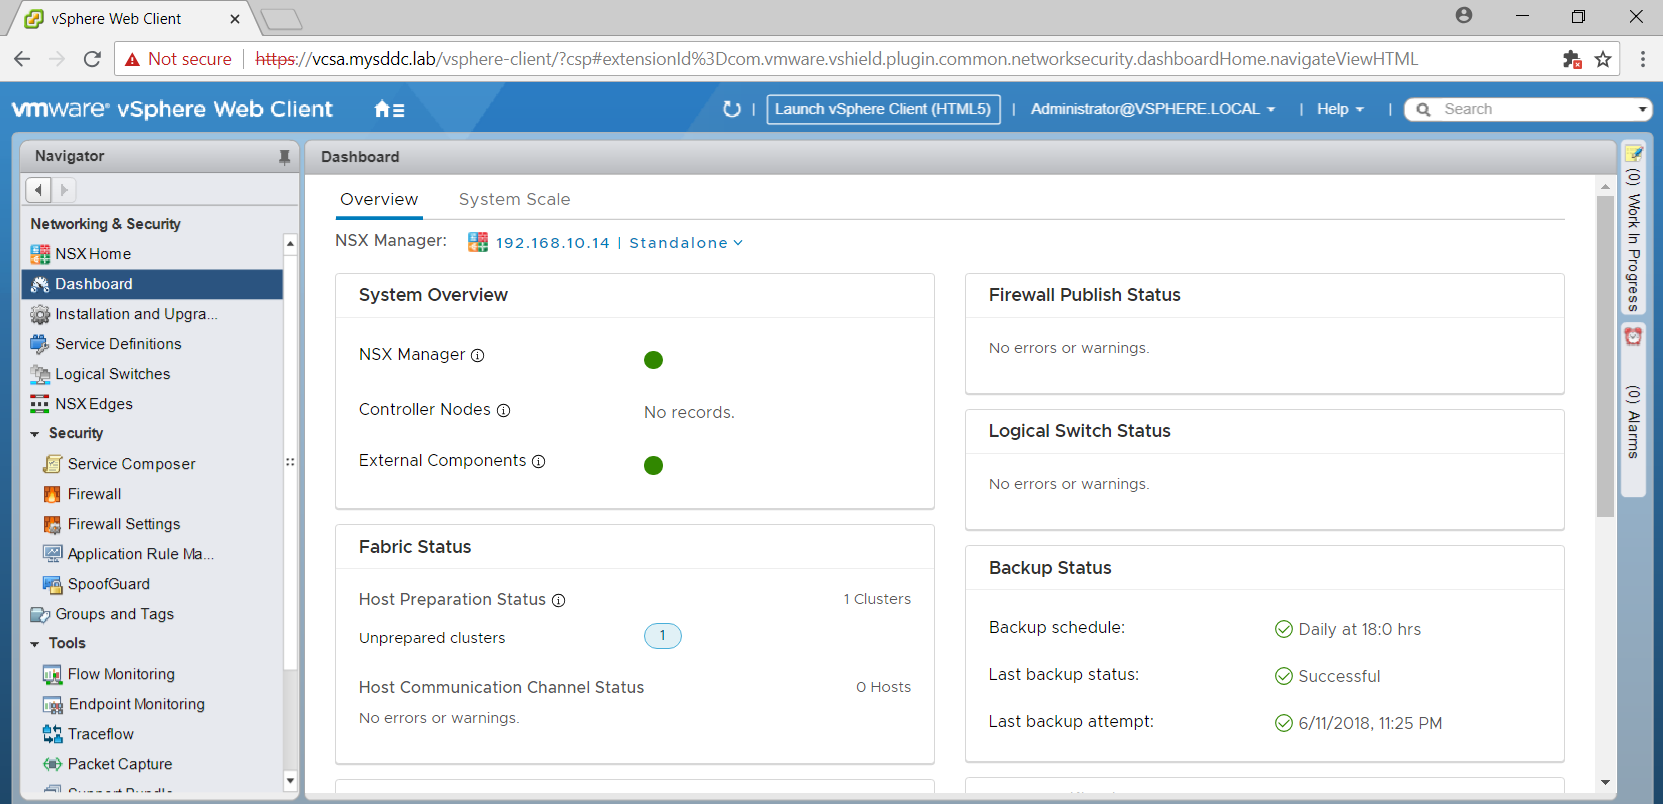
The next step is to deploy your NSX controllers and continue with the other tasks.
Happy NSX Jouney 🙂
Thanks for your time reading this post. Hope it was informative.
Mohamad Alhussein
 (6 votes, average: 5.00 out of 5)
Excelente Post
Thank You Patricio, Glad that you like it.
Awesome blog!!
Excellent work, thanks for sharing
Thank you Nisar, Always glad to share with the community.
Very helpful.
Thank you Muejeb, Glad that you found it helpful.
Hi, I don’t know if you can help me when I try to download NSX by the Link this message is visible
“You either are not entitled or do not have permissions to download this product.
Check with your My VMware Super User, Procurement Contact or Administrator.
If you recently purchased this product through VMware Store or through a third-party, try downloading later.”
Thanks.
Hi,
When trying to connect NSX to vCenter, I am getting this erreor message:
nested exception is javax.net.ssl.SSLHandshakeException: Remote host closed connection during handshake( SSL peer shut down incorrectly )
Any idea ?
Thanks and regards,
Renato
Hi Renato,
What is the version of NSX manager and vCenter server you are trying to register ?
Such an error is sometimes due to an unsupported cipher.
Regards,
Mohamad