It has been a while I didn’t have time to write due to my relocation with my family to Dubai with all what it means from starting a new life at another country, and the pressure of handling parallel enterprise projects that kept me busy all the time. As things started to settle down, and as i am rebuilding my lab environment, i decided to share with you the detailed procedure to deploy and configure VMware Cloud Director (VCD) 10.3.1.
This post will cover the deployment of a single VCD 10.3.1 cell (the primary). In case you require a clustered deployment, you can follow the same procedure to add more standby and application cells to the primary one.
Deploying the VCD Primary Appliance
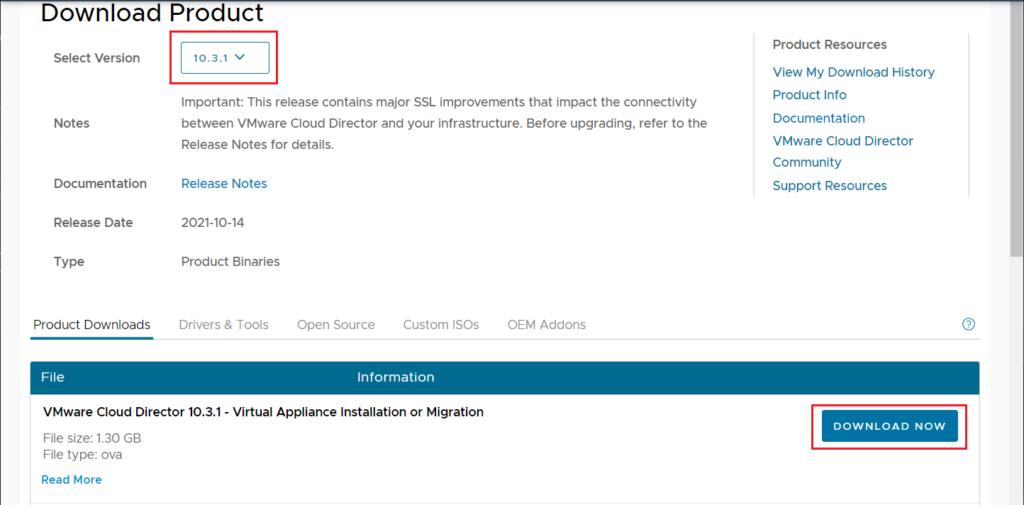
1. Download VCD 10.3.1 from VMware portal. https://customerconnect.vmware.com/downloads/details?downloadGroup=VSPP_VCD1031&productId=1180&rPId=79285
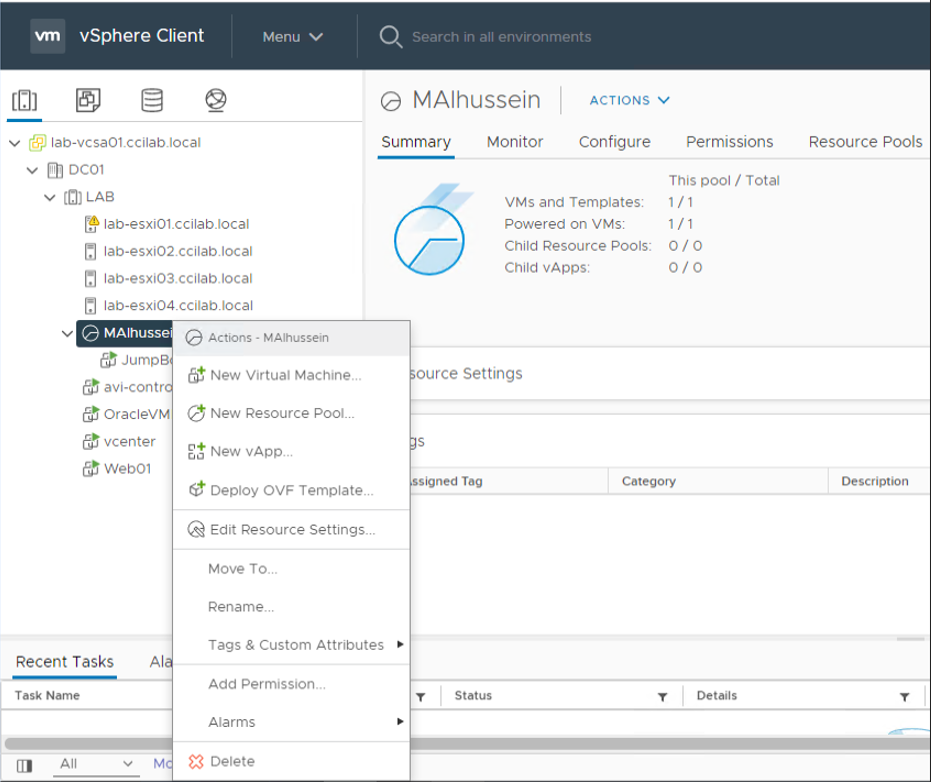
2. In the vSphere Client , right-click any inventory object and click Deploy OVF Template.
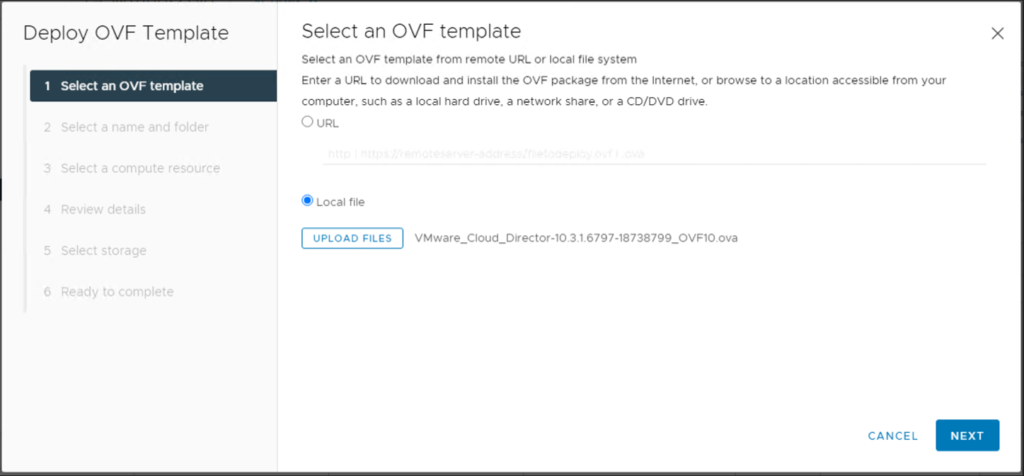
3. Enter the path to the VMware Cloud Director .ova file and click Next.
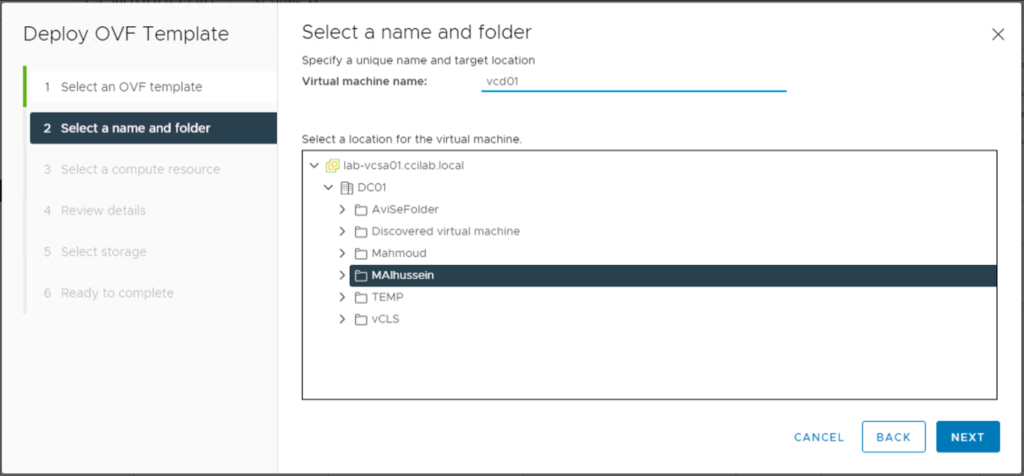
4. Enter a name for the virtual machine and browse the vCenter Server repository to select a data center or folder on which to deploy the appliance, and click Next.
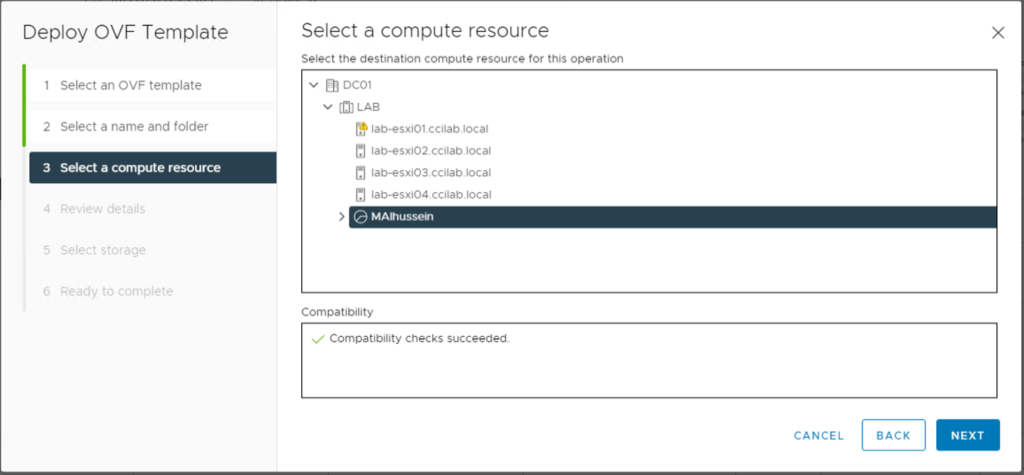
5. Select an ESXi host, cluster, or resource pool on which to deploy the appliance and click Next.
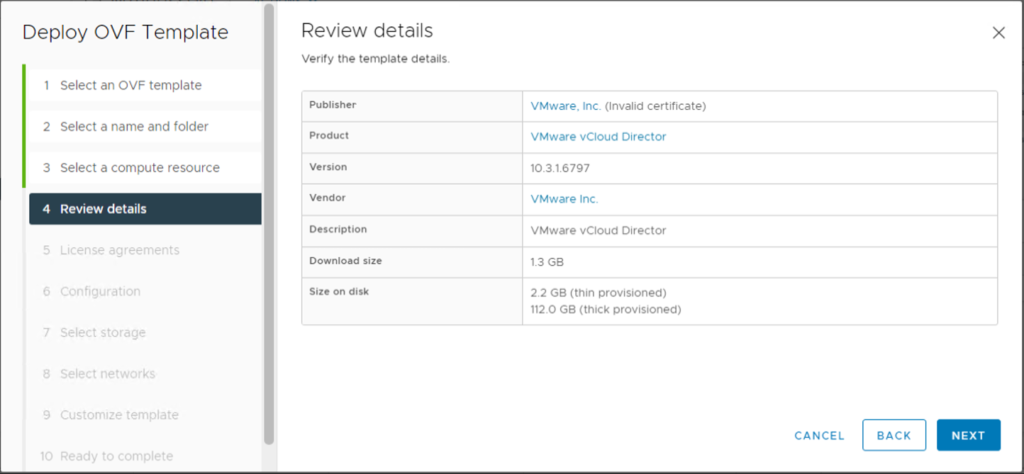
6. Review the template details and click Next.
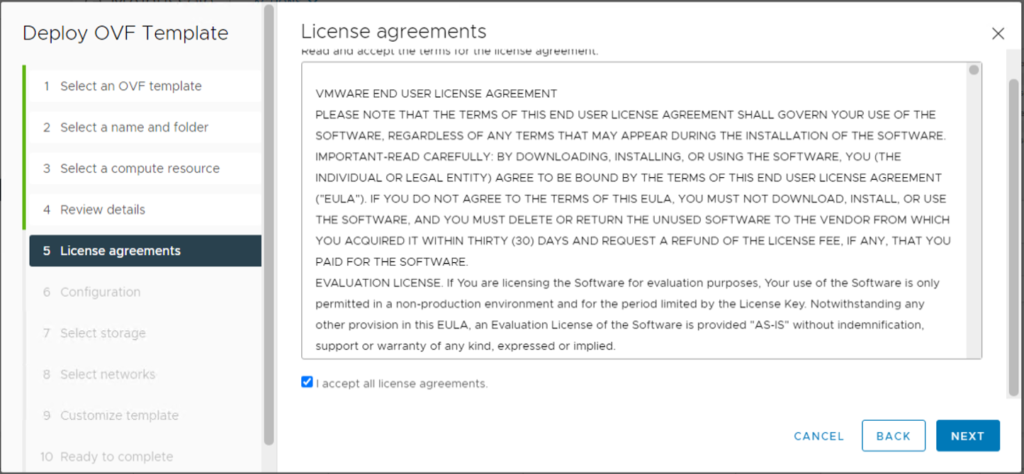
7. Read and accept the license agreements, and click Next.
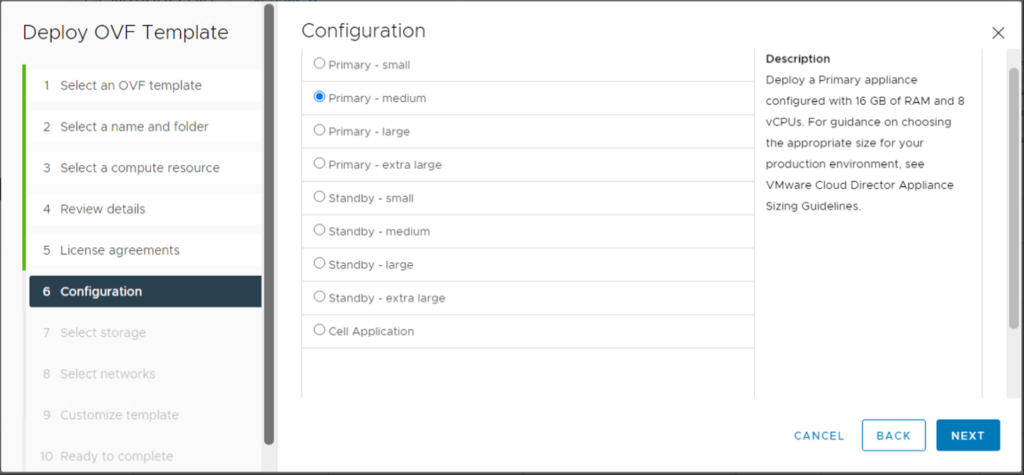
8. Select the deployment type and size, and click Next.
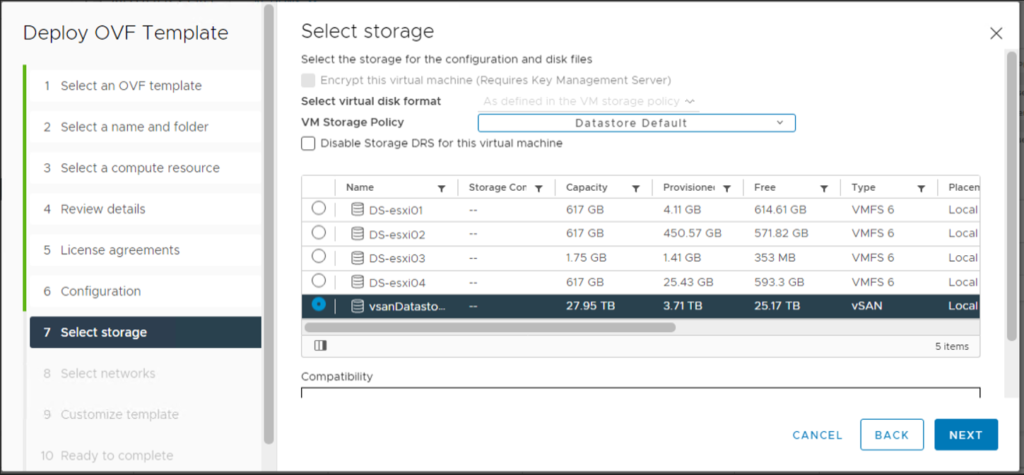
9. Select the disk format and the datastore for the virtual machine configuration files and virtual disks, and click Next.
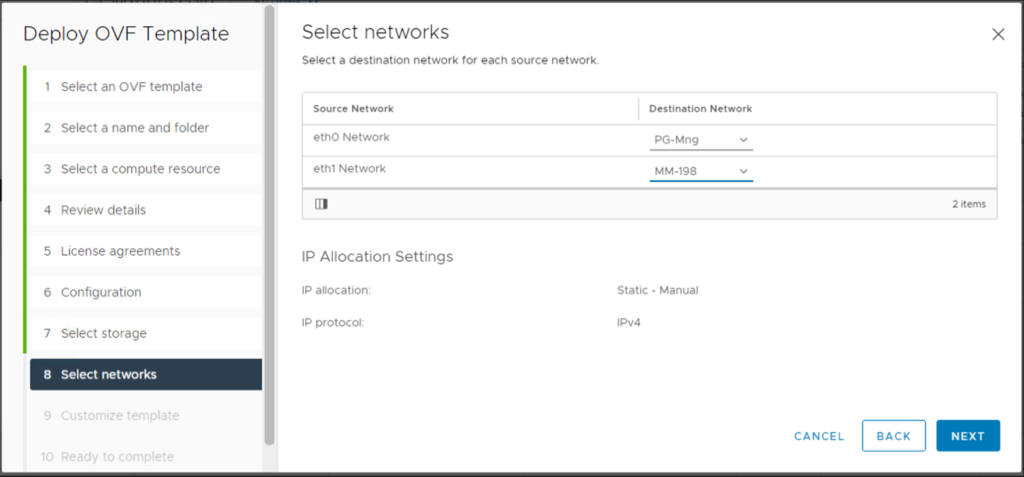
10. From the drop-down menus in the Destination Network cells, select the target networks for the eth1 and eth0 NICs of the appliance. Click Next.
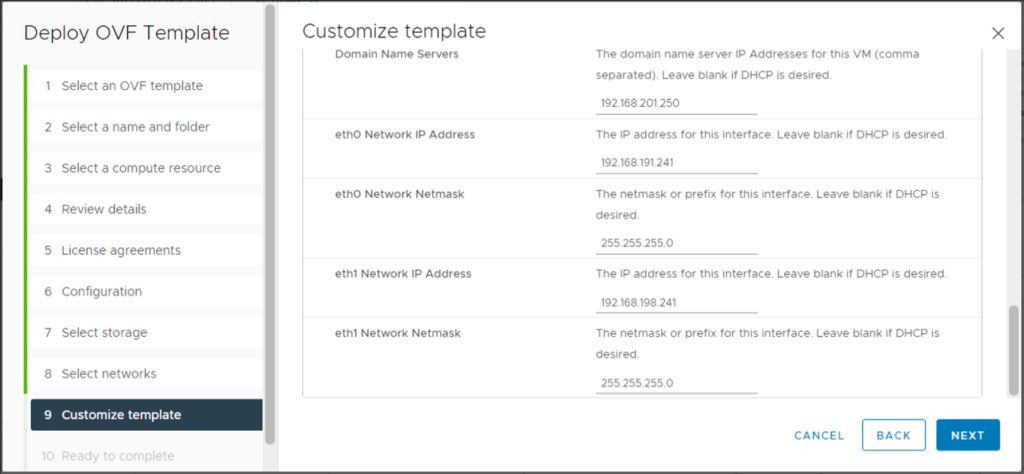
The eth0 and eth1 networks must be placed on separate subnets.
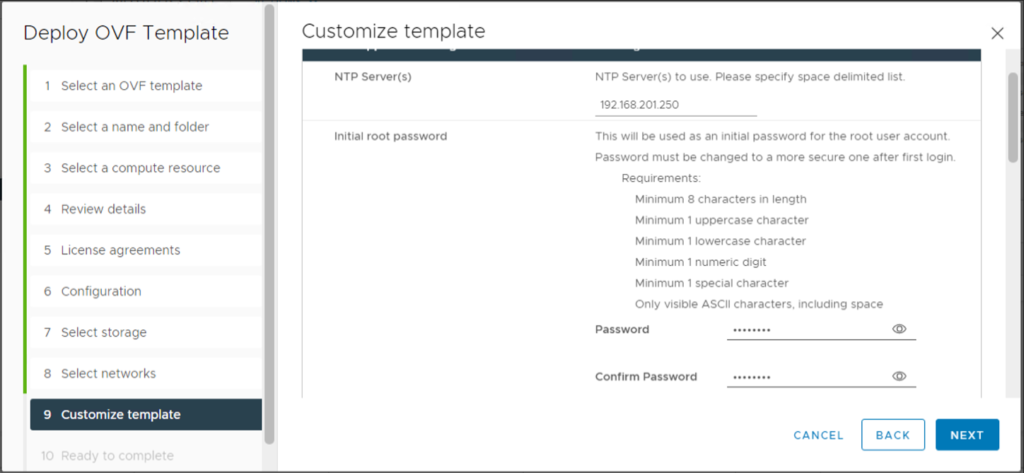
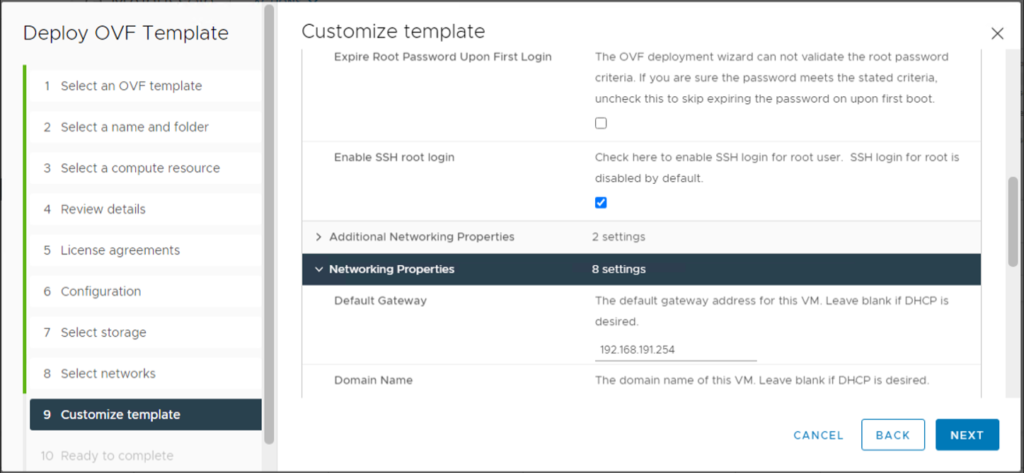
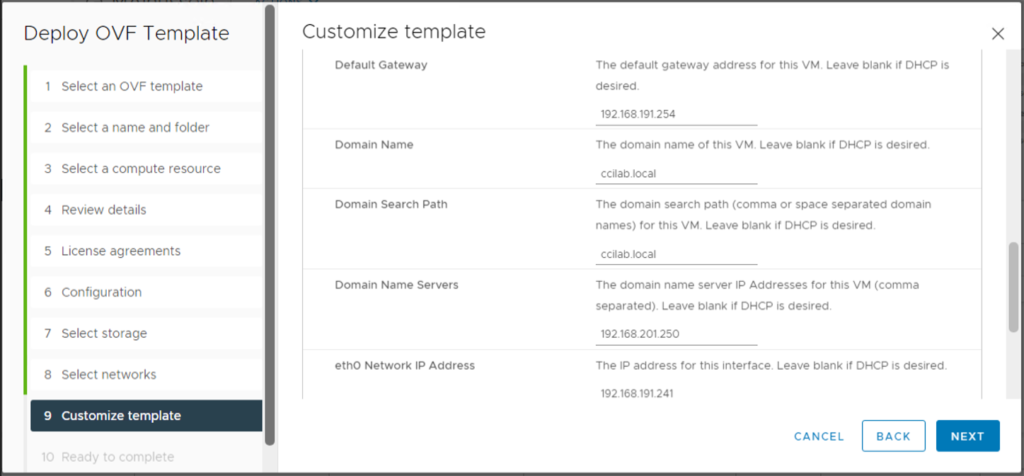
11. In section VCD Appliance Settings, configure the appliance details: NTP server, root password, and network details (DNS servers, Domain name, IP address, gateway, mask) for eth1 and eth0 interfaces.
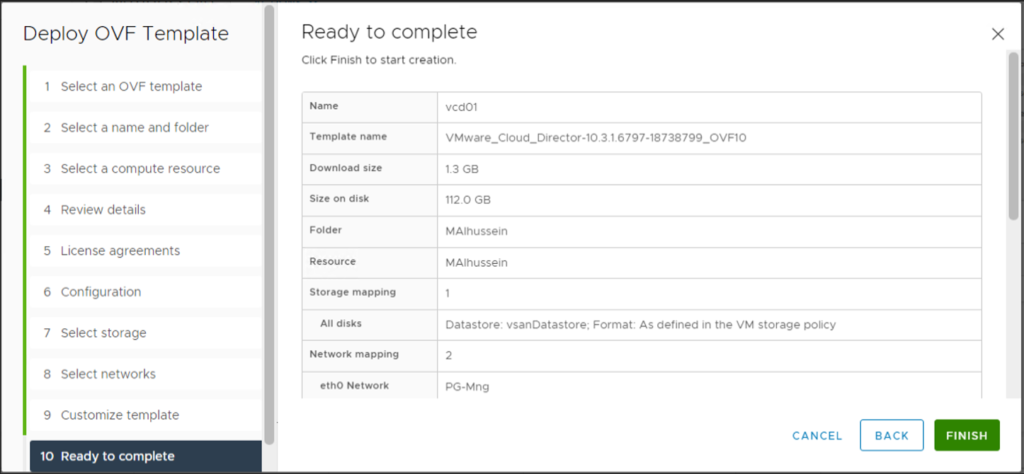
12. On the Ready to Complete page, review the configuration settings for the VMware Cloud Director appliance, and click Finish to start the deployment.
13. Power on the newly created virtual machine when the deployment is completed.

Configuring the VCD Primary Appliance
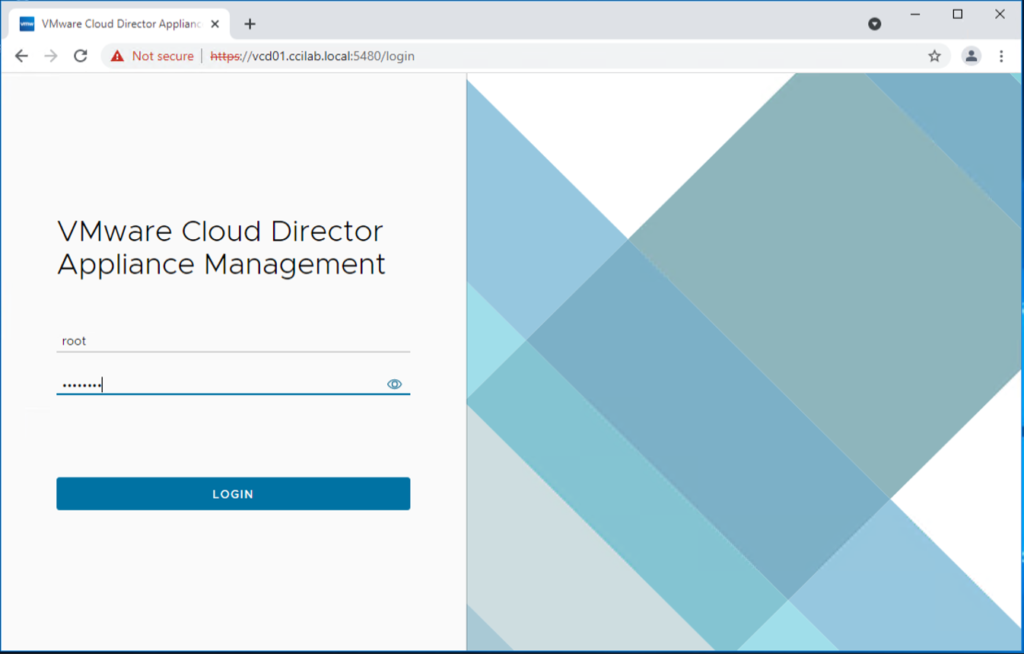
1. Open a Web browser and navigate to https://<Primary-Appliance-FQDN>:5480. Login using root credentials.
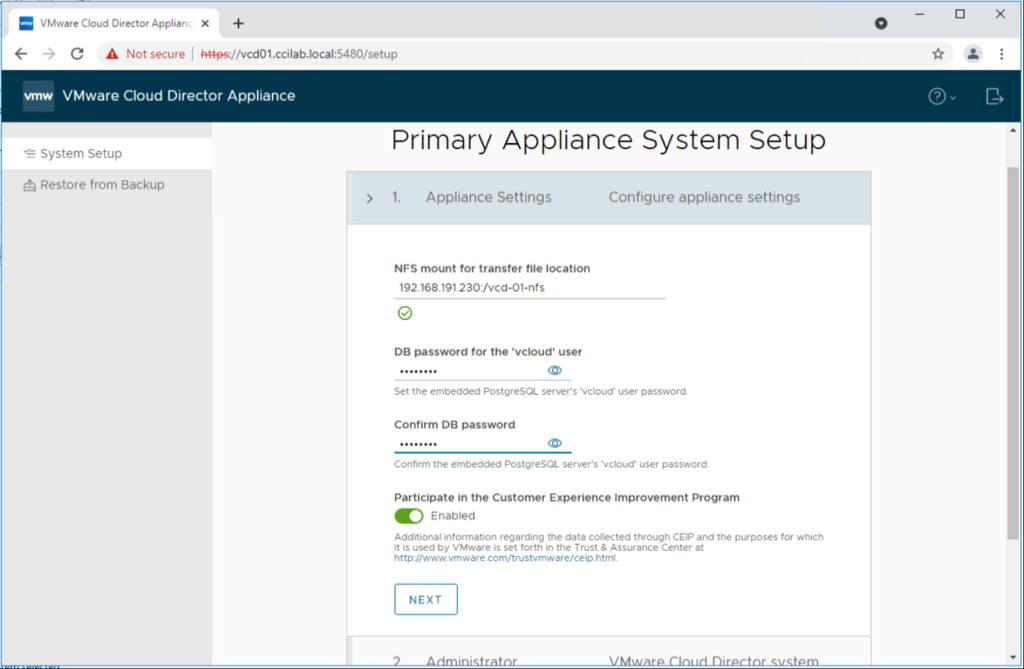
2. In section Appliance Settings, configure the appliance details and click Next. I’m assuming here that the NFS share is already configured and ready for the VCD deployment.
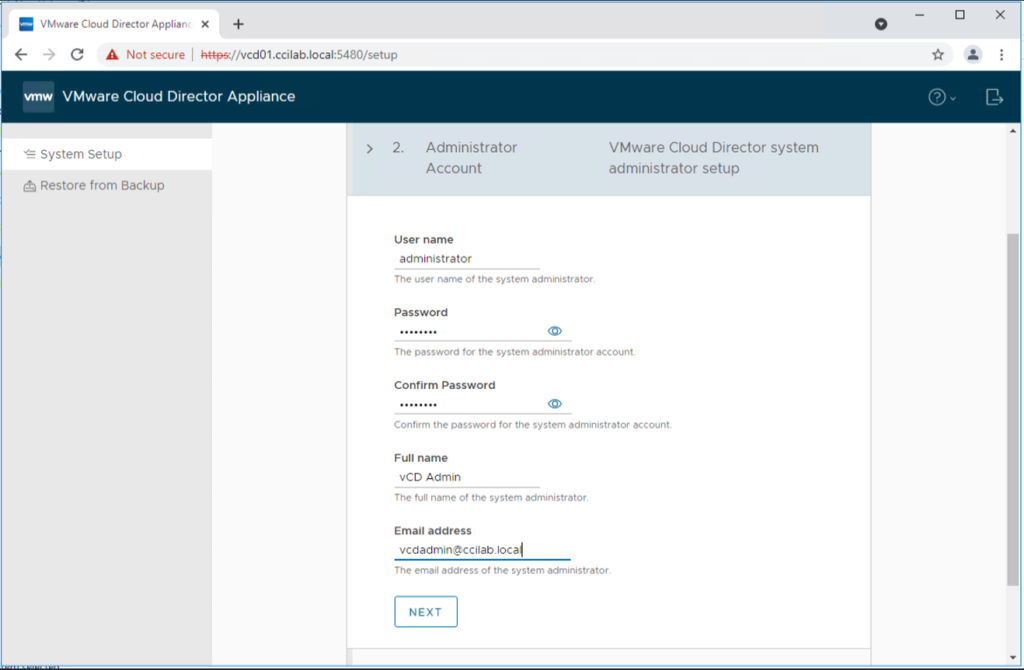
3. In the Administrator Account section, configure the system administrator details and click Next.
4. In the VMware Cloud Director Settings section, configure the installation of this instance.
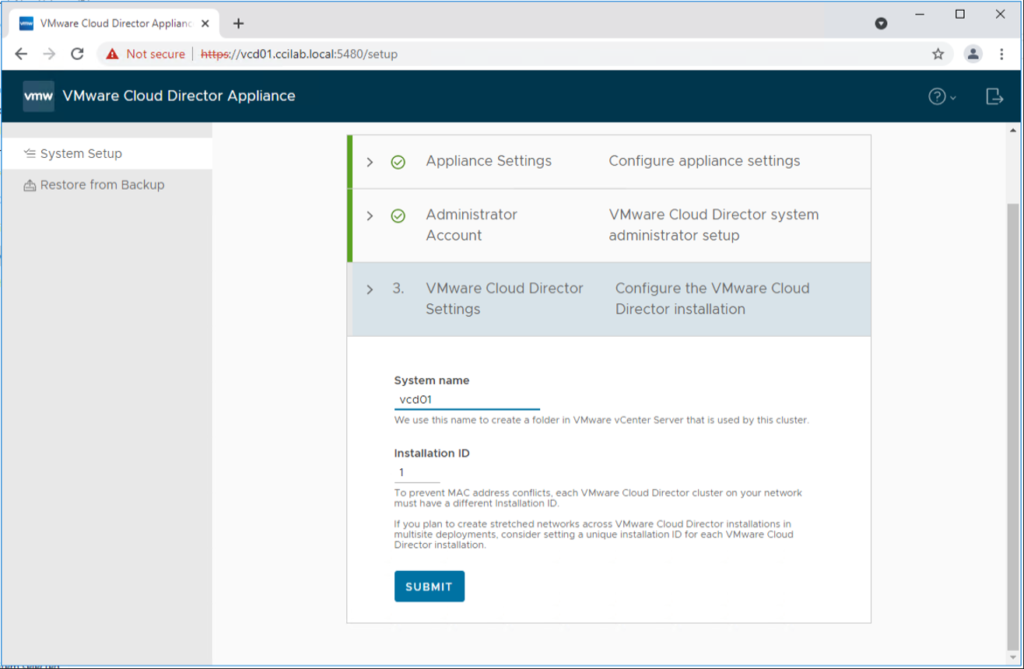
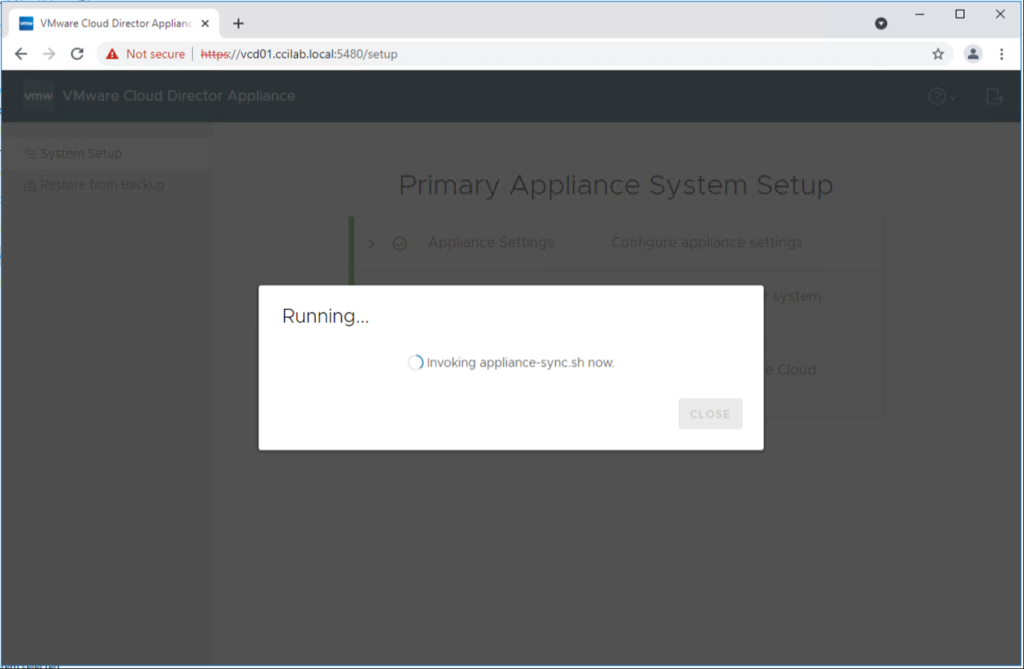
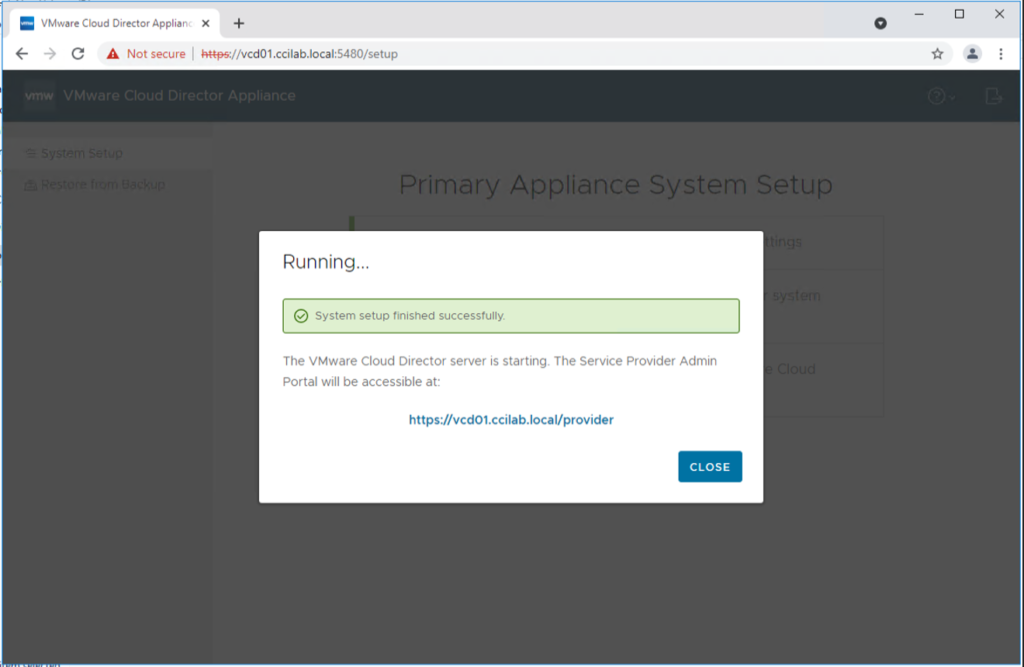
5. Click Submit and when the system setup finishes, click OK.
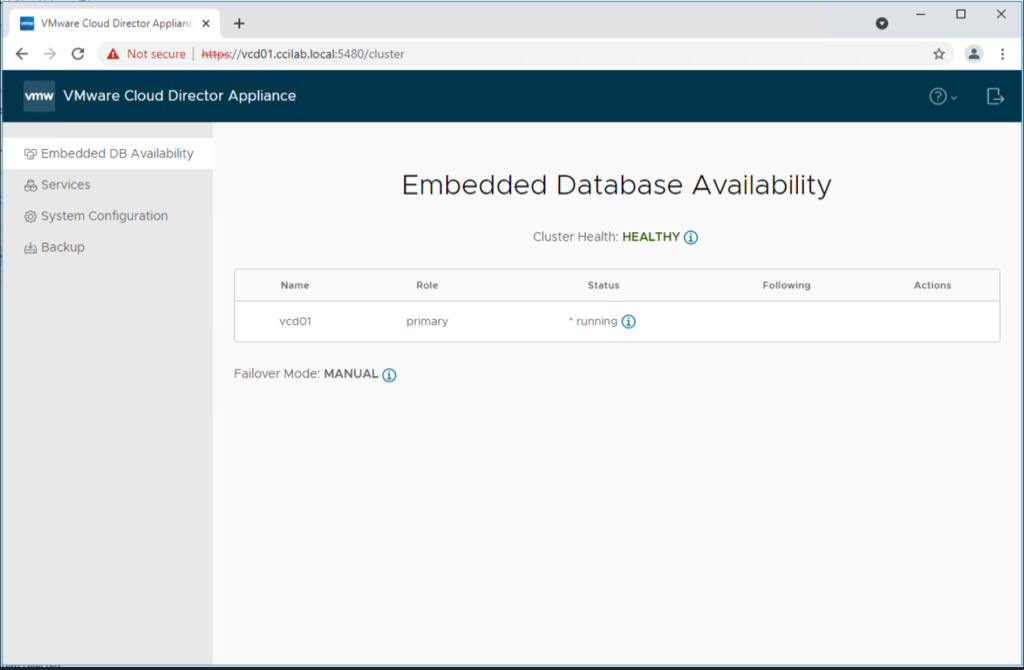
If the deployment is successful, the Embedded Database Availability and Services tabs appear.
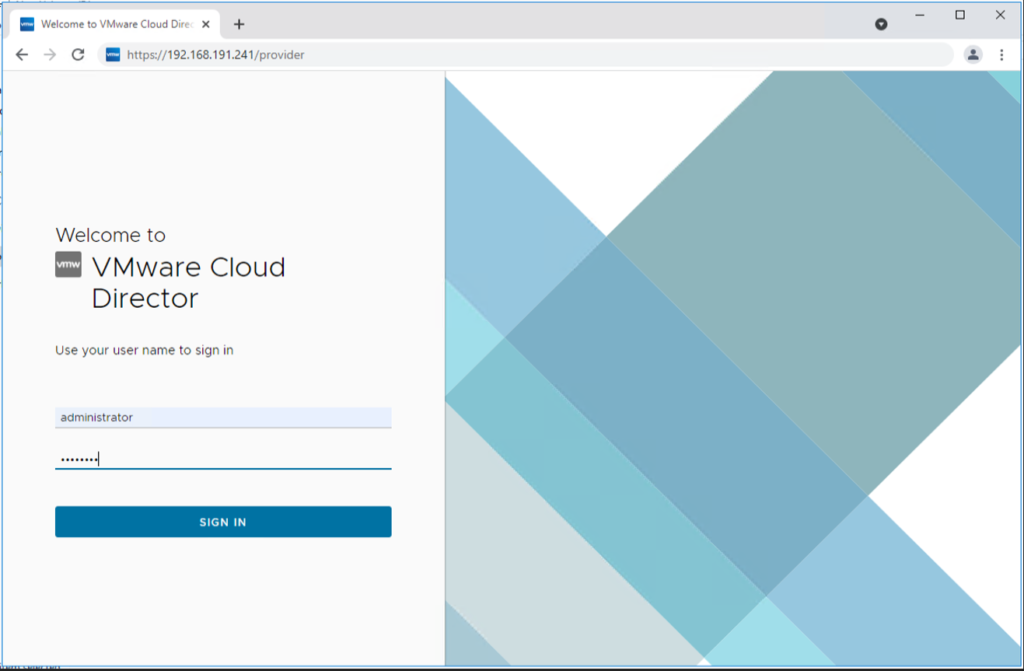
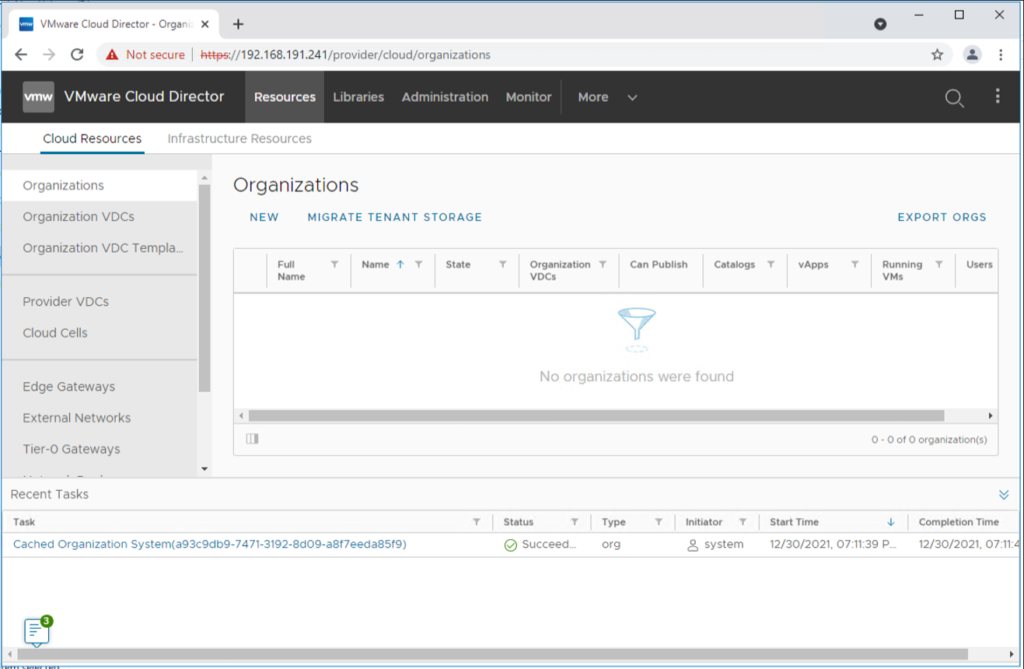
6. You can logon to the VCD provider portal at this stage via this URL: https://<PrimaryCell-IPAddress>/Provider using the administrator credentials.
That’s it !!
I hope this post was informative.
Thanks for reading.

 (3 votes, average: 4.67 out of 5)