With the IT transformation towards software defined data center (SDDC), and the wide adoption of software defined networking (SDN), most of current vSphere customers are considered as potential NSX ones, which means more and more brown-field NSX engagements to deal with.
Brown-field NSX deployments introduce additional design requirements and cautions as we are dealing with business depending on production workloads running traditionally on VLAN-backed networks. One of the most questions that I get while running NSX design workshops to our customers is “How we gonna migrate our workloads to NSX domain while preserving their IP addresses?” as some applications (especially legacy applications at the banking sector) does not support changing IP address of the server or the application will crash.
I decided to write down a step-by-step procedure for this kind of migration to document it so that it provides a reference should anyone need help tackling such a scenario. Enough talking, let’s get our hands dirty!
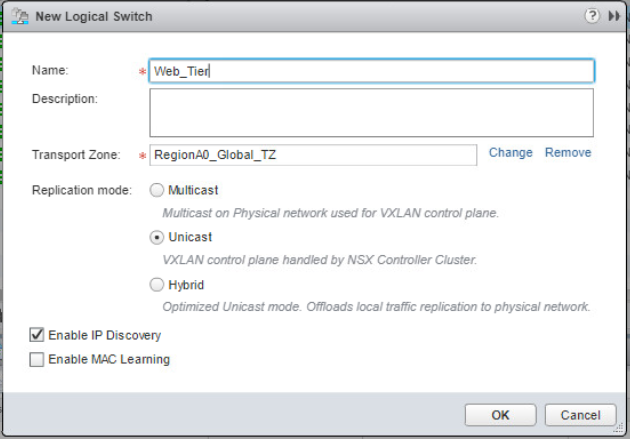
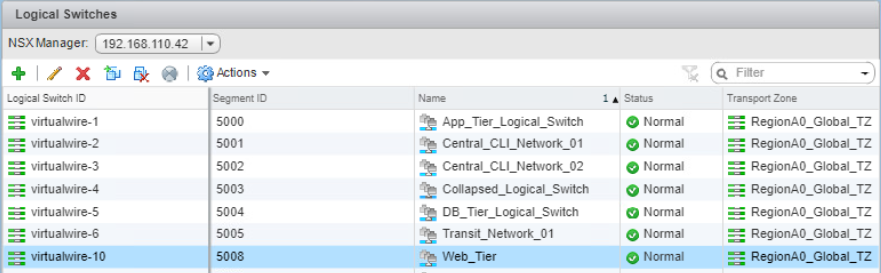
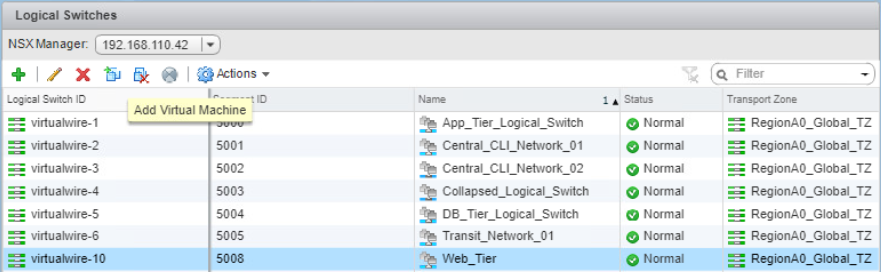
Step1: Create L2 NSX logical switches
The created logical switch will not be connected to any DLR LIF interface in this stage. It is simply a L2 switch.
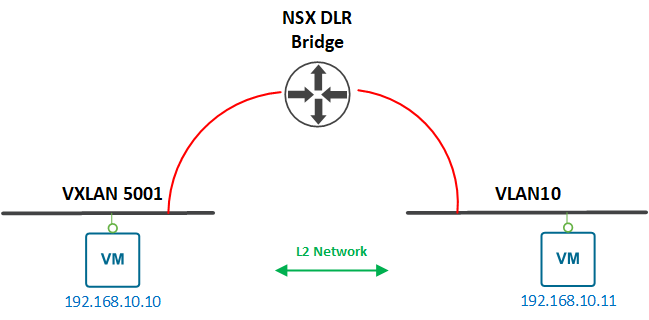
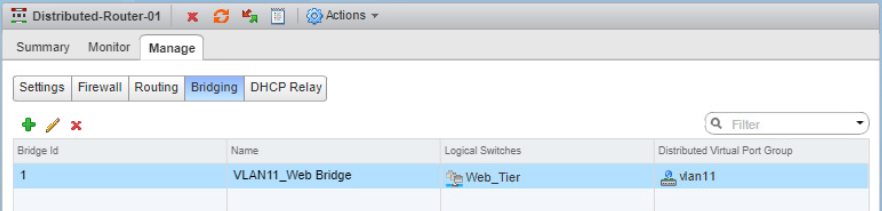
Step2: Configure NSX bridging.
The below points should be taken into consideration before configuring NSX bridging:
- VLAN ID should be allowed through the ESXi hosts trunk ports.
- Distributed VLAN-backed portgroup should be configured with a tagged VLAN ID.
- There is a 1:1 relationship between a VXLAN logical switch and a VLAN backed portgroup. A VXLAN or VLAN can’t be connected to more than one bridge.
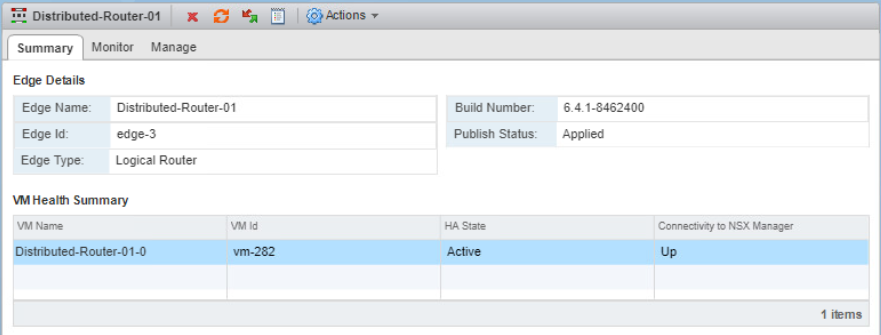
- NSX logical router should be deployed with a control VM. Bridging will occur on the ESXi host where the control VM is running.
- Bridging can’t be configured on universal logical router for a universal logical switch.
Make sure DLR is already deployed with control VM as it is required for bridging functionality, then create a bridge to map the created logical switch VNI to the traditional portgroup VLAN.
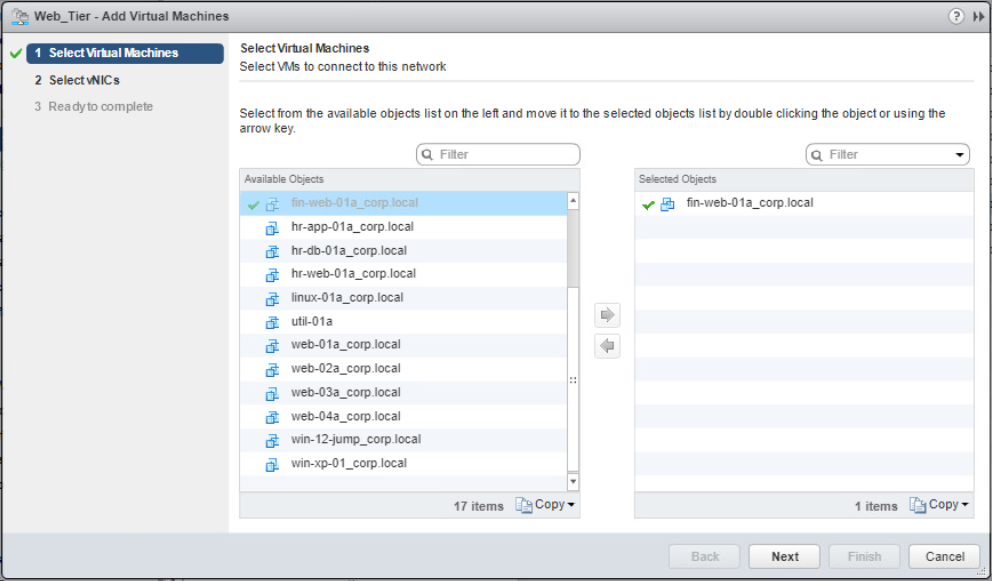
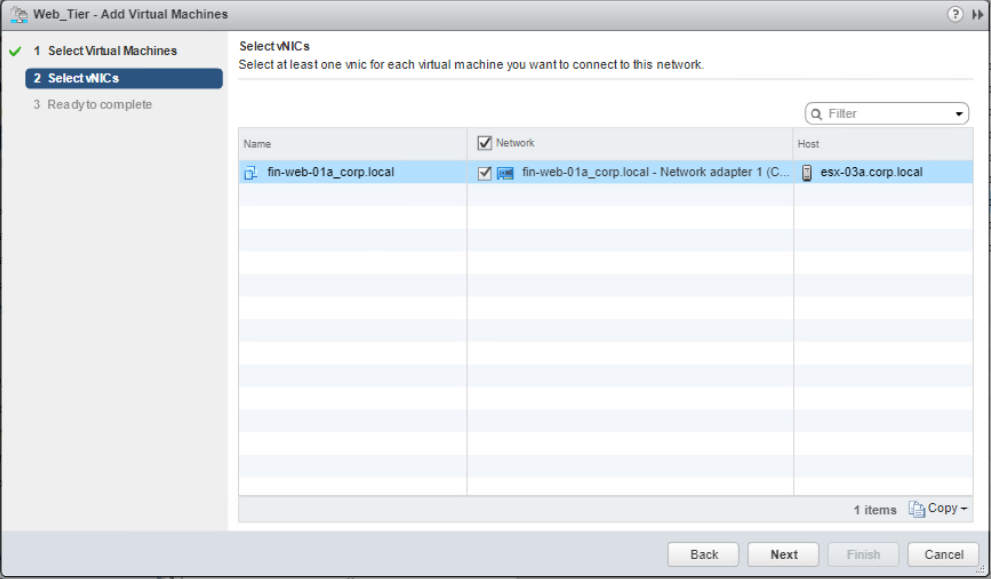
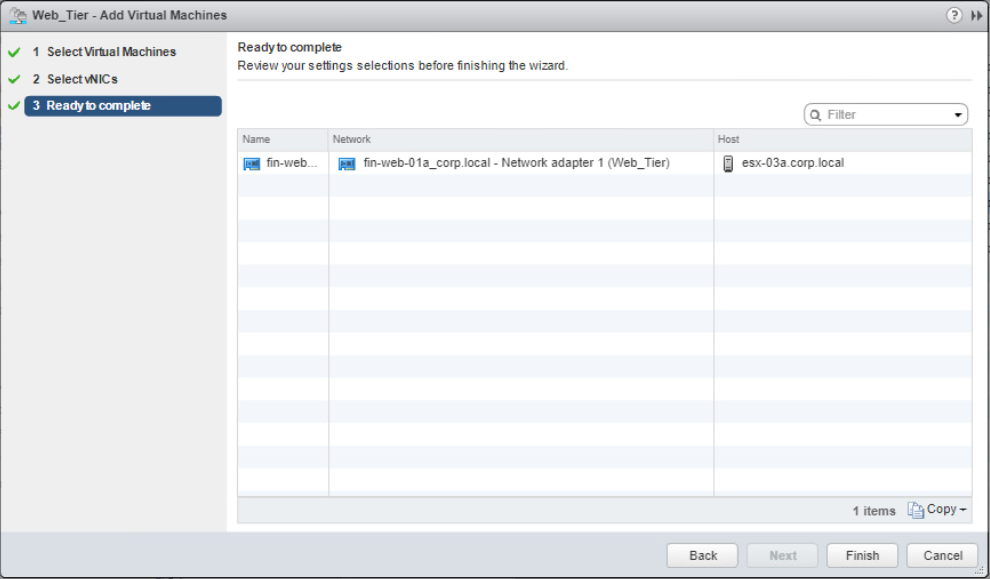
Step3: Connect VMs to the created VXLAN logical switch.
At this stage, the default gateway of these VMs is still on the physical L3 switch or router. Traffic generated from these VMs will be routed on the physical router to reach any other L3 network.
You can schedule the migration of these VMs one by one or as a bunch to minimize the downtime of changing the network. No IP address changing is needed.
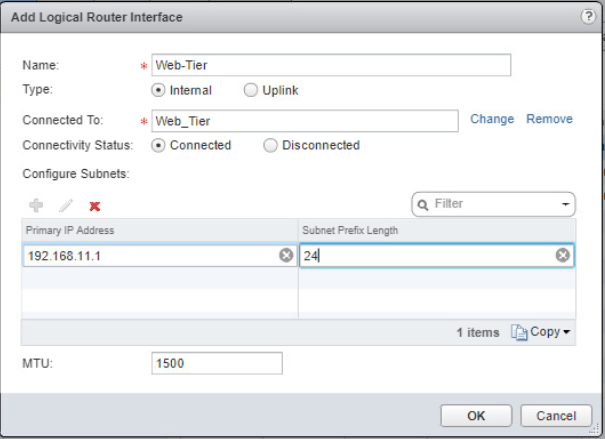
Step4: Configure DLR LIF Interface
After migrating all VMs to the newly created logical switch, make sure you don’t have any physical device connected to that VLAN and then do the following:
- Decommision the VLAN on the physical network.
- Connect the logical switch to DLR and set the IP address of the LIF interface to the same IP address of the VLAN gateway. This way no IP address change will be needed on any VM.
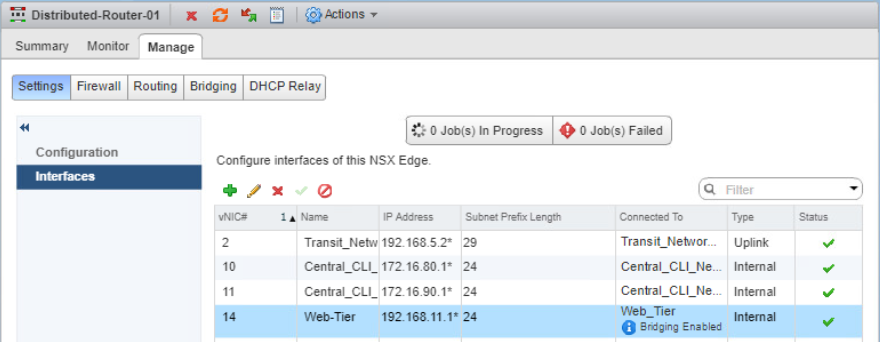
The addition of VXLAN segment to the DLR and the removal of the VLAN from the router will be reflected in the routing tables as soon as the convergence of your routing protocol is completed.
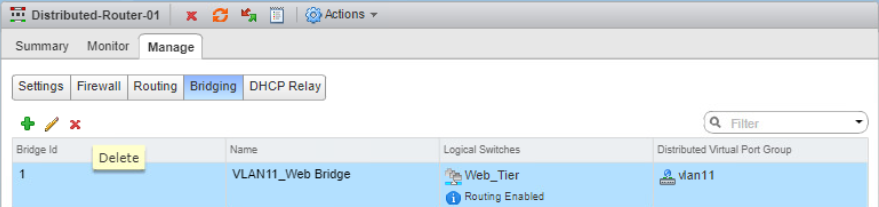
Step5: Delete NSX bridging configuration
Delete the NSX bridge instance as the migration of all VMs have been completed successfully.
Hope this post is informative.
Thank you for reading,
Mohamad Alhussein
 (1 votes, average: 5.00 out of 5)
Good post ! 🙂