What is vRealize Cloud Client?
vRealize CloudClient is a command-line utility that provides verb-based access with a unified interface across vRealize Automation APIs.
- Browse the catalog and submit a request
- Approve a catalog request
- Manage provisioned machines
- Create tenants and groups
- Configure IaaS, including endpoints, data collection, and reservations
- Manage catalog services and entitlements
- Import and export blueprints and other content to human-readable format
- Submit authenticated vRealize Automation API calls from the command line
- Automate updates to VM reservations following SRM failover
- Execute vRealize Orchestrator workflows
Using cloud client, you can export a blueprint from your environment in YAML format and then import it to another VRA enviroment. Dealing with infrastructure-as-code allows you to share your blueprint with others as well so that they can start from there rather than reinventing the wheel.
This post will demonstrate how to install cloud client and use it to export/import blueprints.
vRealize Cloud Client Installation
Although I am using a Windows client, Cloud client supports both Windows and Linux.
- Download and install the latest Java JRE that is compatible with your OS.
- Download the latest vRealize Cloud client version from the VMware Developers Center.

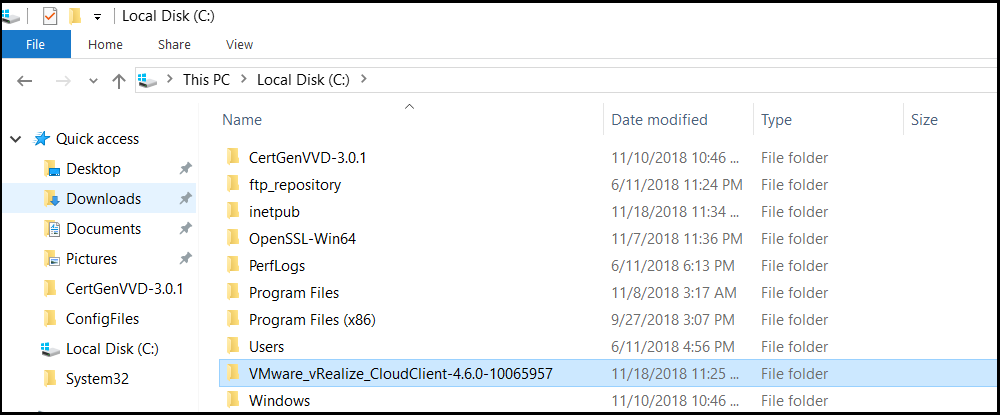
- Extract the contents of your downloaded zip file to your C drive.
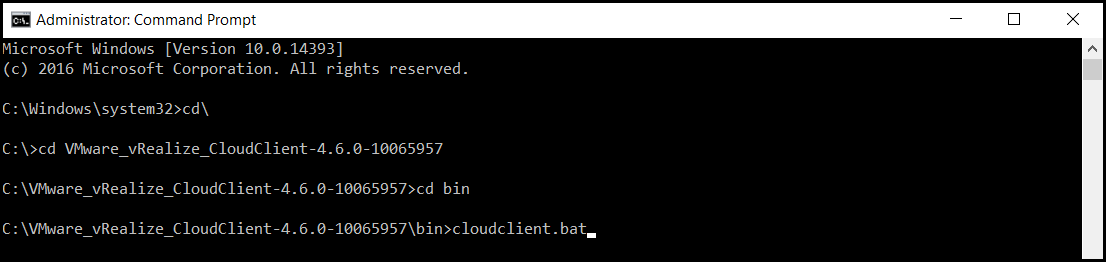
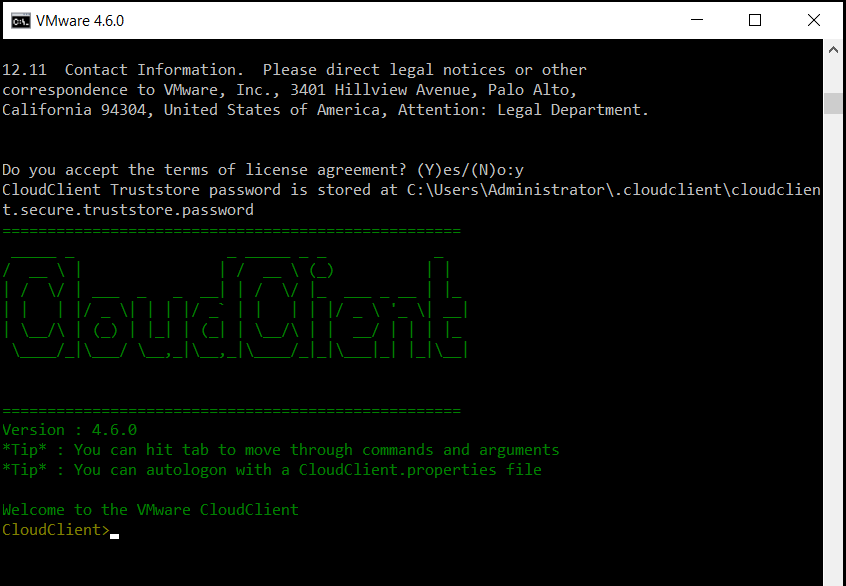
- Open CMD and change to your “bin” directory in your extracted folder. Launch cloud client by running “cloudclient.bat”.
- Scroll down and type “Y” to accept the EULA.
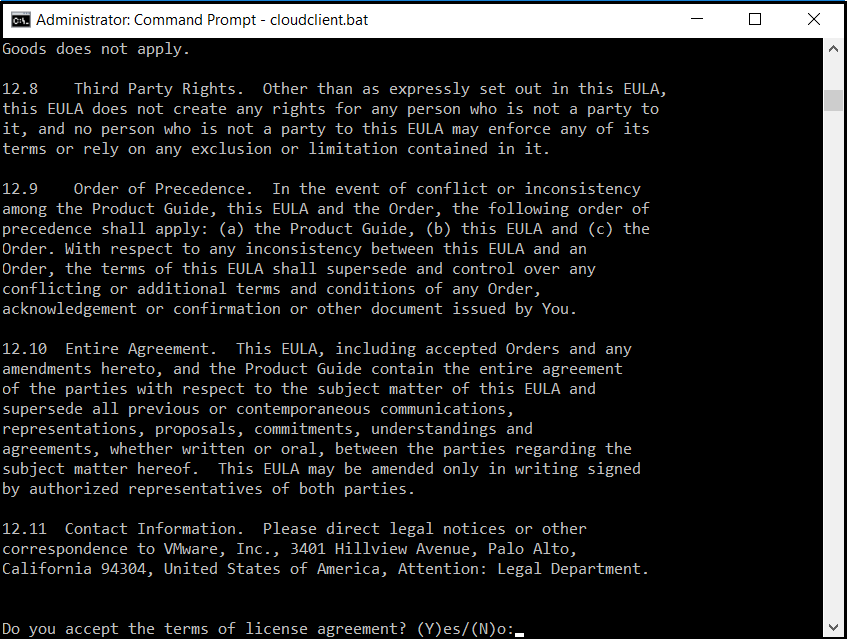
- Cloud client is ready to be used now.
Export VRA Blueprint
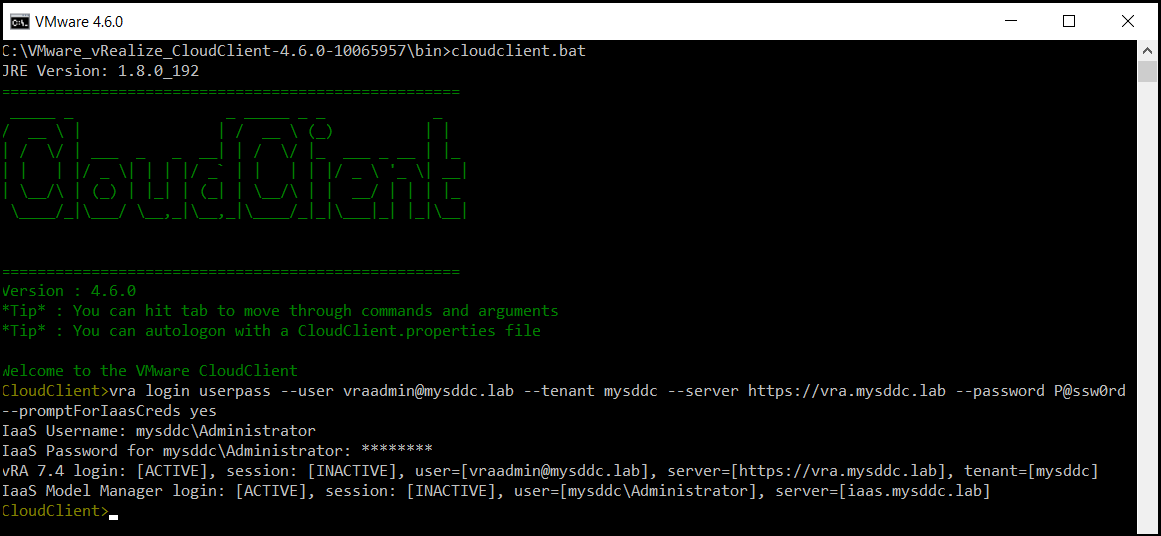
- Logon to the vRA appliance and vRA infrastructure server using the below command: CloudClient>vra login userpass –user <username> –tenant <Tenant Name> –server <VRA Appliance FQDN> –password <password> –promptForIaasCreds yes
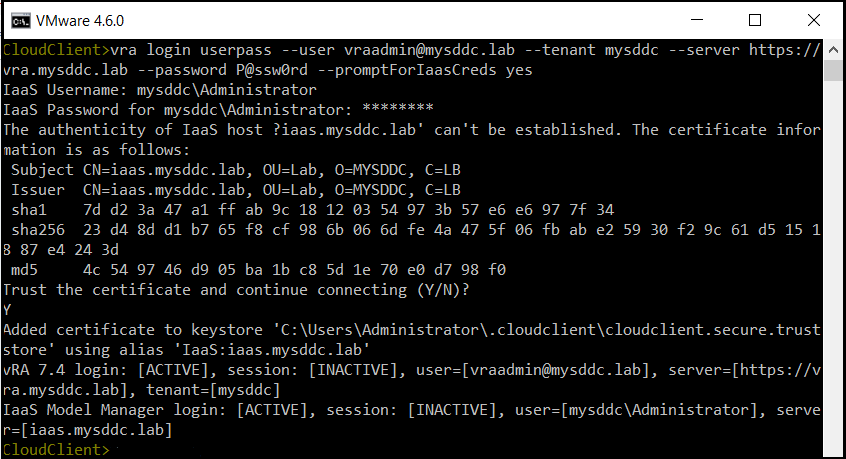 You will be prompted to enter the IaaS credentials and to accept the certificate.
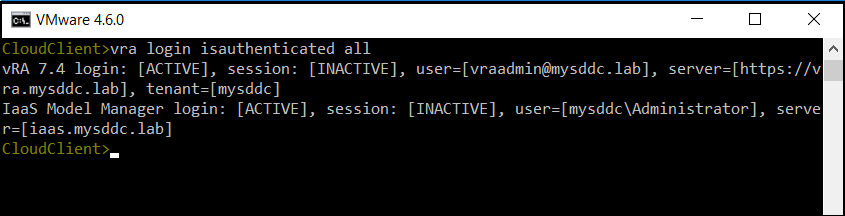
 - Verify that your sessions are authenticated by this command: CloudClient>vra login isauthenticated all
- List the current content list on VRA by this command: CloudClient>vra content list. Output fields like ID & Content ID are needed to export the blueprint in the next step.
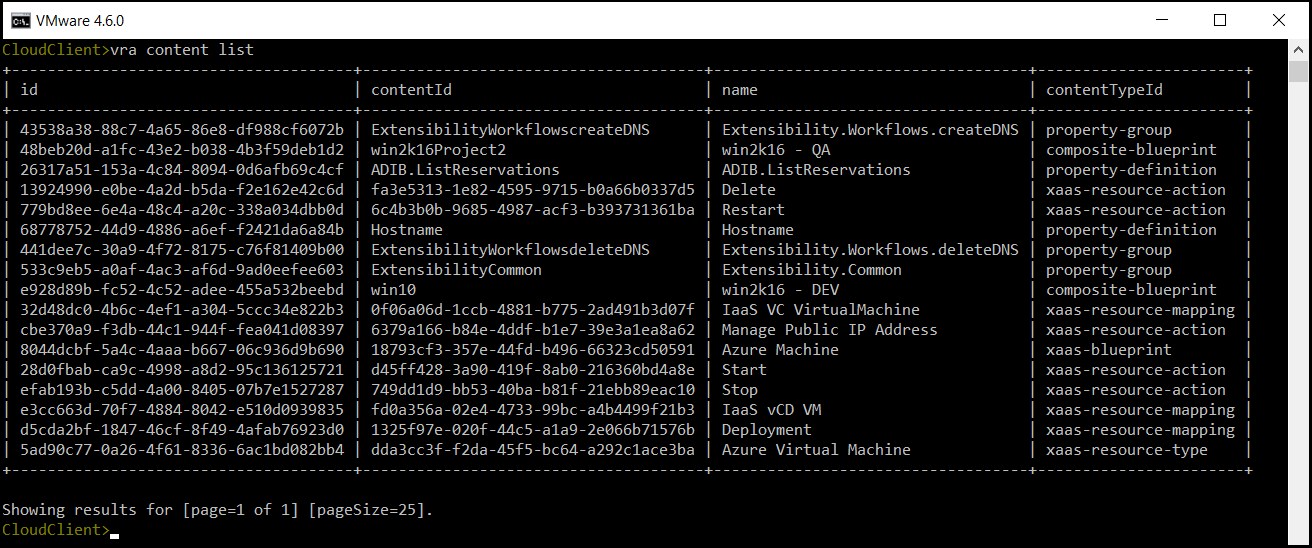
- Export the required blueprint using this command: CloudClient>vra content export –path <Path to Exported Content> –id <Item ID> –content-id <Content ID>. Let’s export our Win2K16-DEV blueprint.
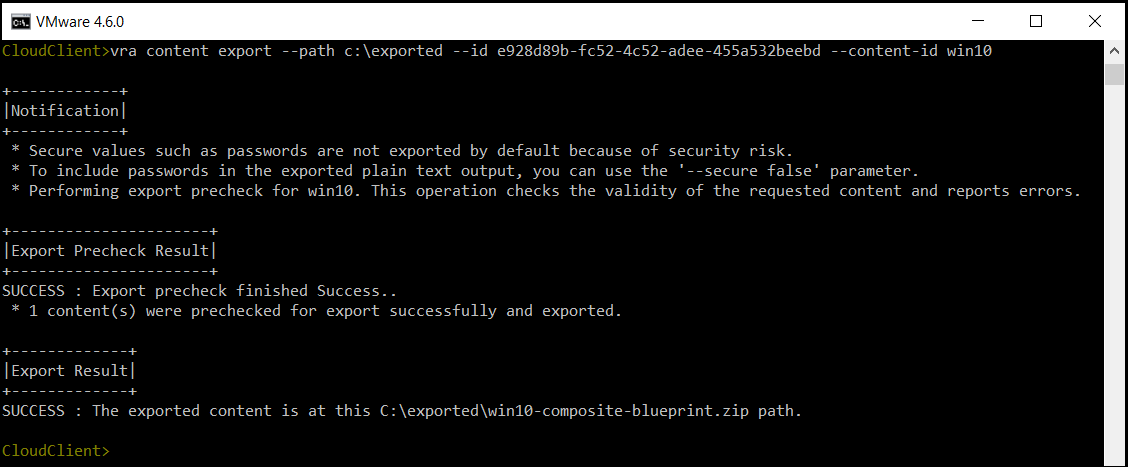
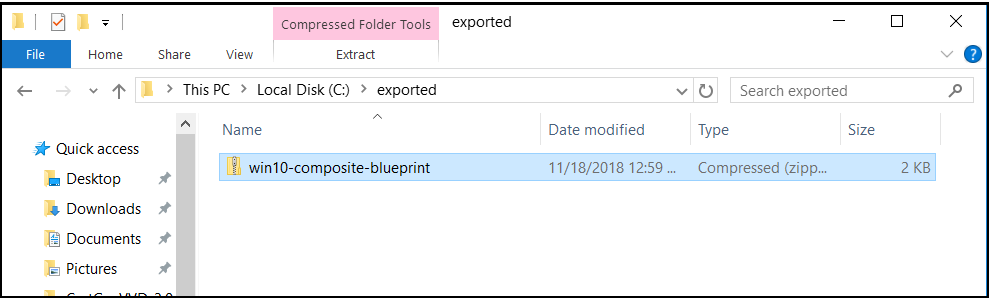
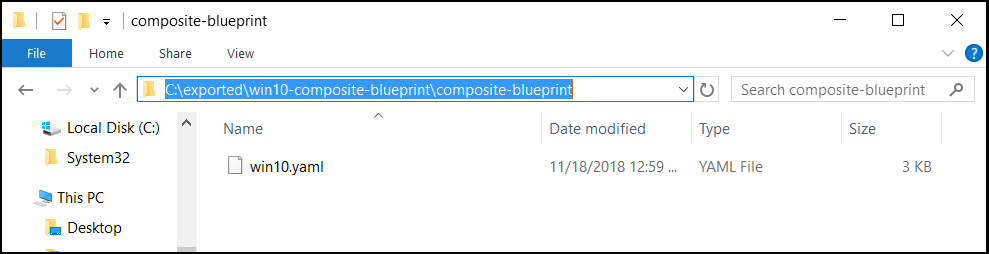
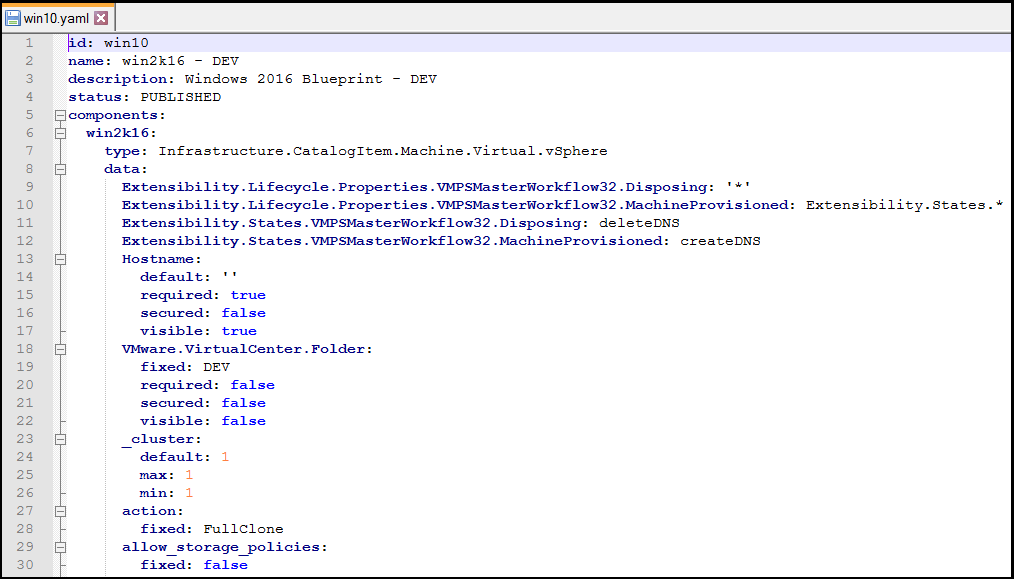
- The complete blueprint has been exported successfully into a Zip formatted file at the path you already specified. You can extract the compressed folder and read the blueprint YAML files using your favorite text editor.
Now the blueprint has been exported successfully. It is time to import it to the other VRA instance so that your blueprint is available in the new environment.
Import VRA Blueprint
- Logon to the vRA appliance and vRA infrastructure server.
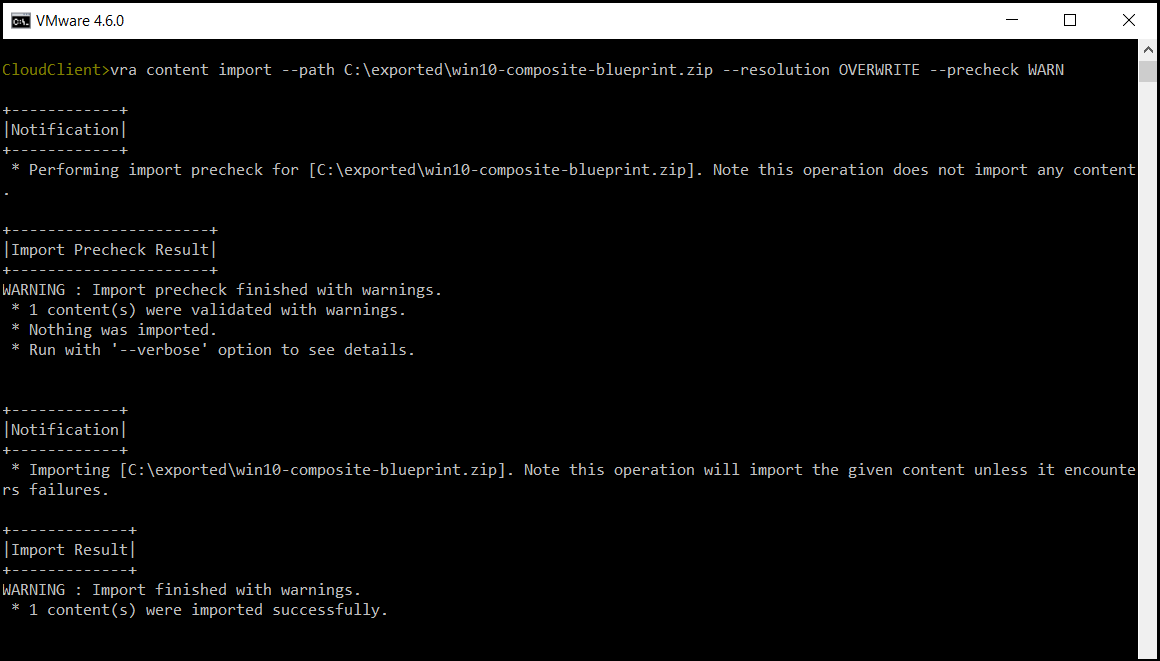
- Import the blueprint using this command: CloudClient>vra content import –path <Exported Blueprint Zip file> –resolution OVERWRITE. I’m using the “Overwrite” resolution so that Cloud Client will overwrite conflicting items if they already exists.
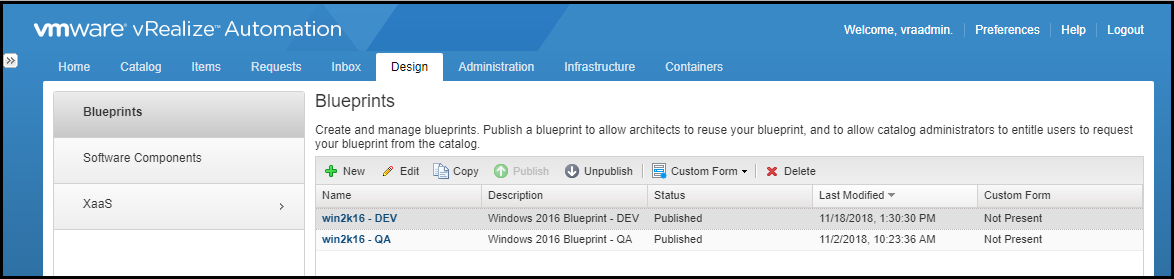
- You can view the imported blueprint from the VRA portal.
Happy cloud operations 🙂
Hope this post is informative.
Thank you for reading,
Mohamad Alhussein
 (No Ratings Yet)
Hi, can we export custom forms with the cloudclient? Or via vra rest api…
Thanks
Dominic