Upgrading vRA solution has been always tricky as it is version dependent. Although the process is somehow similar, it may include less or more steps if you have a minimal or distributed vRA environment.
Recently I have been engaged in a vRA distributed environment upgrade from 7.4 to 7.5 with an embedded vRO. I decided to write down the detailed process so that it provides a reference should anyone needs any help.
My advice is to prepare and check the prerequisites carefully so that you make sure the solution meets all the requirements needed as they are the key to achieve a seamless and successful upgrade.
Upgrade Compatibility
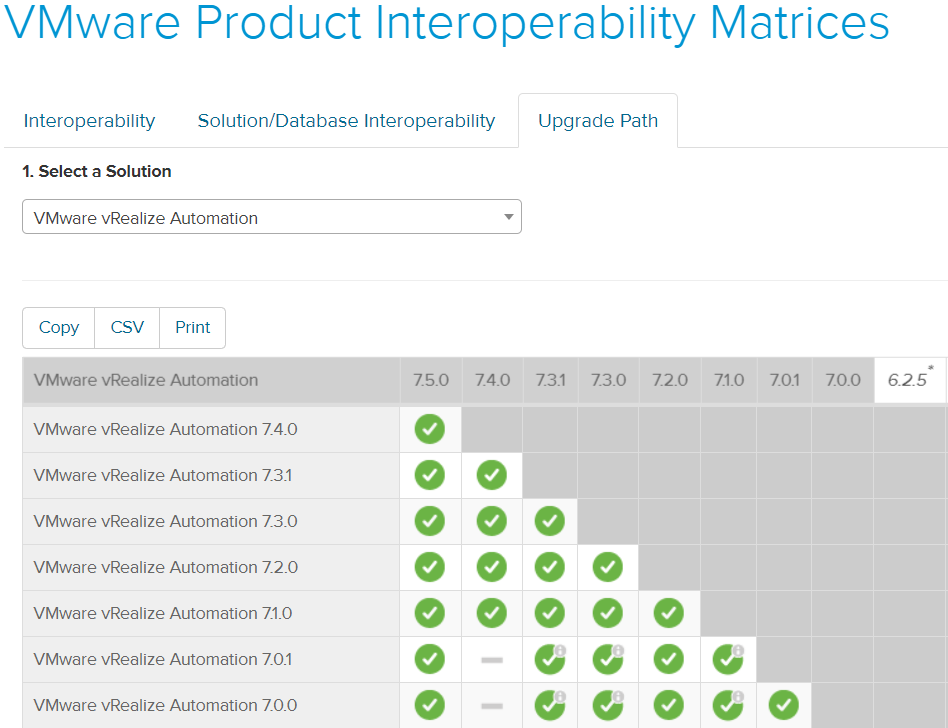
First of all, you have to visit VMware interoperability matrix to check if the upgrade path from 7.4 to 7.5 is valid.
https://www.vmware.com/resources/compatibility/sim/interop_matrix.php#upgrade&solution=114
Upgrade Order
As per the upgrade guide, the below upgrade order should be followed for integrated vRealize suite products when you want to upgrade vRealize Automation:

Upgrade Pre-requisites
- Change the load balancer timeout settings from default to at least 10 minutes.
Disable all load balancer redundant nodes to ensure traffic is directed only to the primary node. Remove the health monitors for: vRA appliance, IaaS Website, and IaaS Manager Service. - Make sure vRA Appliances have at least 18GB vRAM, 4 vCPUs, Disk1=50GB, Disk3=25GB, and Disk4=50GB before you run the upgrade. IaaS Servers and SQL Database must also have at least 5 GB of free space available.
- Be sure that for vRA 7.5 your Java version is version 8 update 161 or higher on your IaaS servers. After you install Java, you must set the JAVA_HOME environment variable to the new version.
- Verify that Microsoft .NET Framework 4.5.2 or later is installed on your IaaS servers.
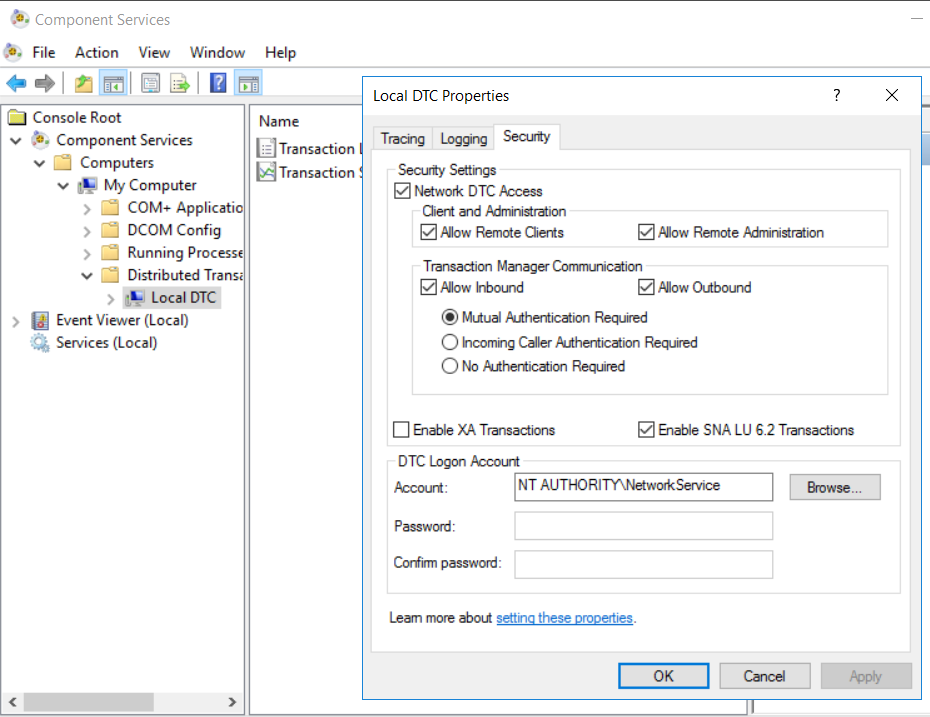
- Verify that MSDTC is enabled on all vRA IaaS and associated SQL servers.
- Navigate to the PostgreSQL data folder on the master host
at /var/vmware/vpostgres/current/pgdata/. Close any opened files in the pgdata directory and remove any files with a .swp suffix. Verify that all files in this directory have correct ownership: postgres:users
- Verify that custom properties do not have spaces in their names.
- If vRealize Business for Cloud is integrated with vRealize Automation, you must unregister vRealize Business for Cloud before you upgrade vRealize Automation.
Pre-Upgrading for vRA distributed environment
- If vRA is integrated with NSX, run NSX Network and Security Inventory Data Collection before you upgrade from vRealize Automation 7.x.
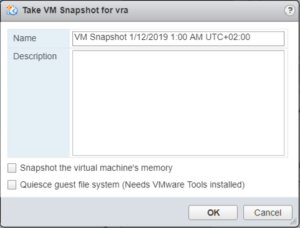
- While the system is shutdown, take a snapshot (disable in-memory snapshots and quiesced snapshots) of vRA, IaaS and SQL servers to backup your current installation . This is the preferred method of taking a snapshot.
If an update is unsuccessful, use the snapshot to revert back to the last known good configuration and run upgrade again.
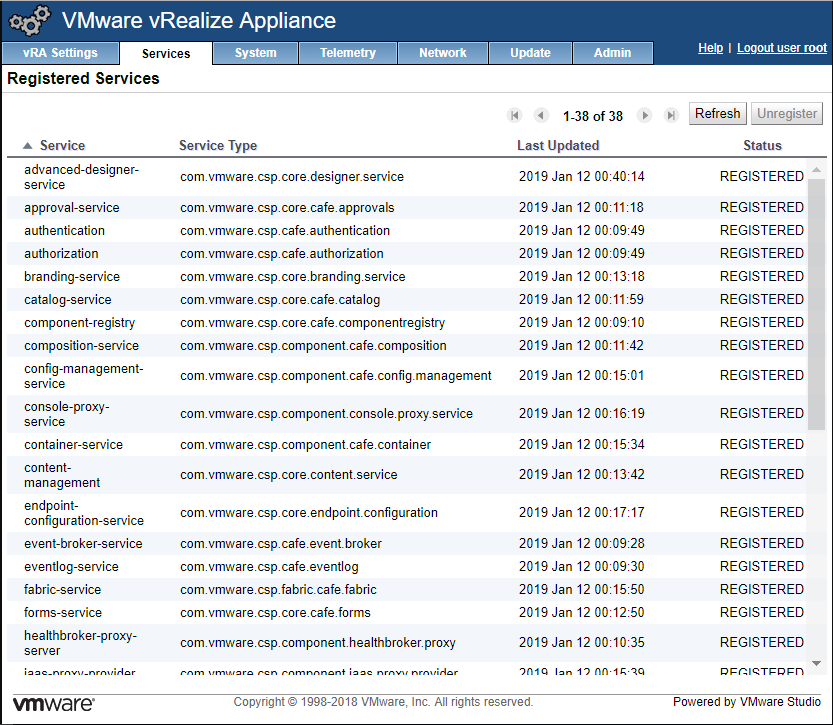
- Power on vRA solution VMs. Log in to each vRA management interface and verify that the system is fully functional. Click Services. Verify that each service is REGISTERED.
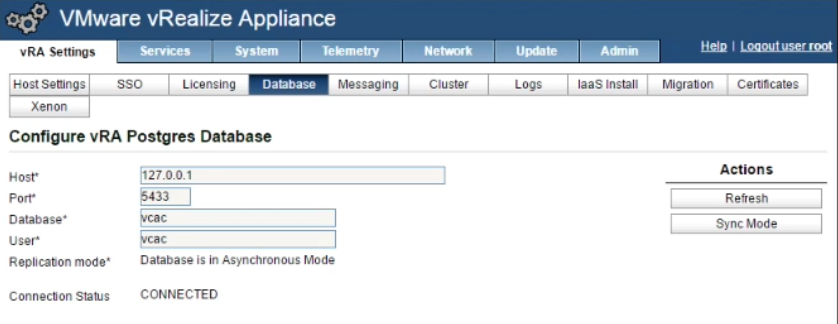
- If you upgrade from a distributed vRA 7.3+ environment that operates in PostgreSQL synchronous replication mode, you must change it to asynchronous before you upgrade.
Log in to the vRA VAMI as root https://<vRA-FQDN>:5480. Click Cluster. Click Async Mode and wait until the action completes.
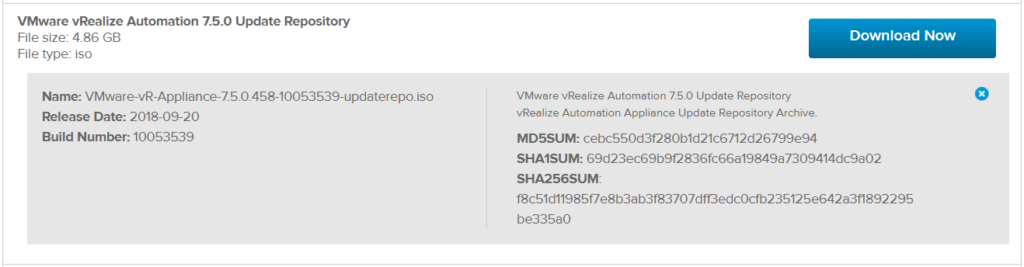
- Download 7.5 ISO update file and attach it to the virtual CD-ROM drive of the primary vRA appliance.
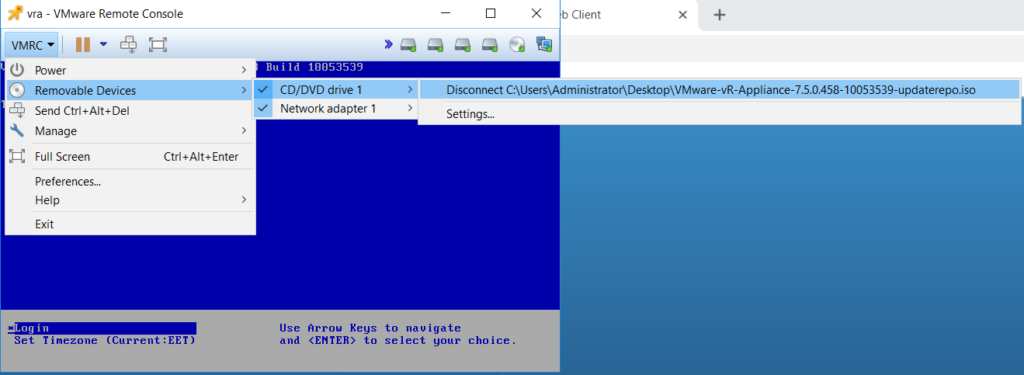
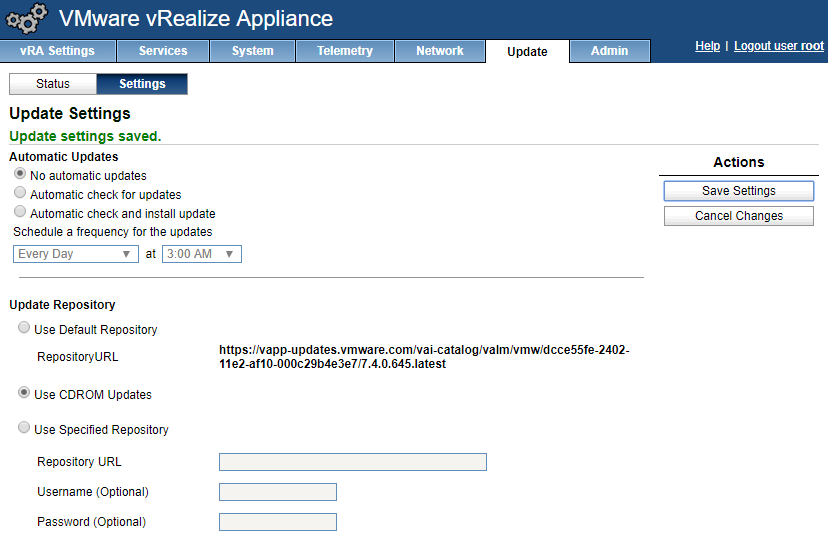
- Login to the primary vRA appliance VAMI console. Click the Update tab. Click Settings. Under Update Repository, select Use CDROM Updates. Click Save Settings.
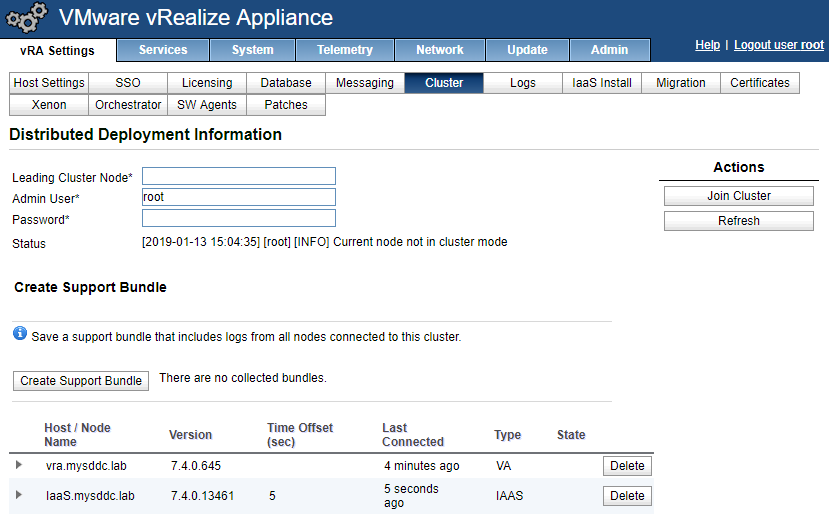
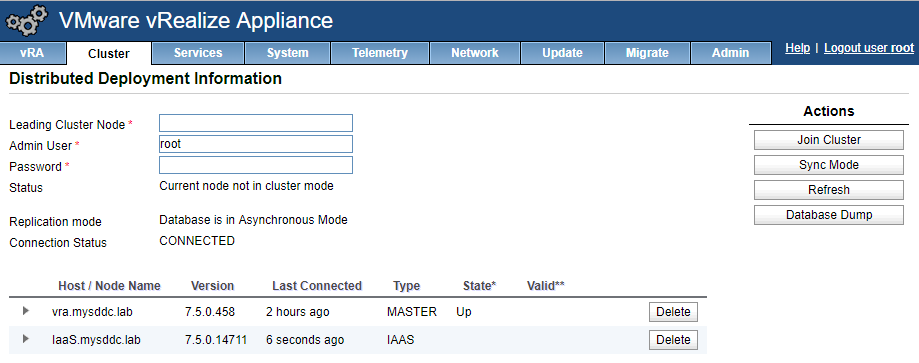
- Verify that all IaaS nodes are in a healthy state:
Log in to the vRA VAMI console – https://<vRA-FQDN>:5480 as root
Select Cluster. Under Last Connected, verify the following:
The IaaS nodes have a last connected time of less than 30 seconds.
The vRA nodes have a last connected time of less than 10 minutes.
Upgrading for vRA distributed environment
- Log in to the primary or master vRealize Automation appliance management interface as root: https://<vRA_FQDN>:5480
- Select Cluster and verify that this appliance is the master vRealize Automation appliance.
You install the update only on the master vRealize Automation appliance. Each replica vRealize Automation appliance is updated with the master appliance. - Select Update > Status.
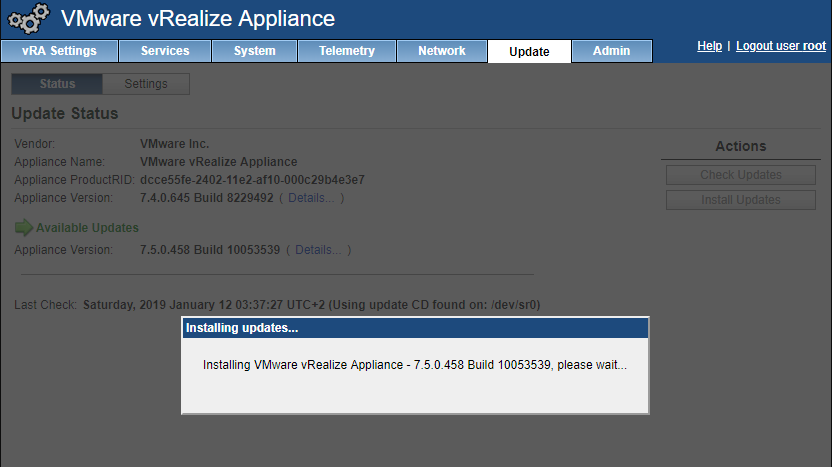
- Click Check Updates to verify that an update is accessible.
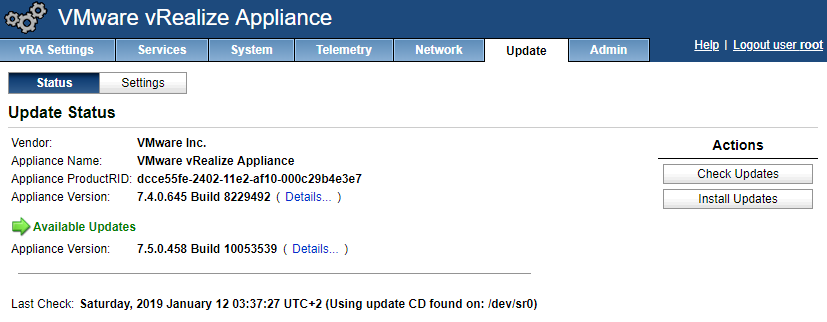
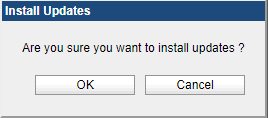
- Click Install Updates. Click OK.
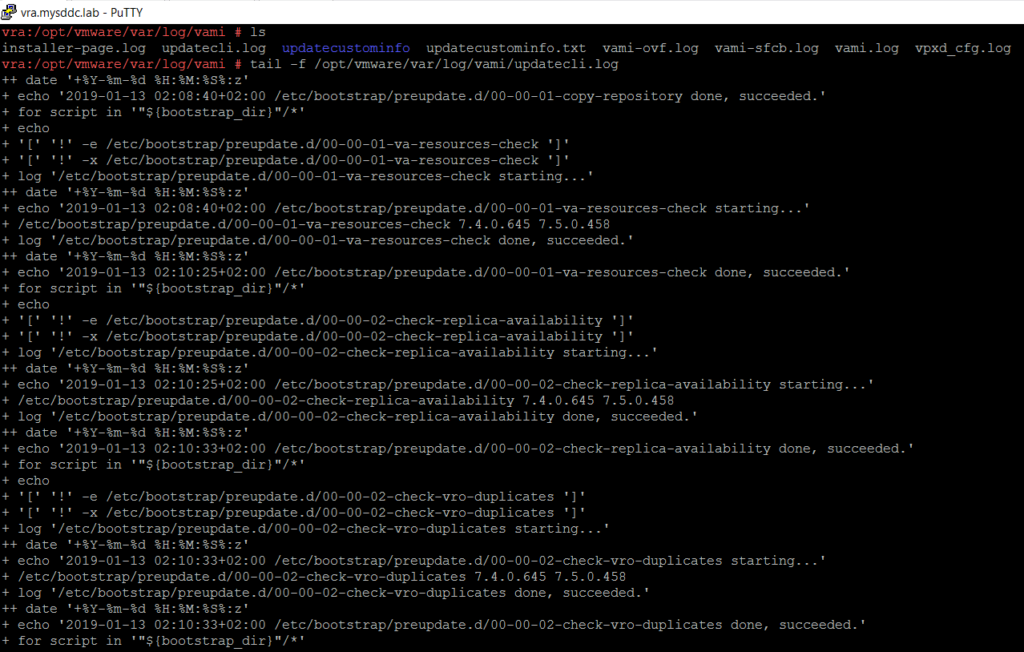
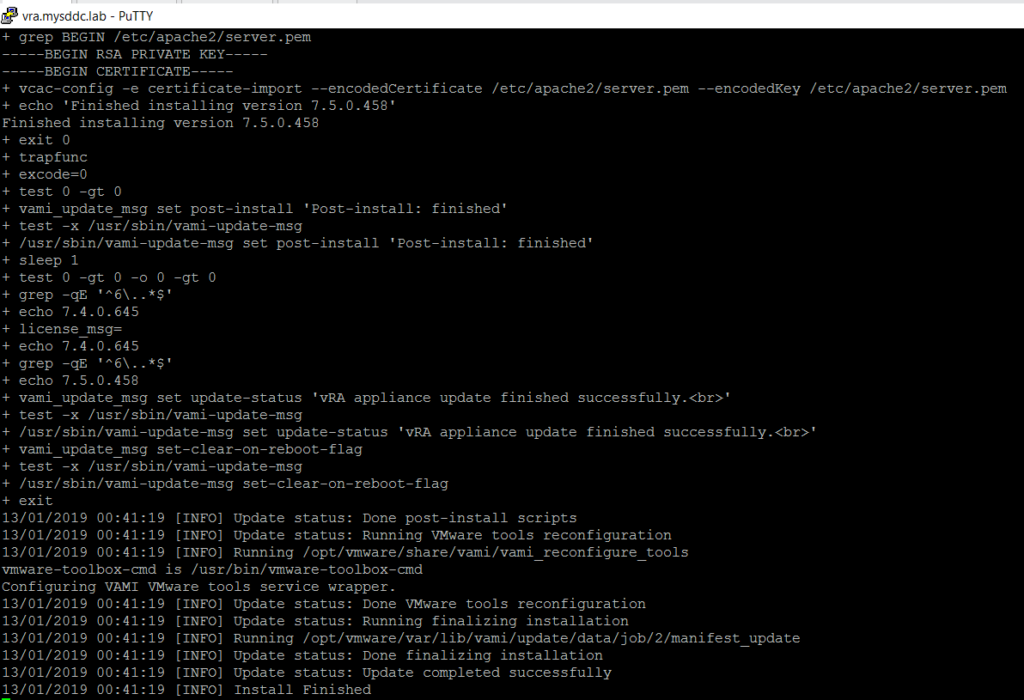
- To monitor the update in greater detail, SSH to the primary vRA appliance and run tail -f under updatecli.log file at
/opt/vmware/var/log/vami/ directory.
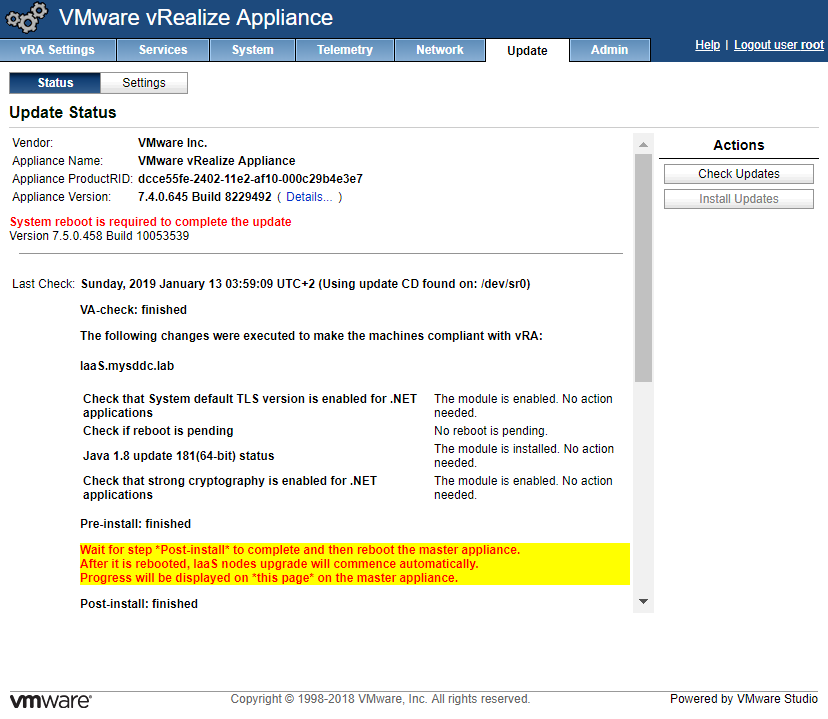
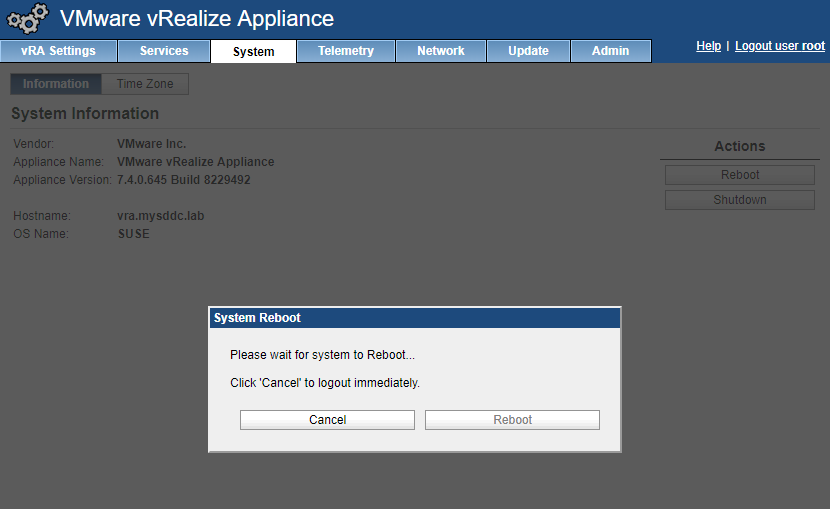
- When the vRA appliance update finishes, click System > Reboot in the management interface
In a distributed environment, all successfully upgraded replica appliance nodes reboot when you reboot the master appliance.
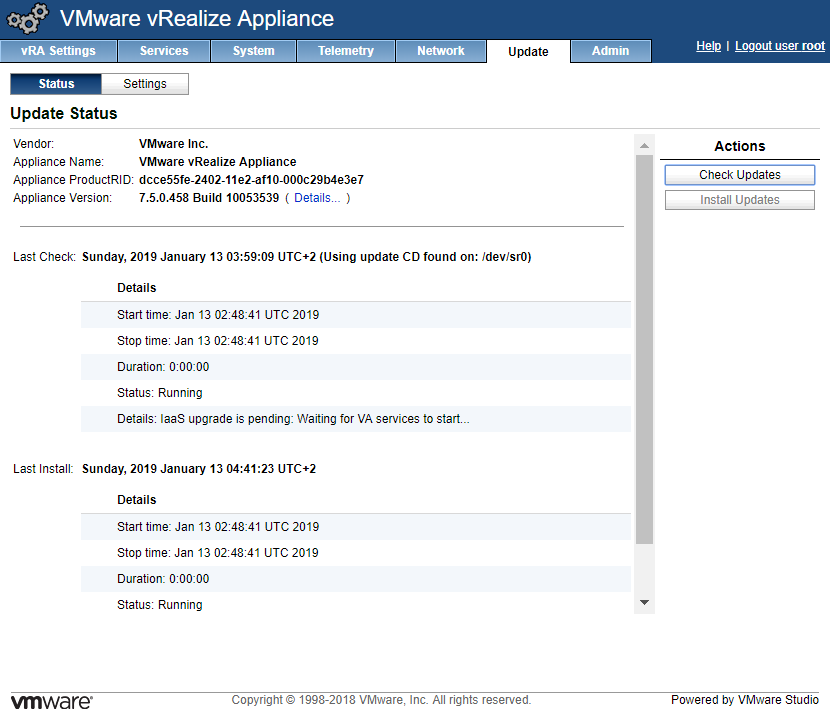
- After you reboot, “Waiting for VA services to start” appears on the Update Status page. The IaaS update starts when the system is initialized and all services are up and running.
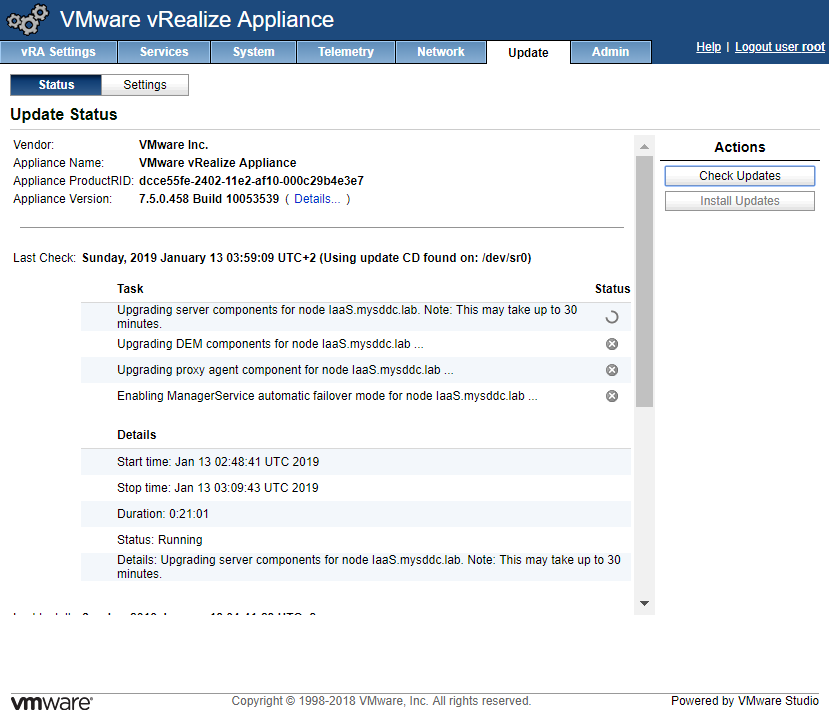
Click Update > Status to observe the IaaS upgrade progress.
When the IaaS update finishes, click “Cluster” and verify that all IaaS nodes and components have been upgraded to the new version.
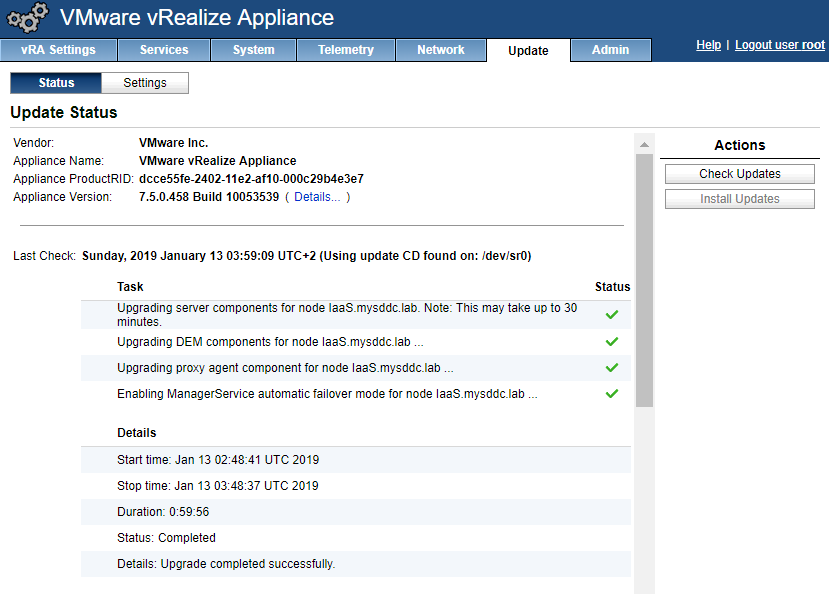
Enjoy the new HTML5 interface after the upgrade is done.
Post-Upgrading a vRA distributed environment
- Enable the load balancer vRealize Automation health checks.
- Re-enable secondary nodes.
- Revert the load balancer timeout settings from 10 minutes back to the default.
- If you set the PostgreSQL replication mode to asynchronous before upgrade, you can set the PostgreSQL replication mode to synchronous after you upgrade a distributed vRealize Automation
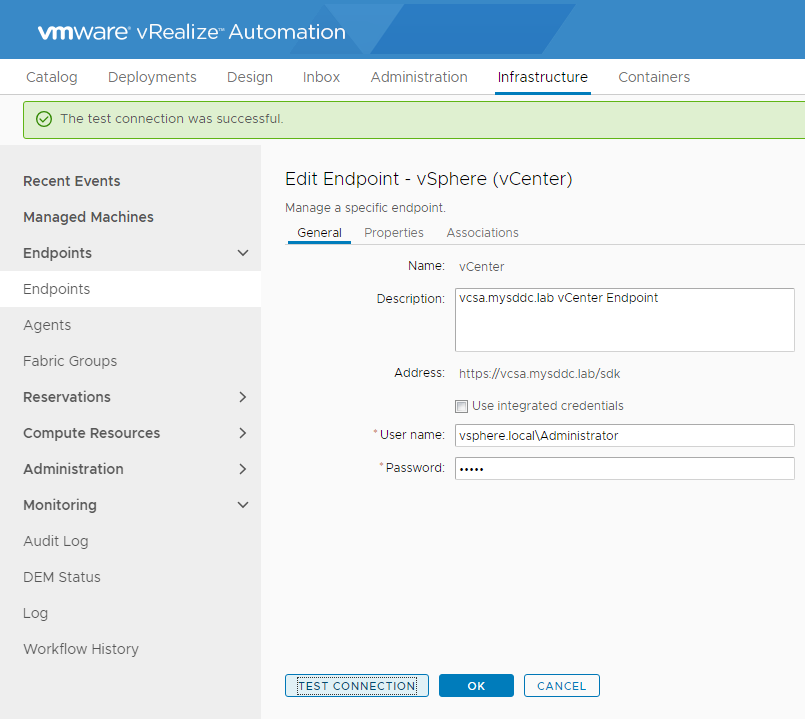
environment. - After you upgrade vRealize Automation, you must use the “Test Connection” action for all applicable endpoints (vSphere, NSX, …).
The default security setting for upgraded or migrated endpoints is not to accept untrusted certificates. If you were using untrusted certificates you must perform the following steps for all endpoints to enable certificate validation and accept them. Otherwise, the endpoint operations fail with certificate errors.
- Run NSX Network and Security Inventory data collection in the upgraded vRealize Automation environment.
- Automatic “Manager Service” failover is disabled by default when you upgrade vRealize Automation. If automatic manager service failover was enabled prior to upgrade, change directory to
/usr/lib/vcac/tools/vami/commands and run the following command to enable it again: python ./manager-service-automatic-failover ENABLE

- Register vRealize Business for Cloud with vRealize Automation when the upgrade is done.
Hope this post is informative,
Thank you for reading,
Mohamad Alhussein
 (1 votes, average: 5.00 out of 5)